
Configure VCF Automation SSO and User Roles
Configure VCF Automation SSO, import Active Directory users and groups, assign roles and test access through the Identity Broker.
Overview
This VCF Automation SSO walkthrough follows the Identity Broker setup in my lab. I enable SSO, import Active Directory users and groups, assign roles and test access; the appliance must already be deployed.
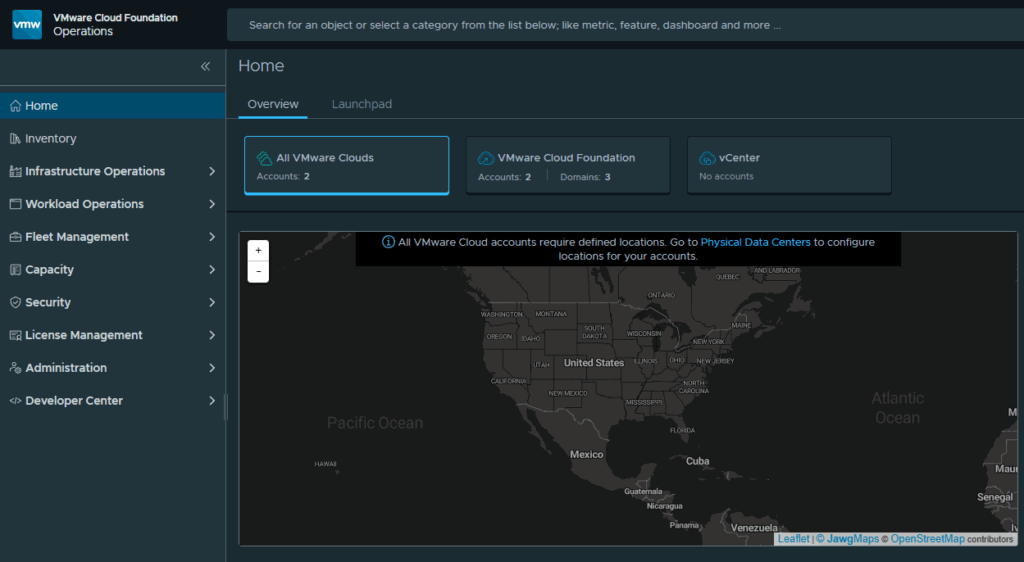
Enable SSO
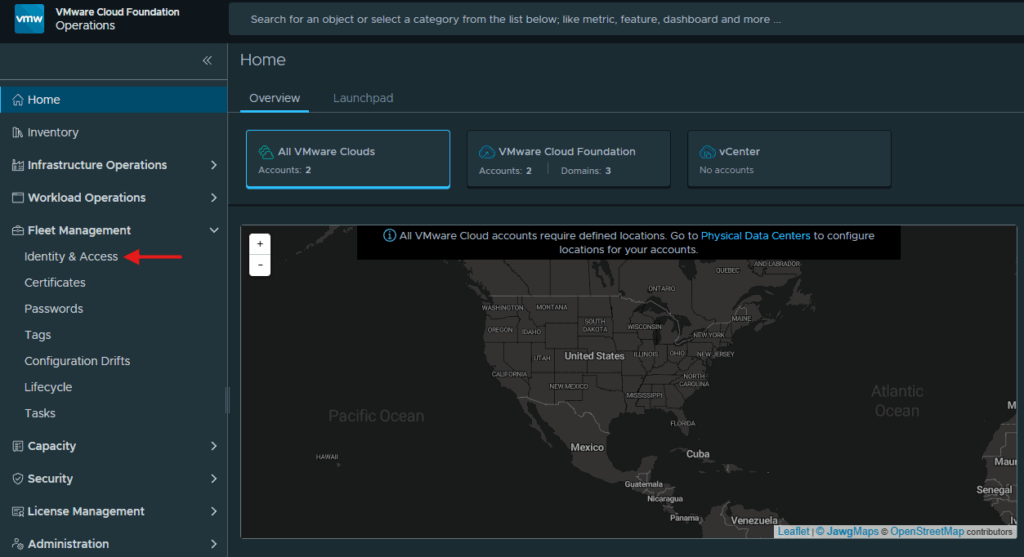
Expand Fleet Management and click on Identity & Access
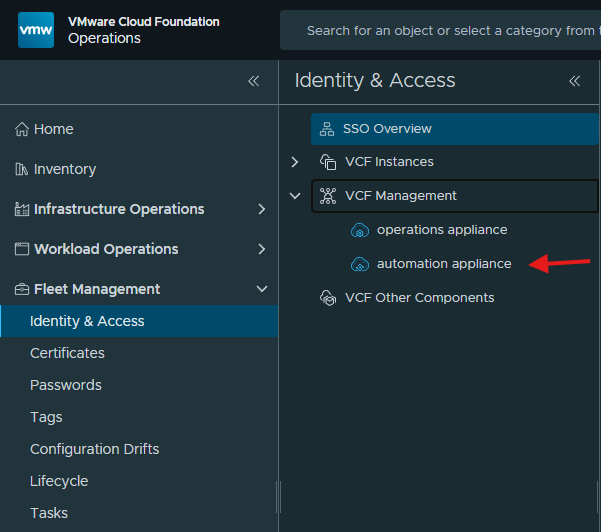
Expand the VCF Management section and click on automation appliance
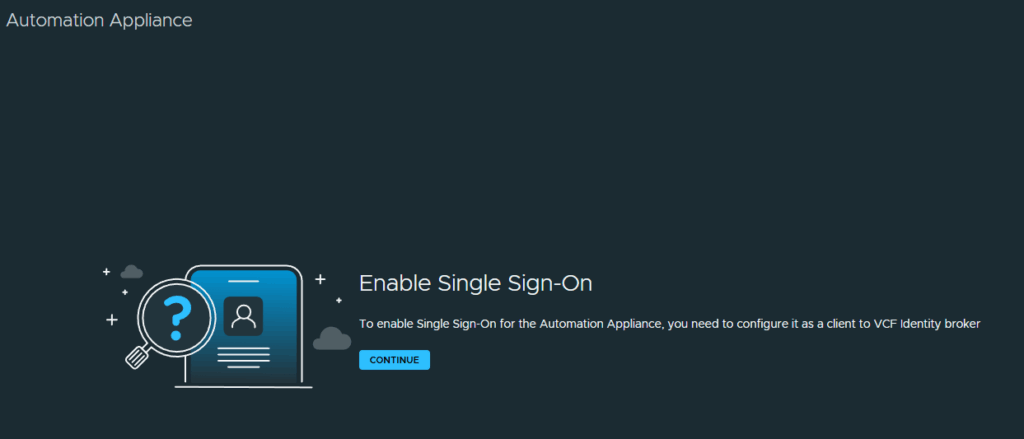
Click Continue for enable single sign on
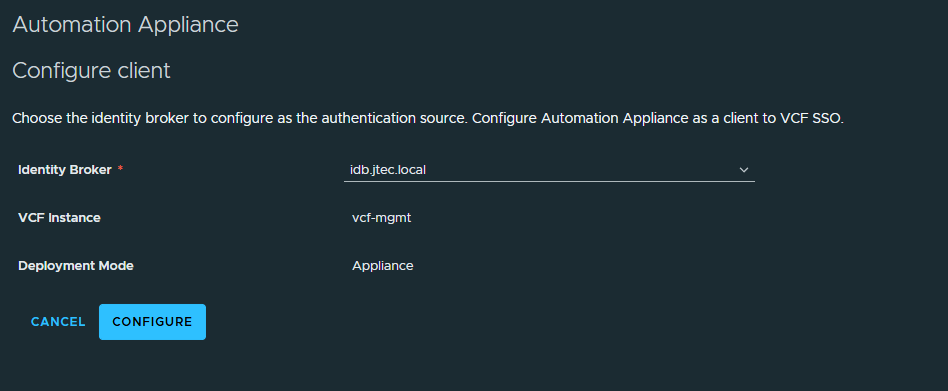
The external identity broker is selected by default, click on Configure to continue.
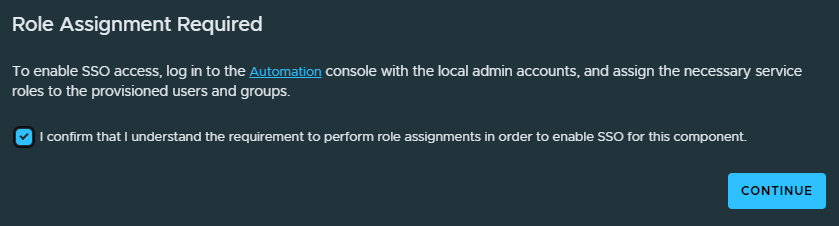
A pop-up will appear letting you know that the roles will need to be assigned manually to complete this process. Click the checkbox next to I confirm and click Continue.
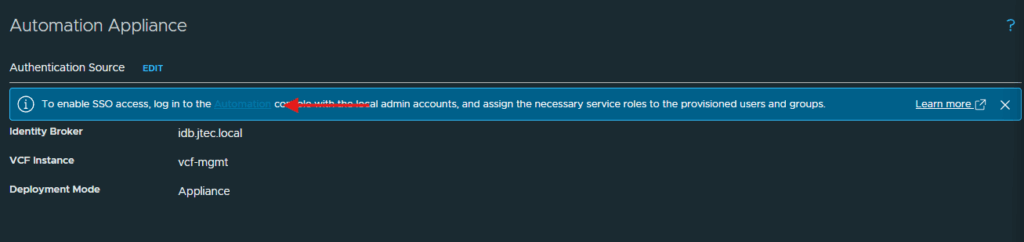
Open the local administrator session
Click the Automation link in the information bar to open the VCF Automation web gui.
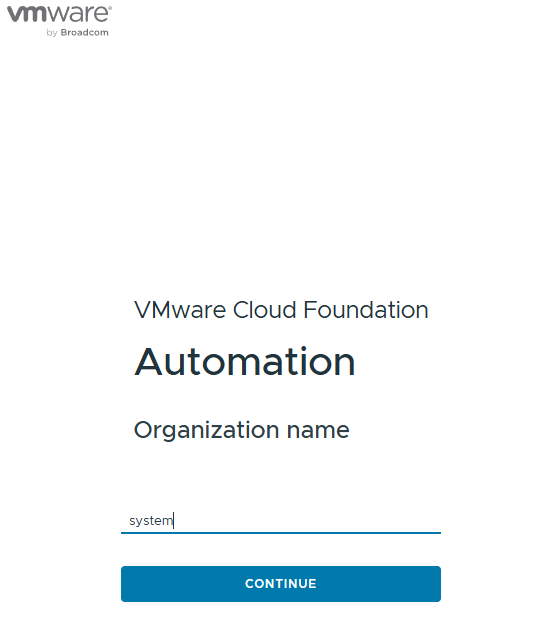
We have not configured VCF Automation at all so we will be logging in to the ‘system’ organization. Click Continue
You will see a redirect show up, click Stop Redirect so it doesn’t default to VCF SSO login. If you miss the link, just click the back button on your web browser.
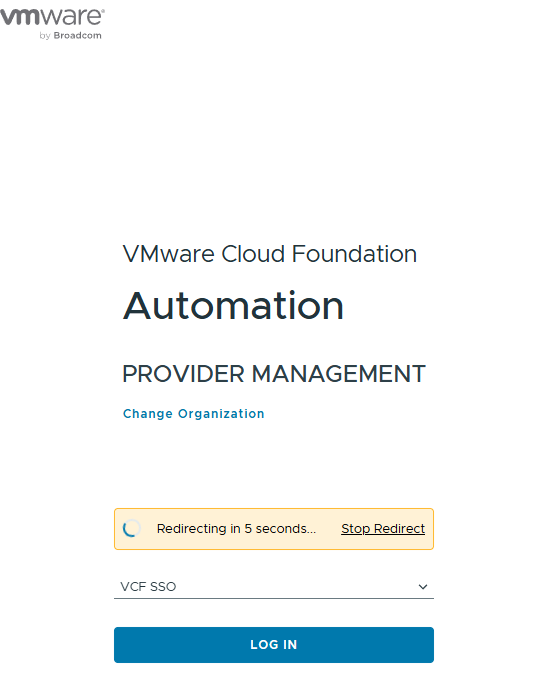
Click the drop down and select Log in with local account.
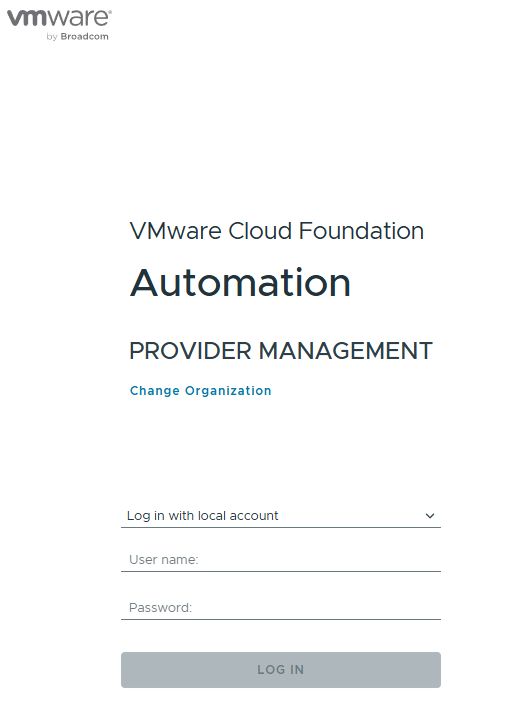
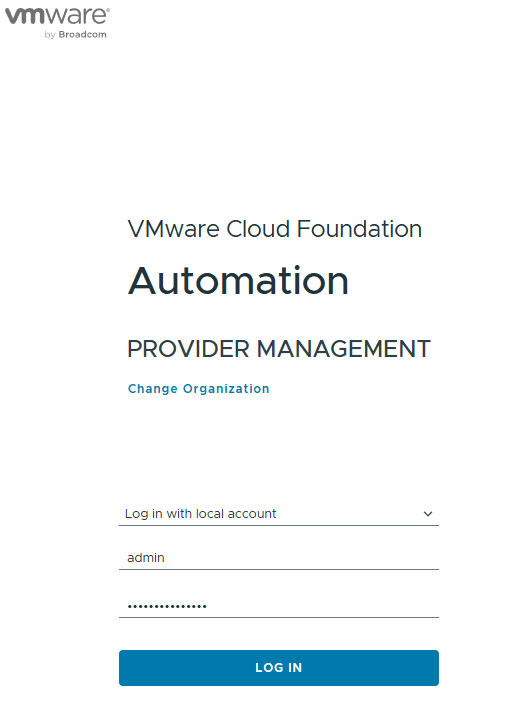
Enter in admin for the username and the password is what you provided during deployment.
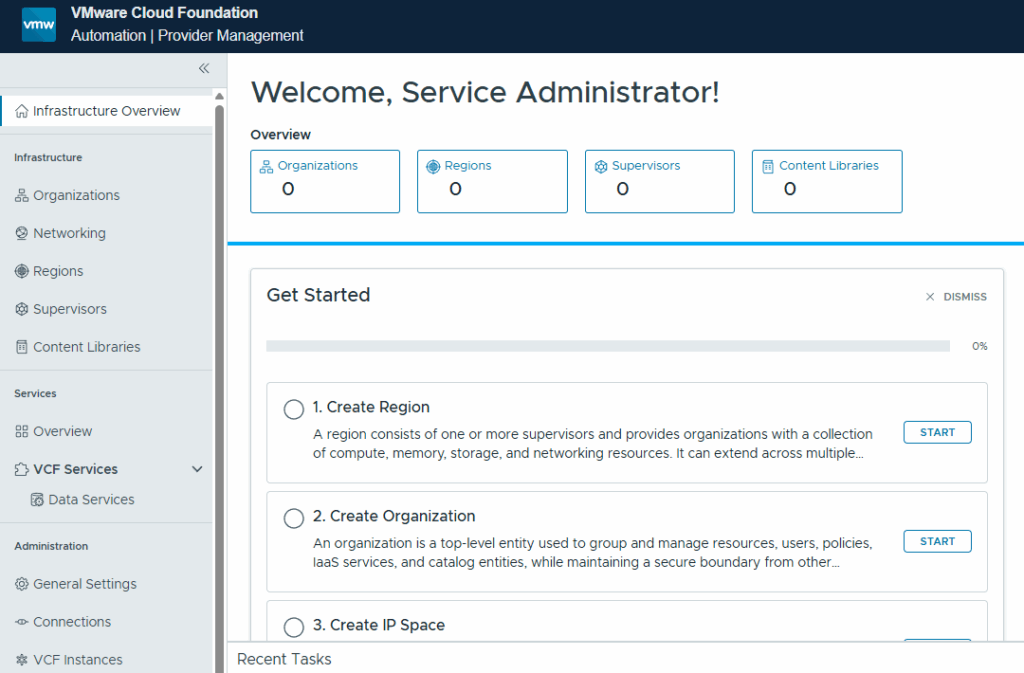
You will be presented with a Welcome page. I don’t want to configure this appliance yet so click on the vmw icon in to the top left.
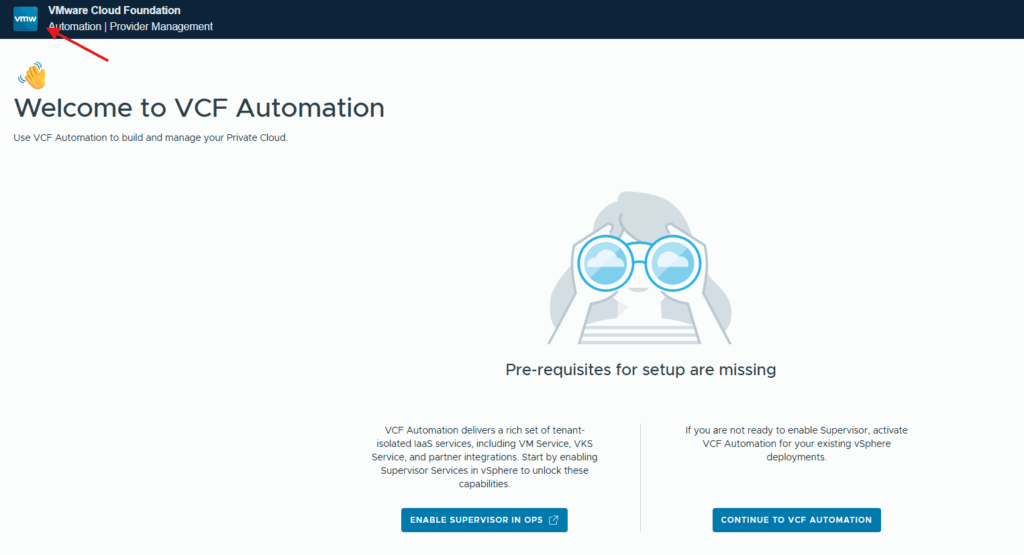
This will open up the menu.
Import users and assign roles
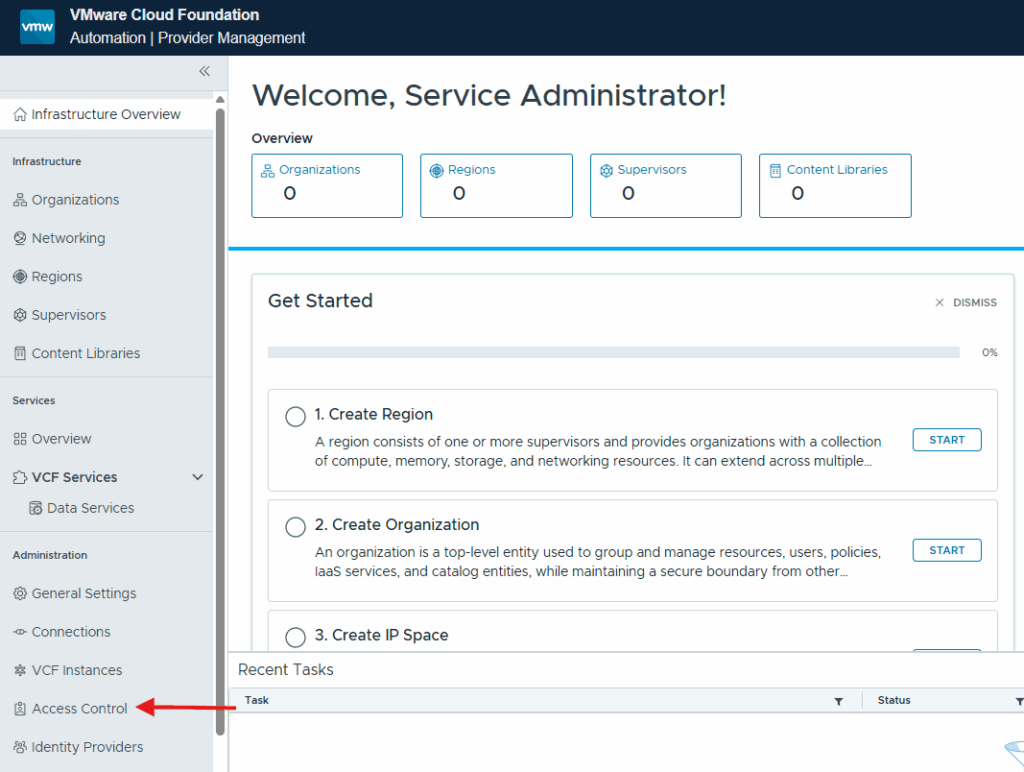
Click on Access Control under Administration.
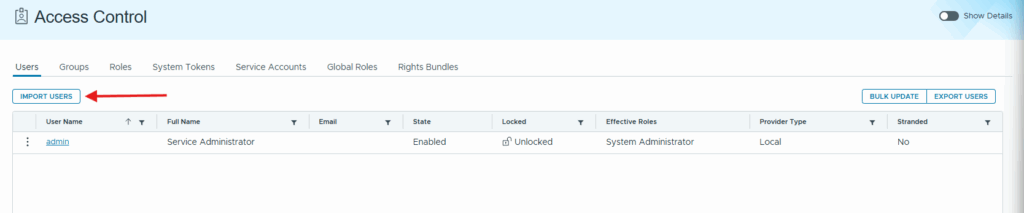
Click on Import Users to add a user to VCF Automation.
Click the drop down for Source and select VCF SSO
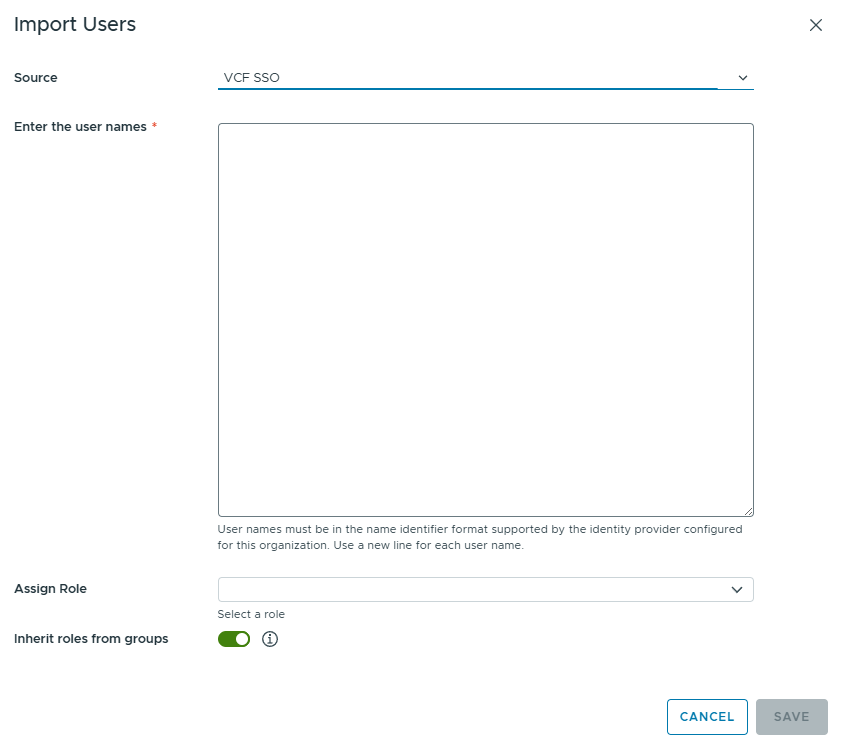
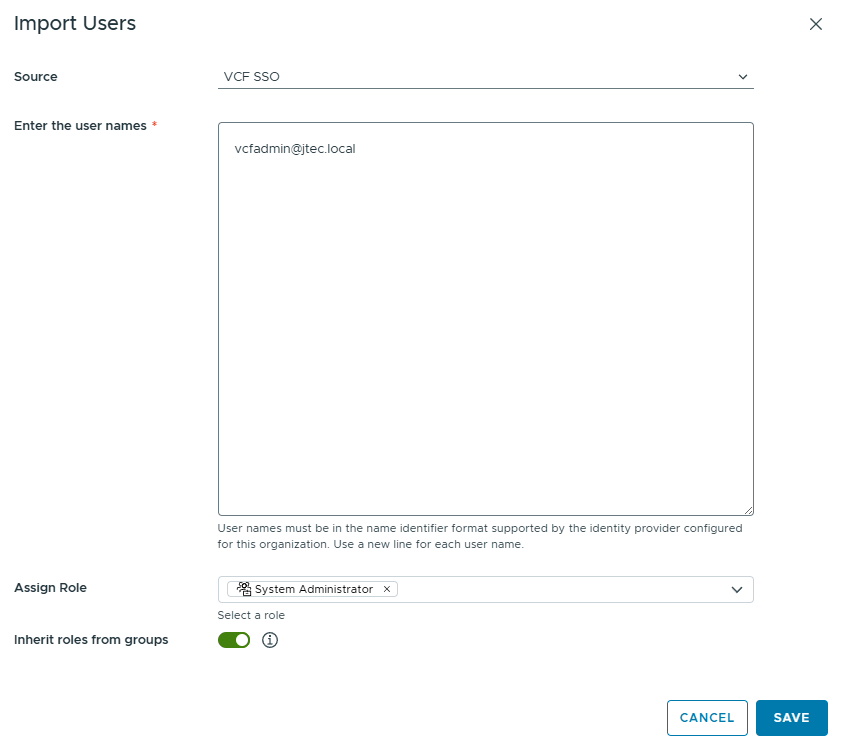
Input the usernames you want to add and click the drop down next to Assign Role
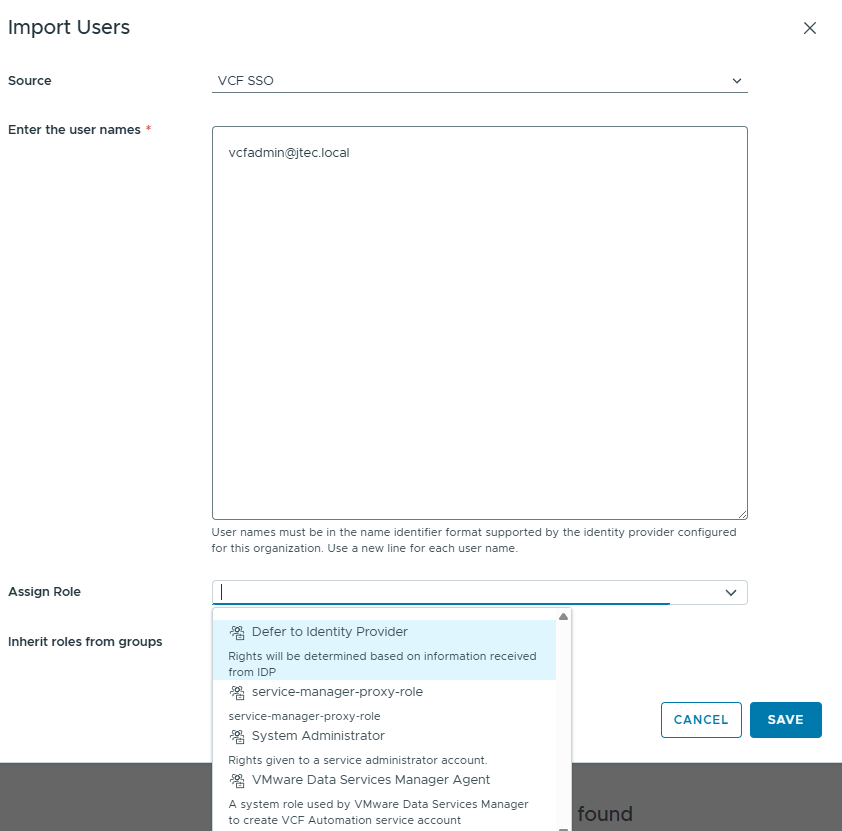
This user will be assigned the System Administrator role. Click Save to complete.
Import groups
If you want to add groups, click on the Groups tab
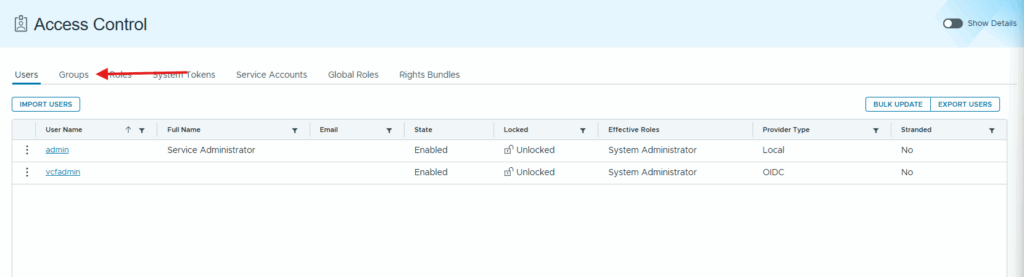
Click Import Groups to add groups.
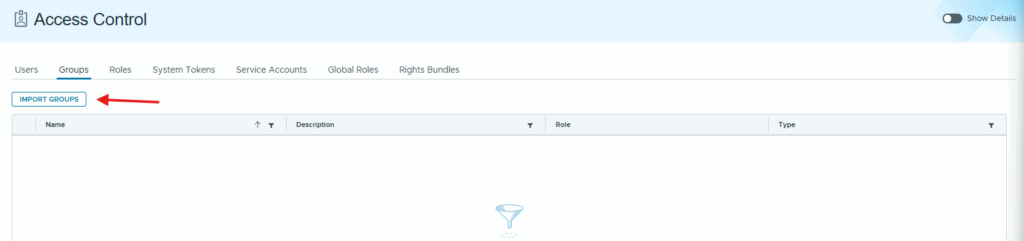
Click the drop down next to Source and select VCF SSO
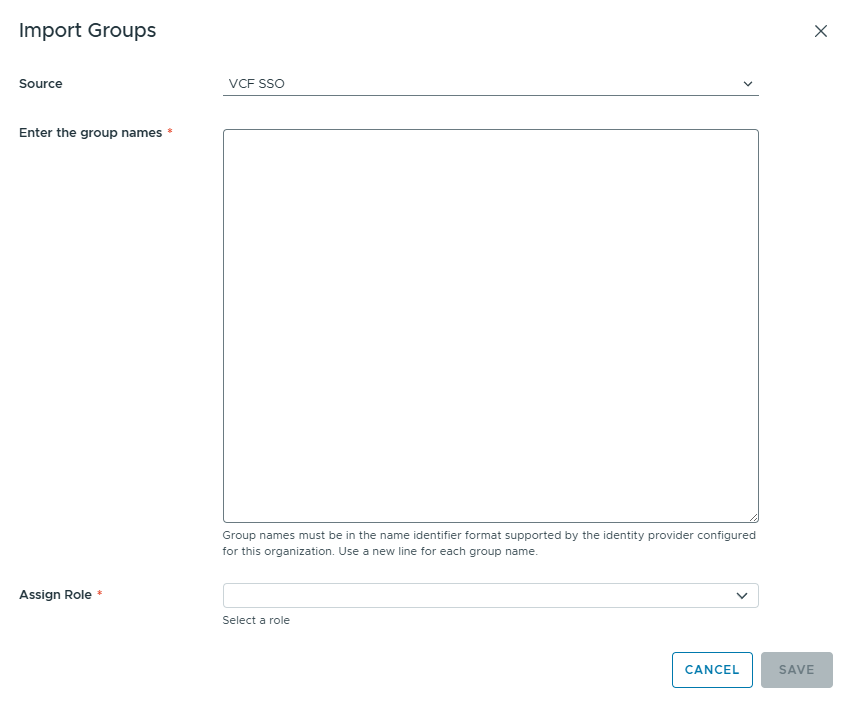
Input the group name in the dialog box and click the drop down to assign role.
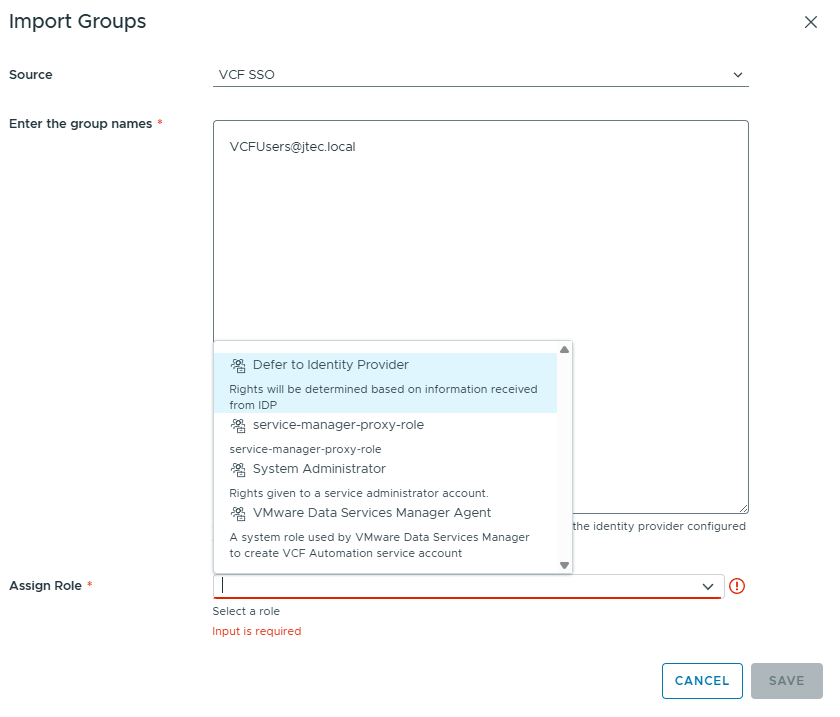
This group is going to have the role of Data Services Manager Agent since it will not be a administrator. Click Save to continue.
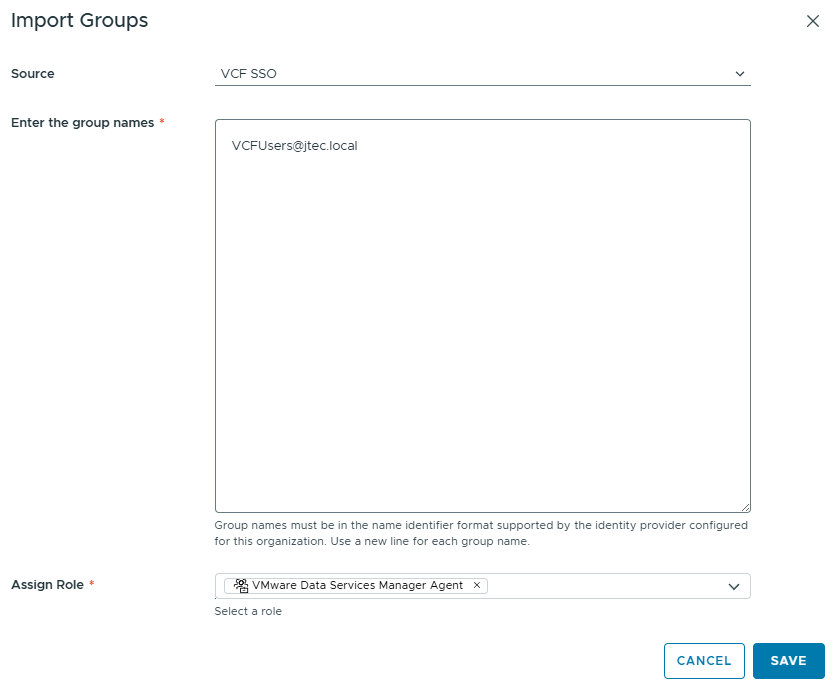
Repeat the process above to add additional users or groups.
Test SSO login
After you have added all the users and groups, click the drop down next to admin and select Log Out.

VCF Automation will automatically redirect to VCF SSO, so we just wait for that to happen.
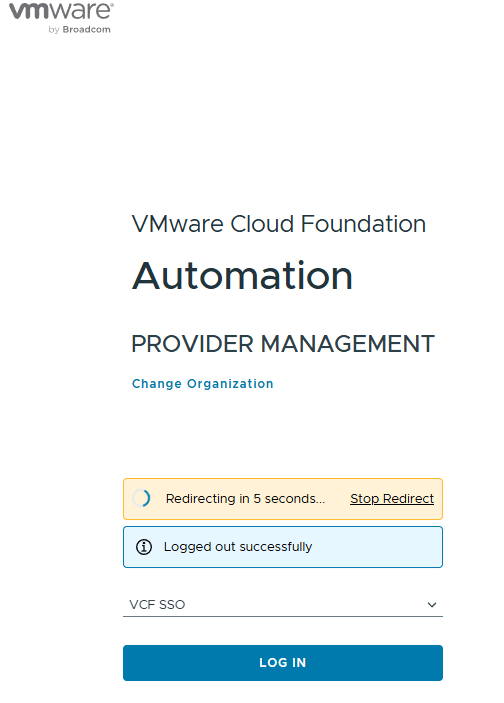
Enter the login information for an active directory user and click Log In
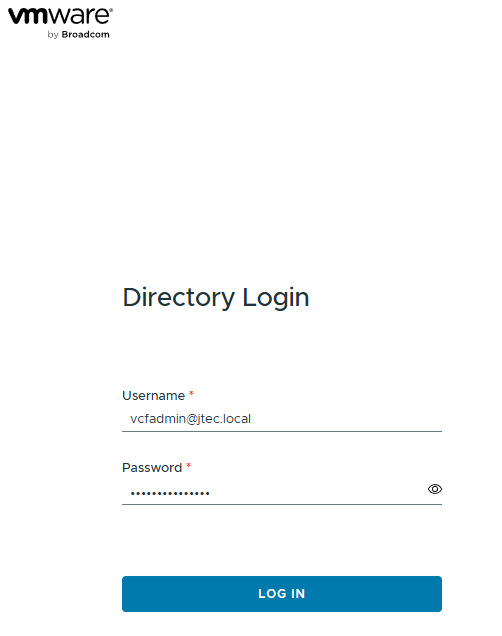
The Active Directory login completed successfully and opened the VCF Automation web interface, confirming that the SSO configuration and the lab role assignment worked.

We now have configured single sign on in VCF Automation and have almost all the appliances configured now.
You can return to my main VCF Lab page to follow along with this deployment.