
In this post I am going to walkthrough the upgrading of my VCF core components (vCenter, NSX, ESXi) to the latest version of 9.0.1. If you have not upgraded the VCF management components (Operations,Automation,Identity Broker) then please return to part 1 of this upgrade and complete that first.
If you have not already done so, you will need to download the necessary binaries to complete this upgrade using the VCF download tool. I have downloaded the binaries and they are already uploaded to my offline depot. The first part of the process will be upgrading the SDDC manager so that we can patch the remaining components.
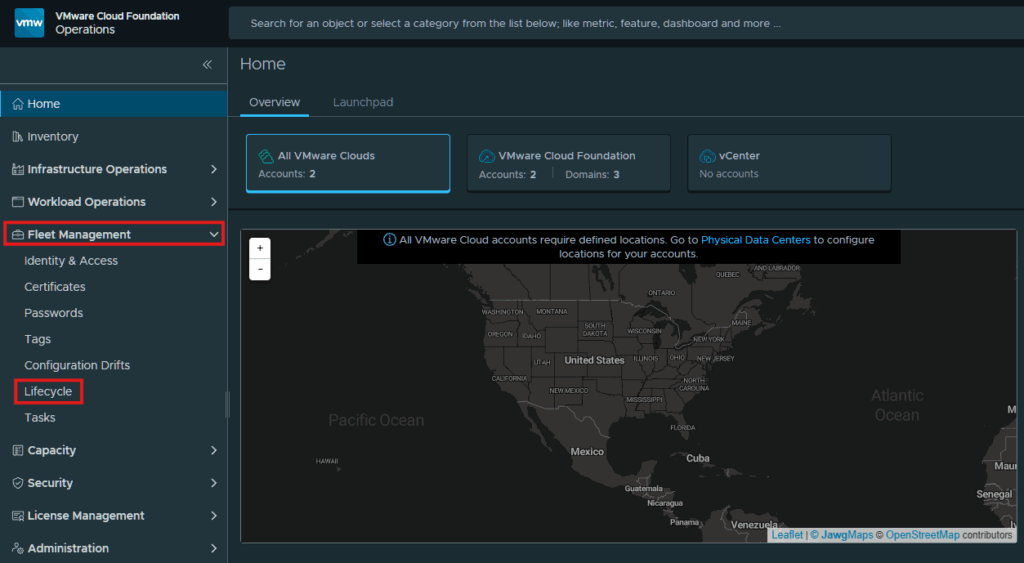
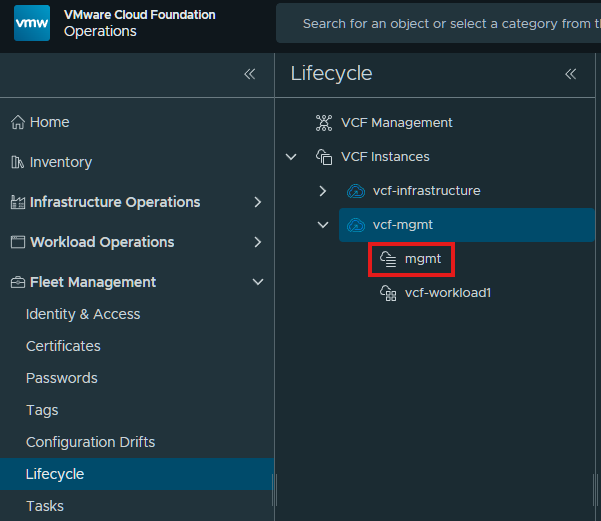
Start by logging into VCF Operations web gui and expanding Fleet Management and click on Lifecycle.
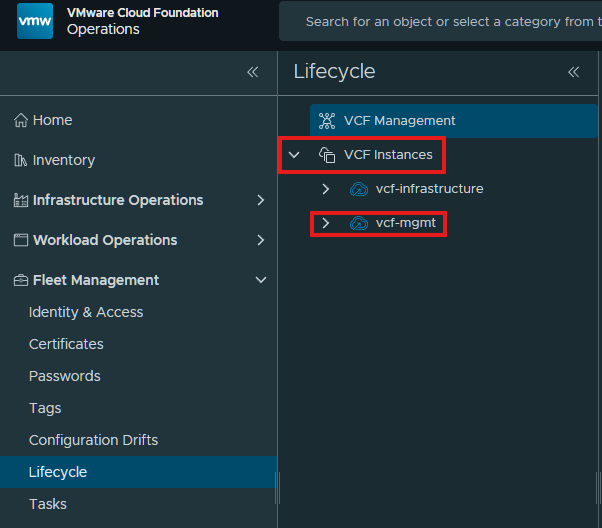
Expand the VCF Instances and select the instance you want to upgrade. I will be upgrading my management domain first, as you should always upgrade management and then workload domains.
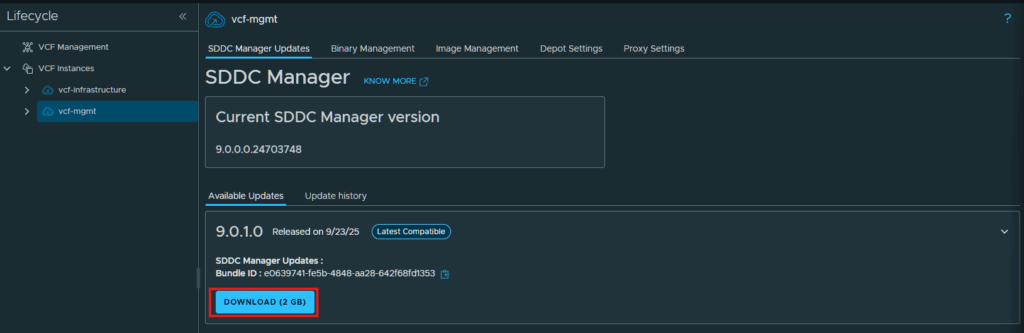
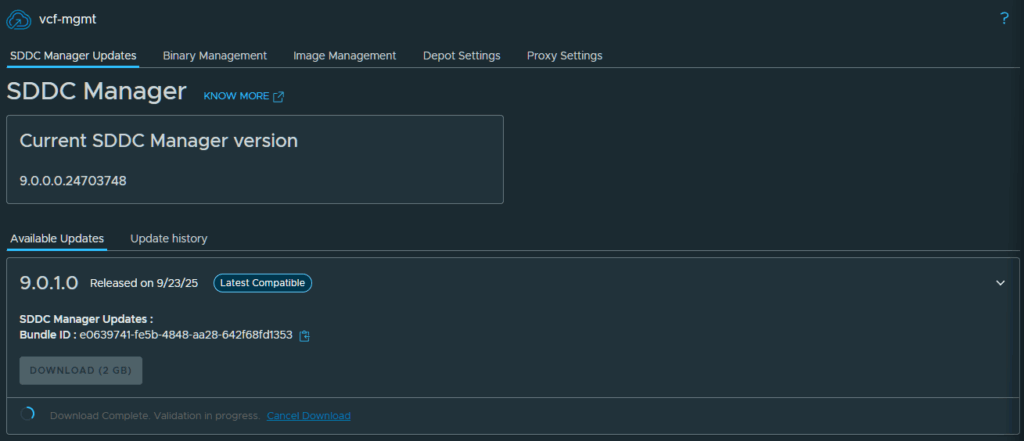
After clicking on vcf-mgmt, I see that there is a update available for my SDDC Manager. Click Download to get the binary downloaded.
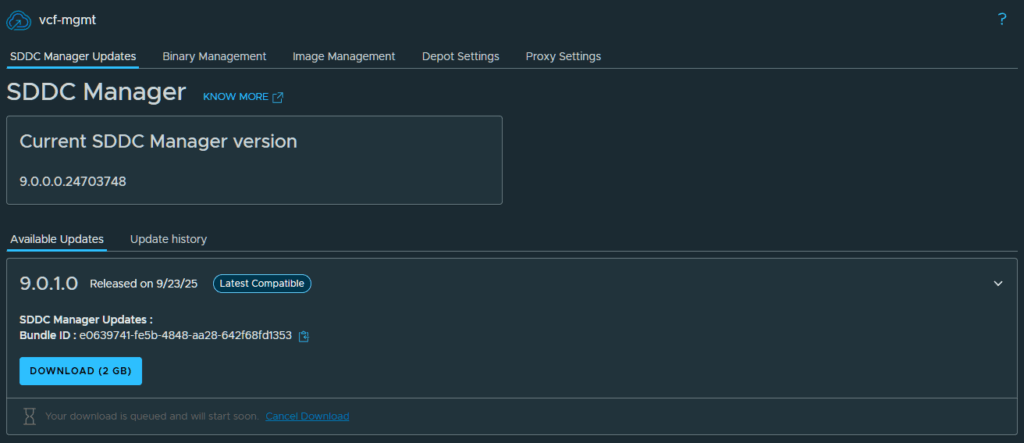
You will see a notification the download has been queued and will start soon.
After the download has completed, a validation will occur to ensure the update is compatible.
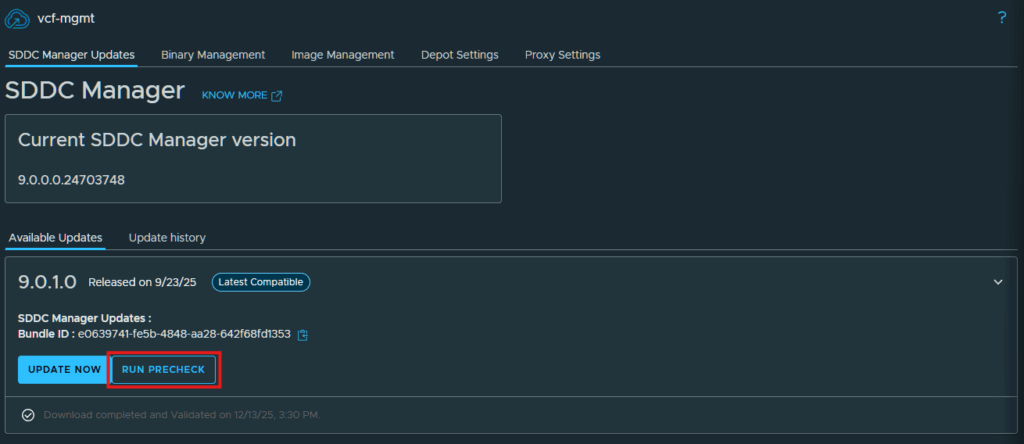
Once the binary is ready, you will have the option to run a precheck or update now. It is always a good idea to run the precheck to ensure the least amount of issues come up during the upgrade. Click Run Precheck.
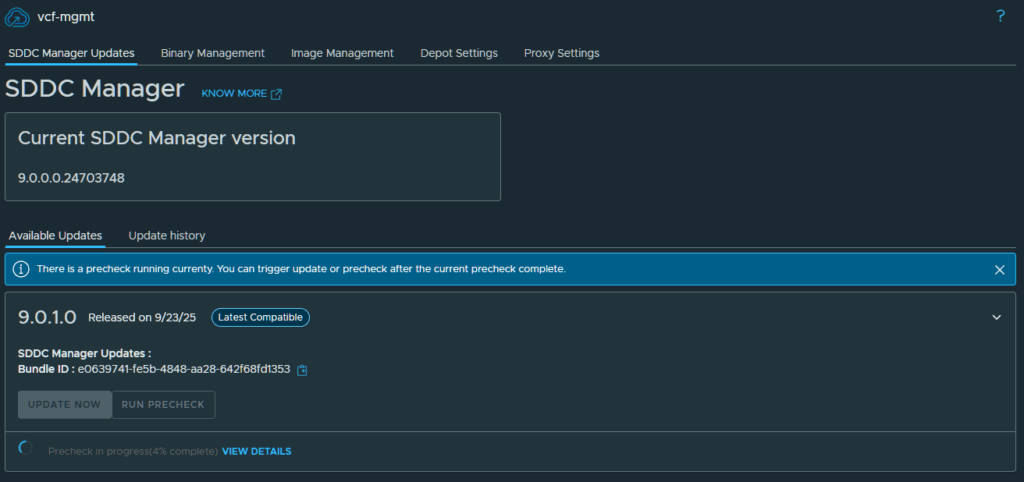
Wait for that precheck to complete.
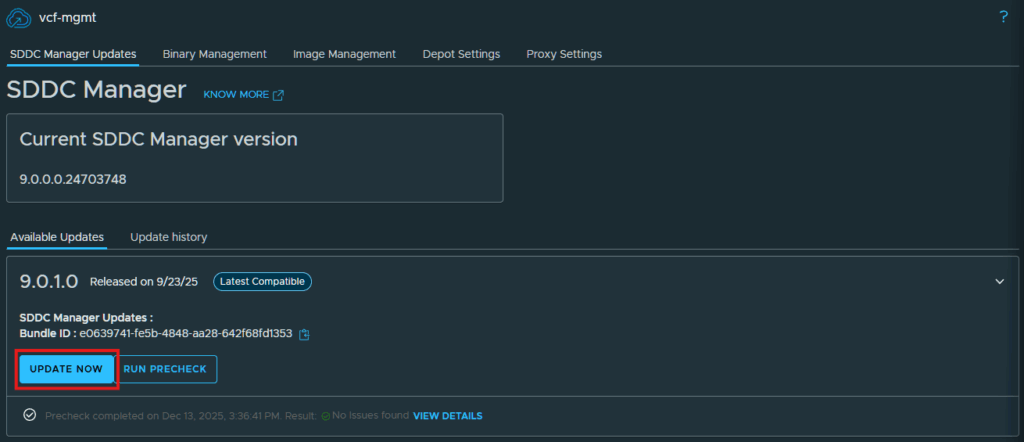
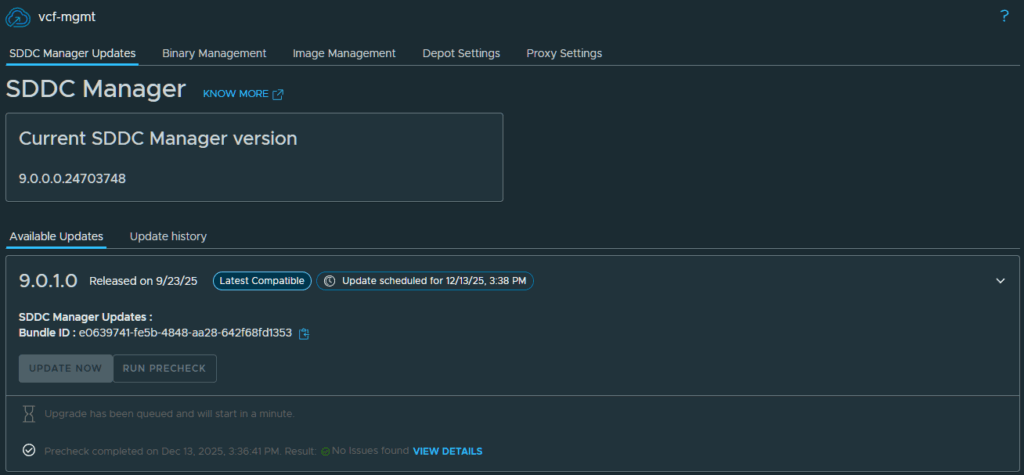
After it has completed if you have any issues, click view details for more information. My precheck found no issues so now click on Update Now
In the confirmation pop-up click Start Upgrade
The upgrade will be queued up and start shortly.
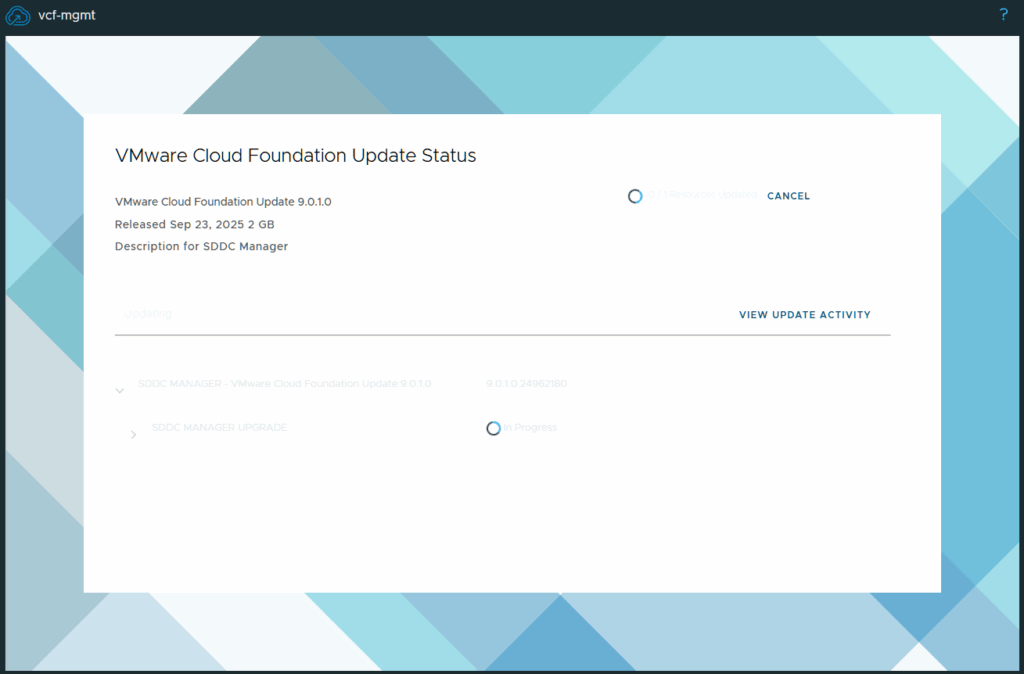
Once the upgrade begins it will change to the update status window and you can monitor the progress from here.
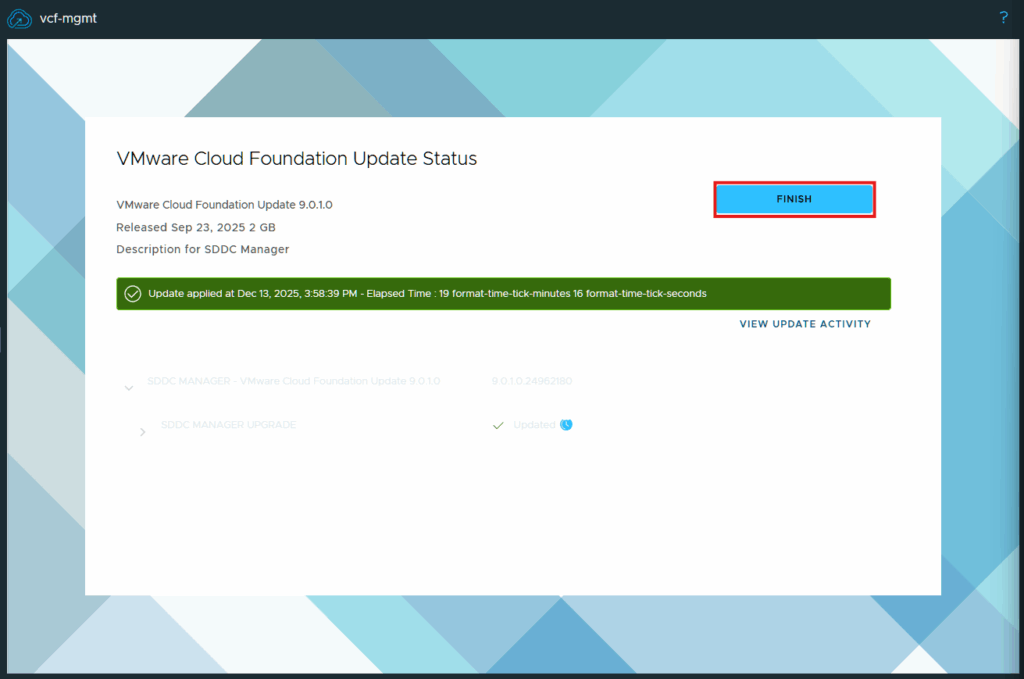
After the upgrade has completed, click Finish to continue.
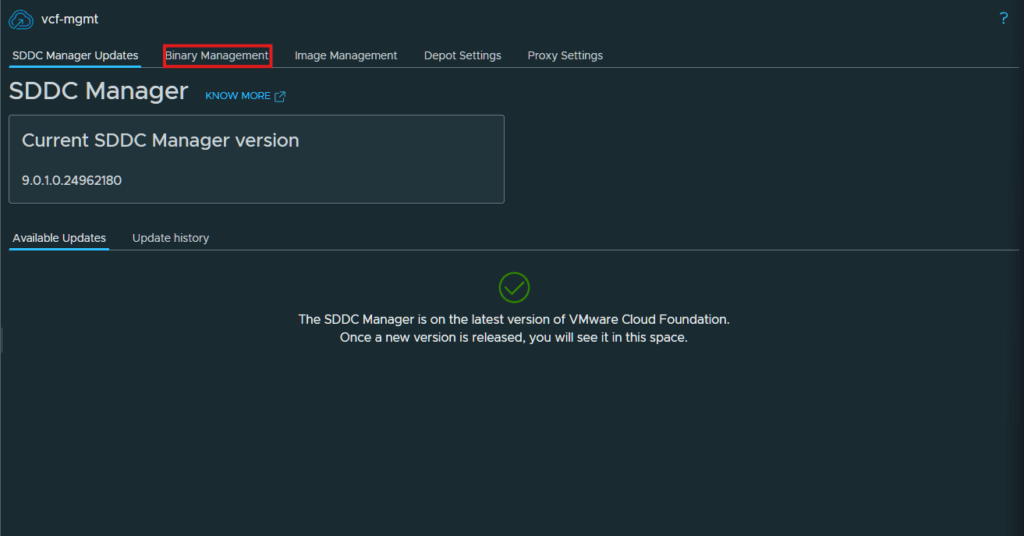
Now click on Binary Management
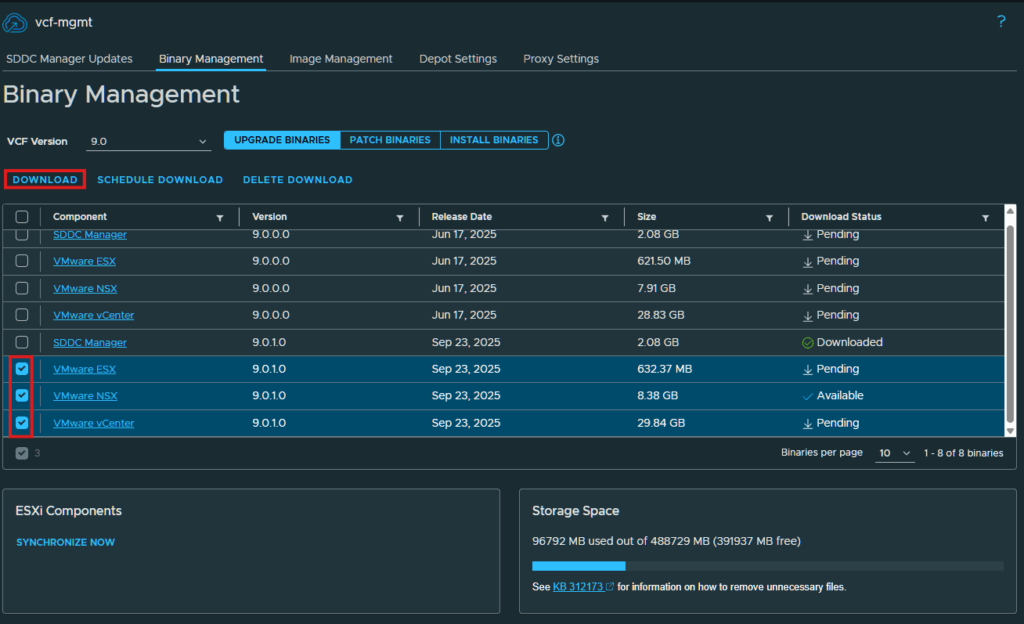
Click the check boxes next to ESX, NSX and vCenter, then click Download.
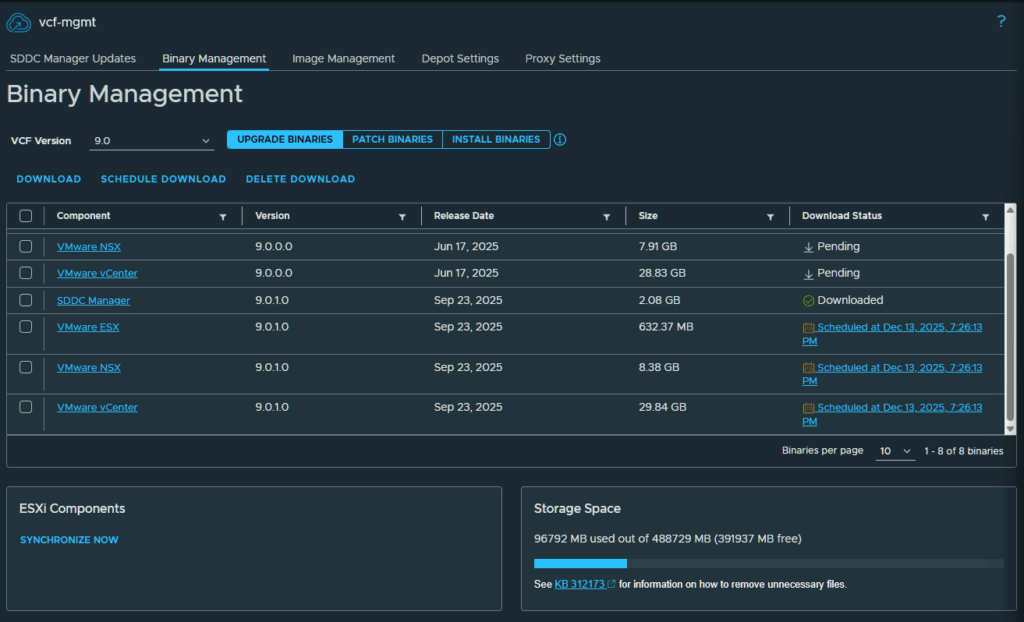
These upgrades will be scheduled and downloaded shortly. Once they show downloaded, we can continue upgrading the environment.
Now we can click on the mgmt VCF instance to begin the upgrade..
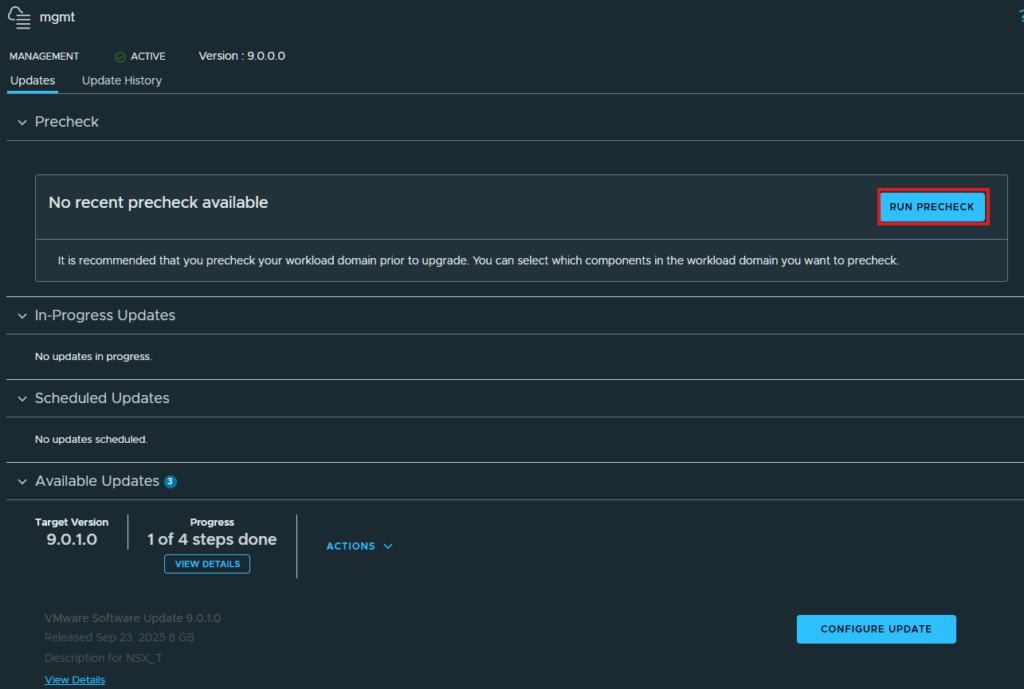
It will take you directly to updates page and we can see that the 9.0.1.0 is listed under the available updates. First we should click Run Precheck to see if there may be any issues upgrading.
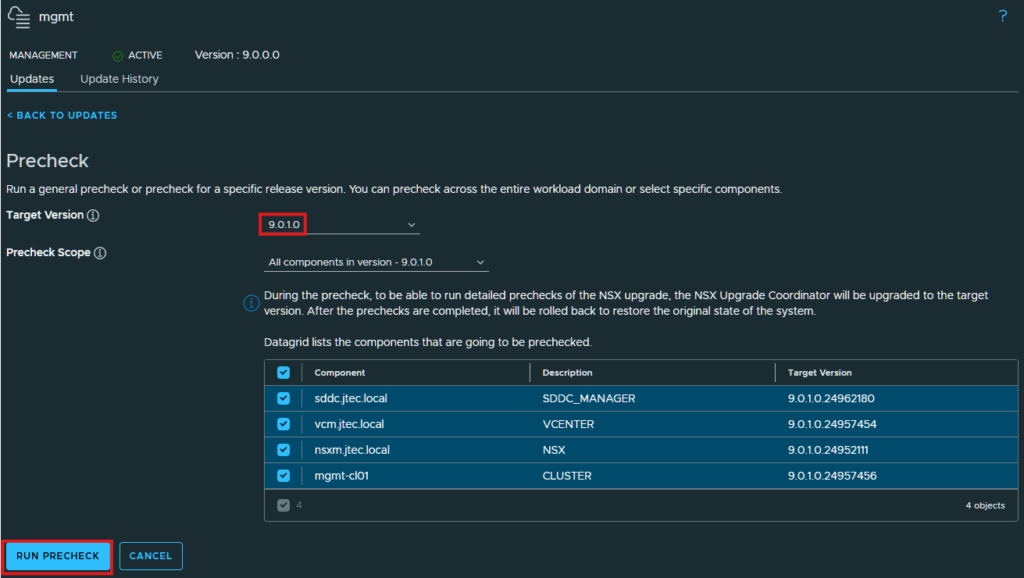
In the target version drop down select 9.0.1.0. It will preselect all the components, click Run Precheck
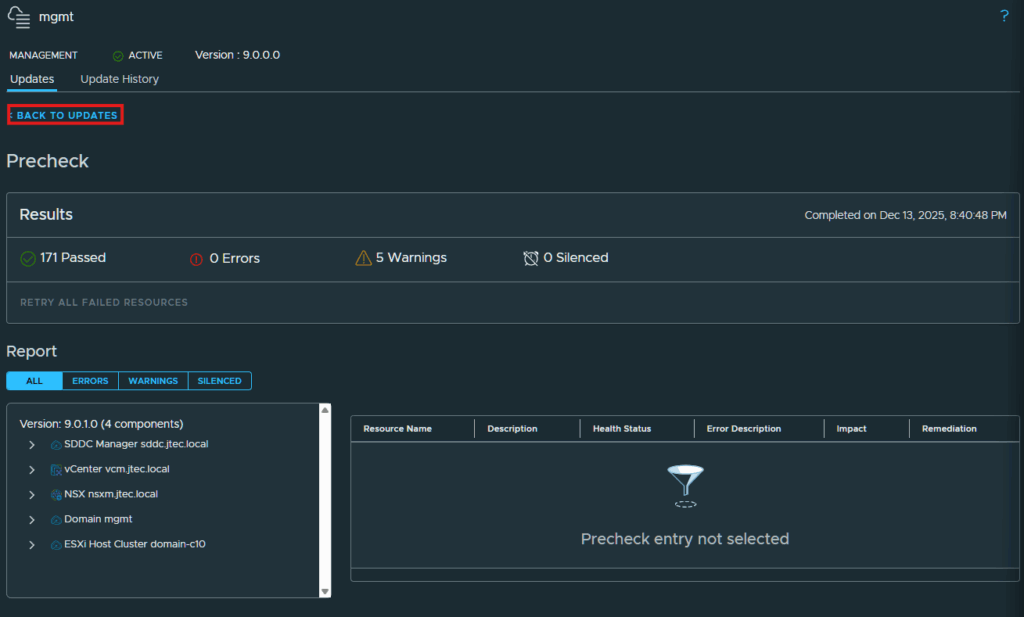
Review the prechecks to see if there are any issues to resolve. I initially had an error for no vCenter backup so I configured SFTP and took a manual backup to clear that issue. Click Back to Updates.
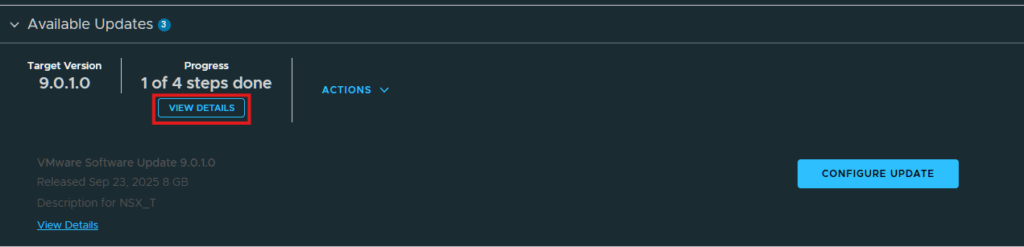
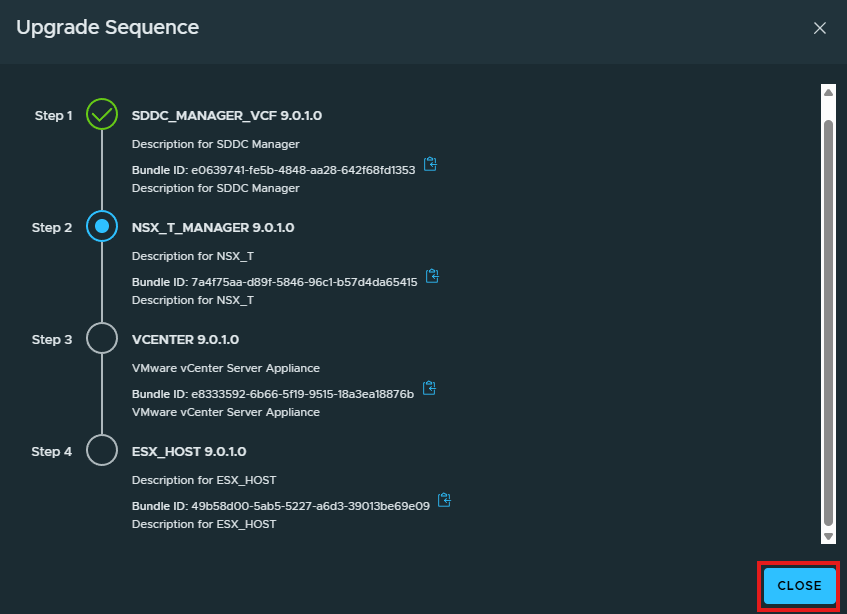
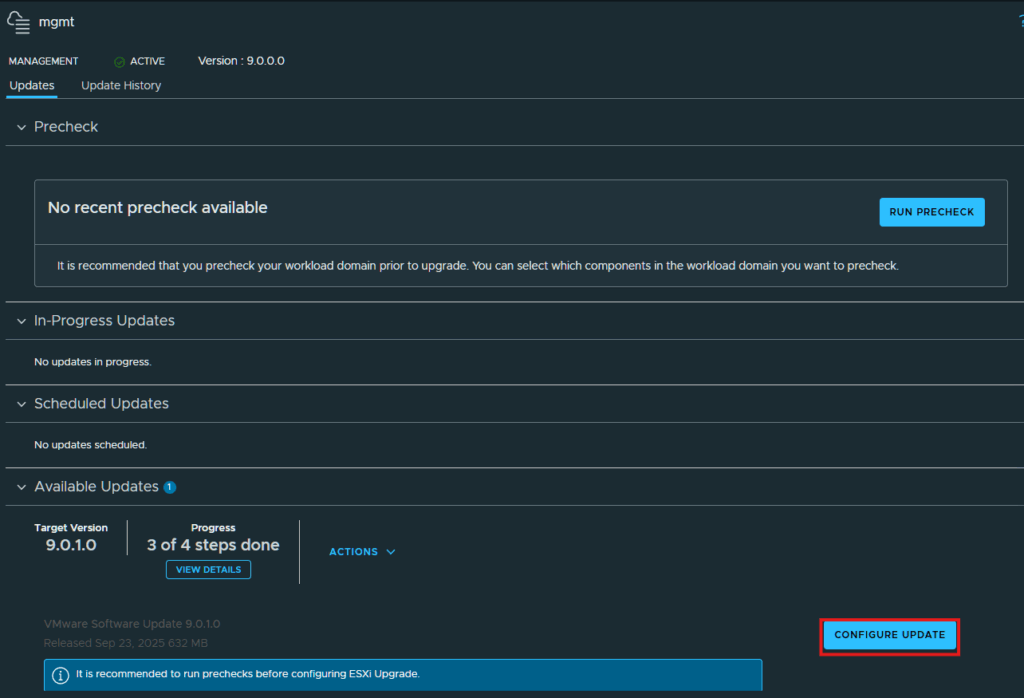
You see in the Available Updates there are 4 steps to complete the upgrade process on this domain. If you click on View Details we can see those steps.
We see that we have 3 steps left to complete this upgrade, the NSX managers will be next followed by the vCenter and ESXi hosts. Click Close to return to the upgrade.
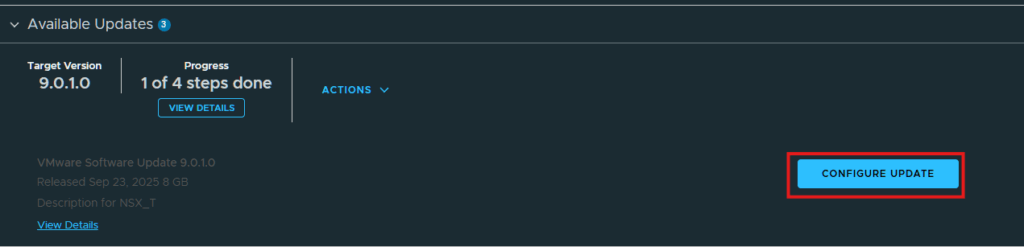
Click on Configure Update to continue.
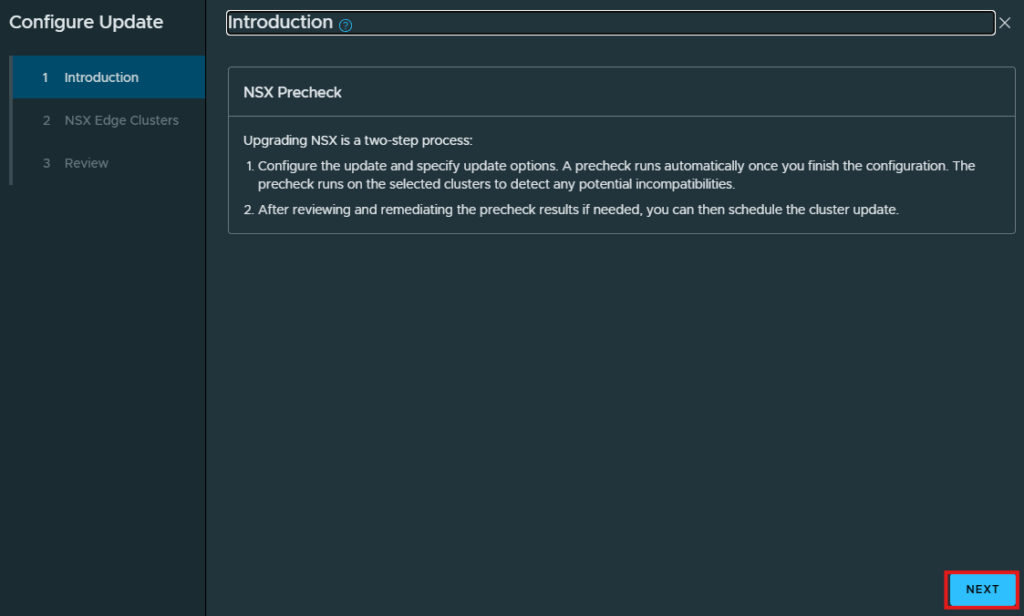
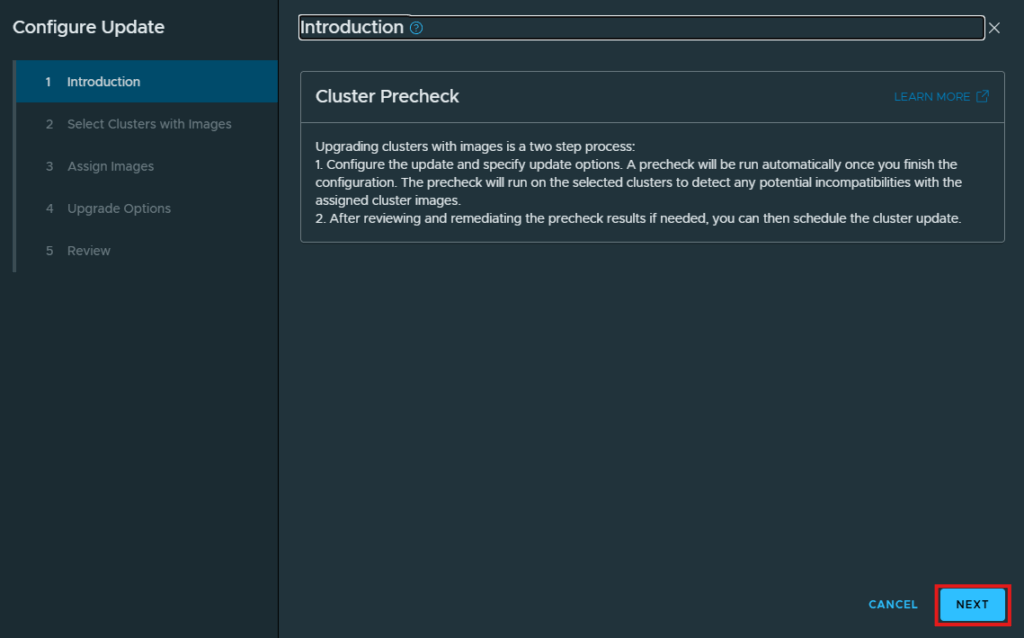
Click Next at the Introduction screen,
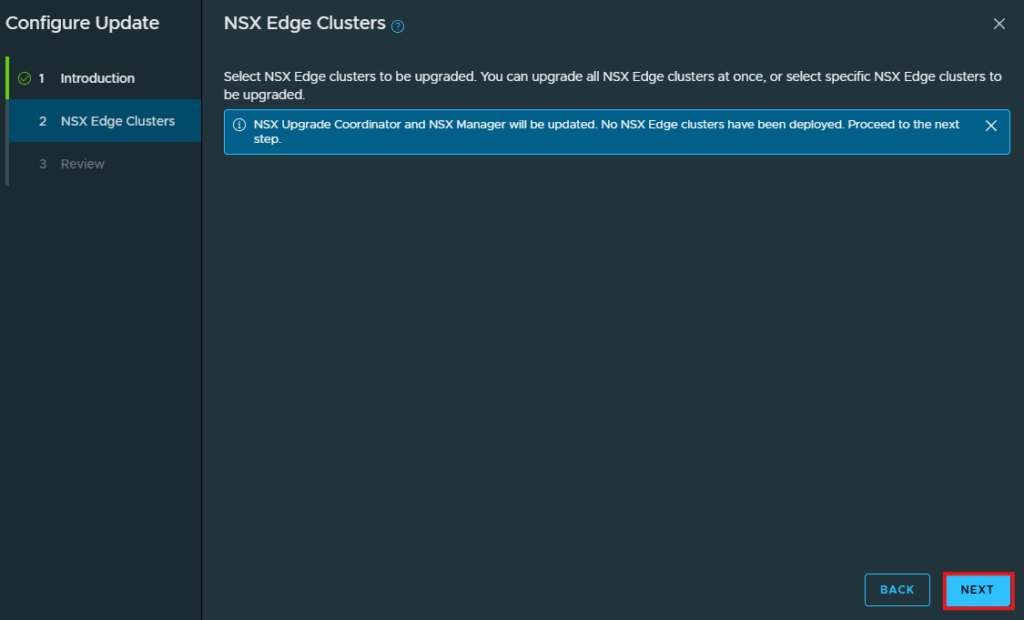
If you have NSX Edge Clusters deployed, you can select them to upgrade as well during the NSX upgrade. I don’t have any edge nodes deployed yet, so I click Next to continue.
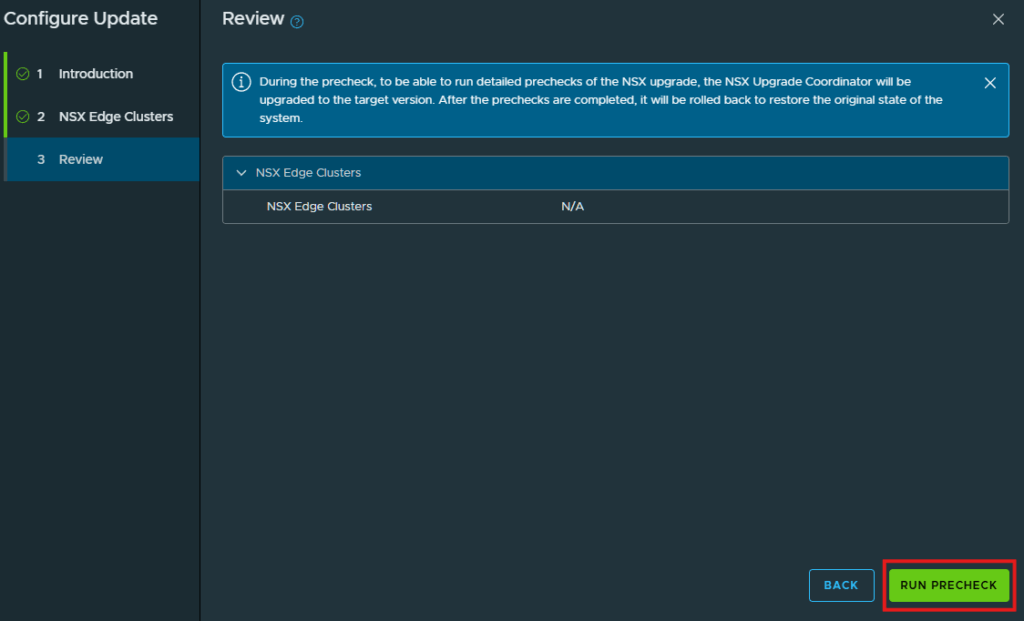
At the Review screen, click Run Precheck
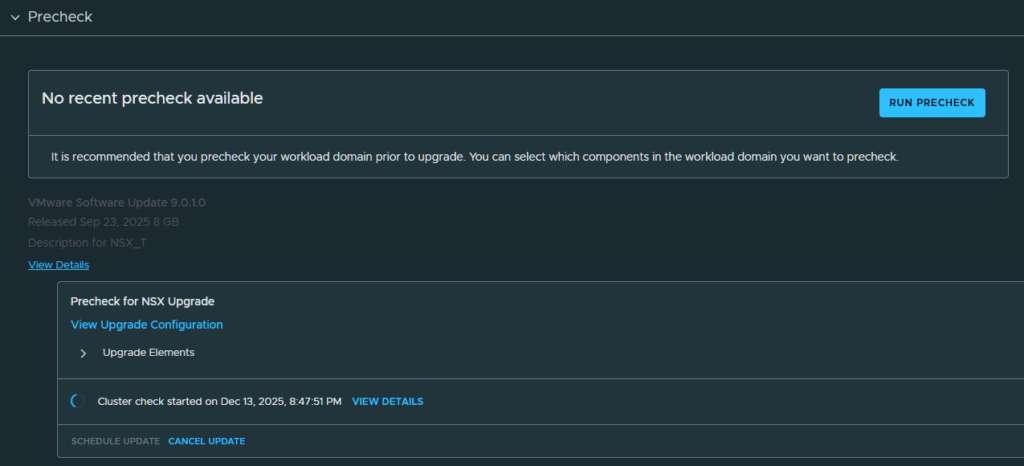
The NSX Upgrade Precheck will start, we have to wait for this to complete in order to start the update.
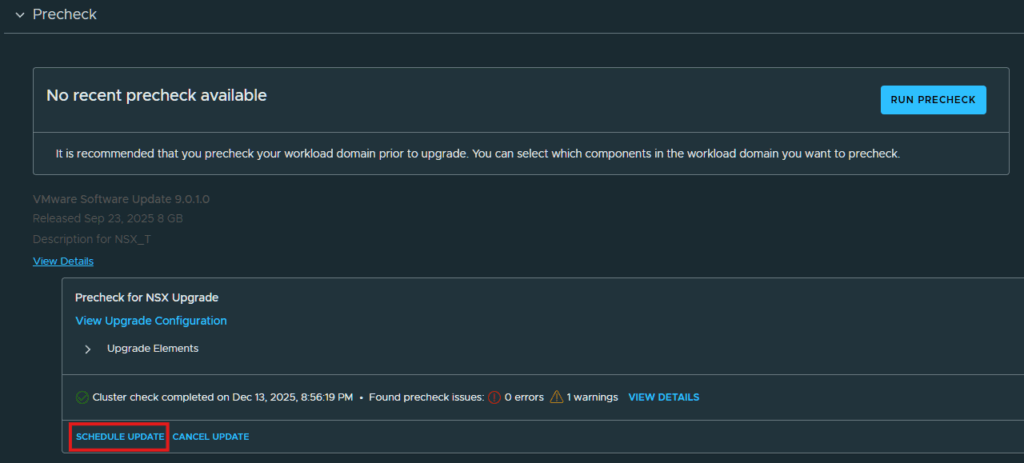
Once the precheck completes, click on Schedule Update
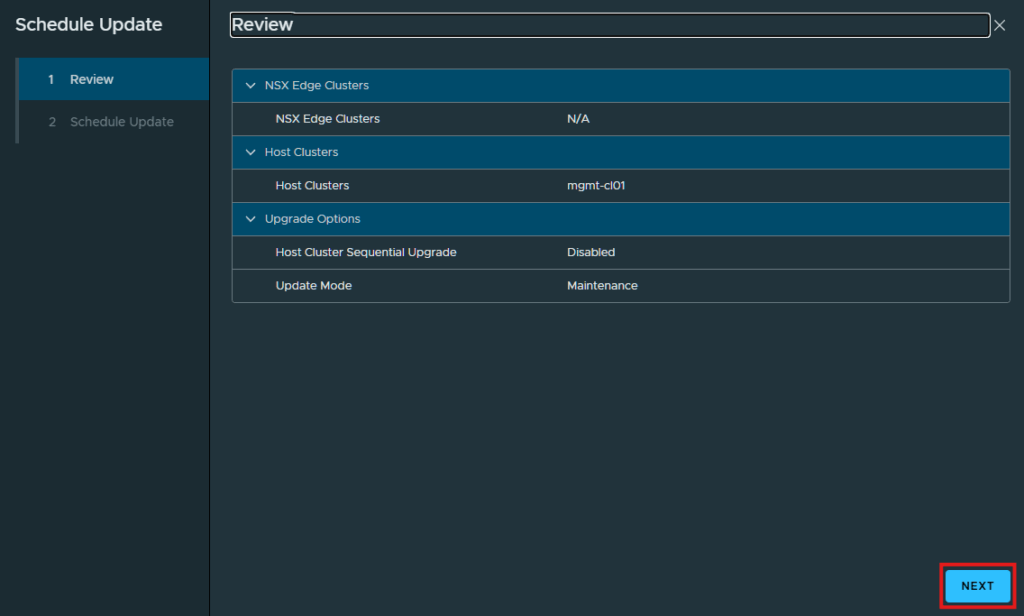
Click Next at the Review screen.
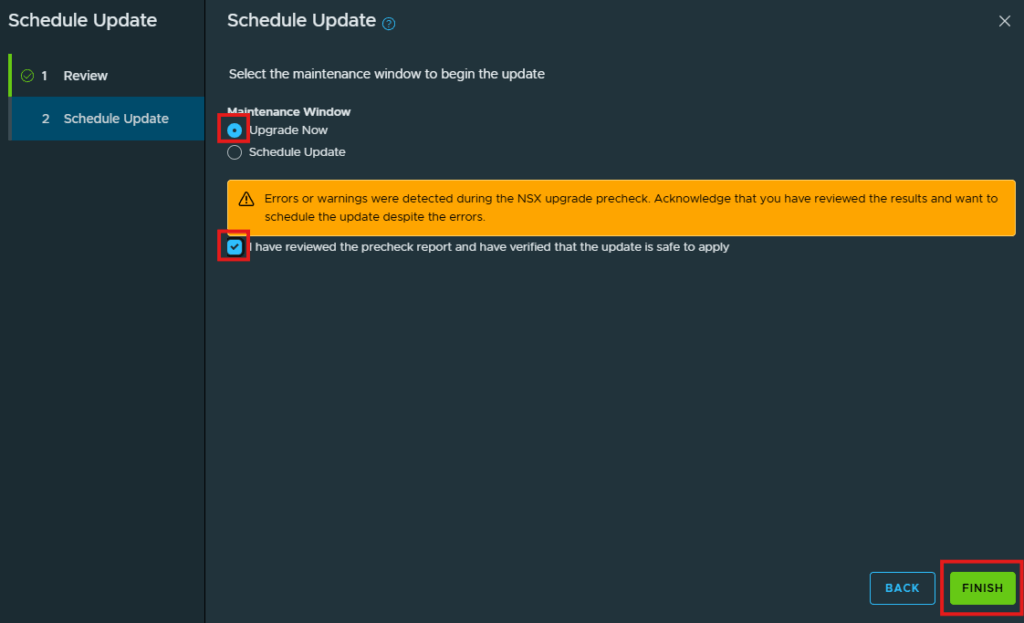
At the Schedule Update window, click the radio button next to upgrade now and click the check box next to “I have reviewed the precheck report and have verified that the update is safe to apply”. Click Finish.
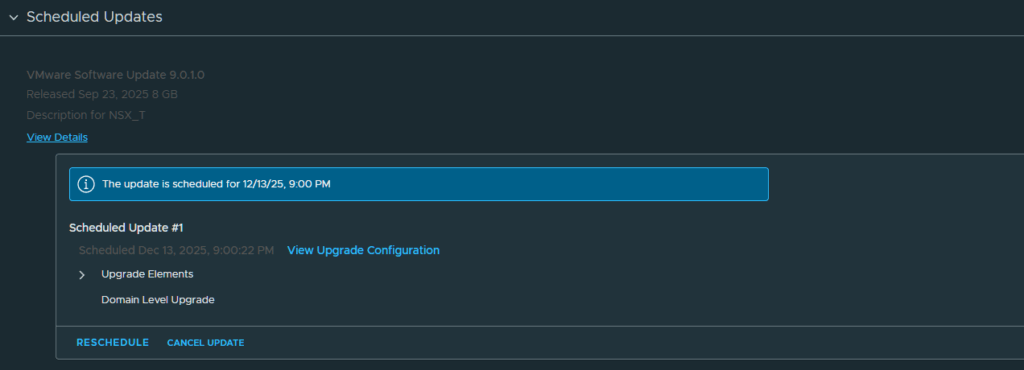
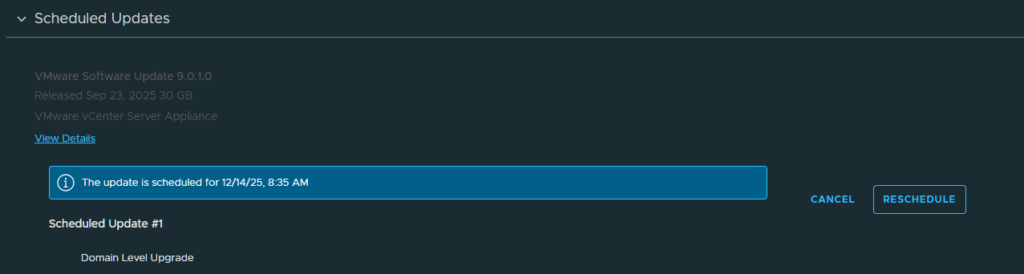
The update will show up under Scheduled Updates and begin shortly.
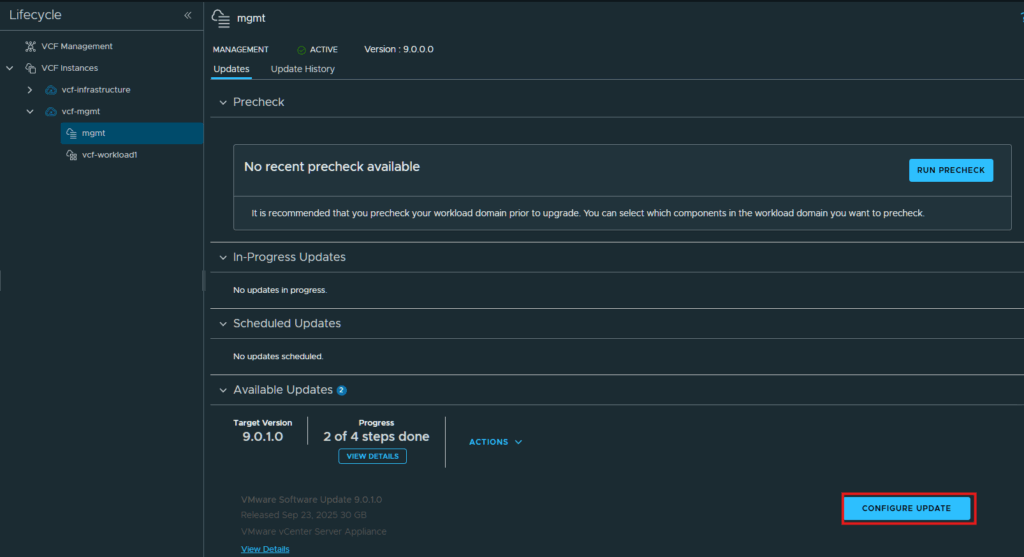
I let the NSX Manager update run overnight and checked in the next morning to find that it was successful and took almost 1 hour to complete. We can now move on to step 3 of upgrading the vCenter servers. Click Configure Update at the mgmt lifecycle screen.
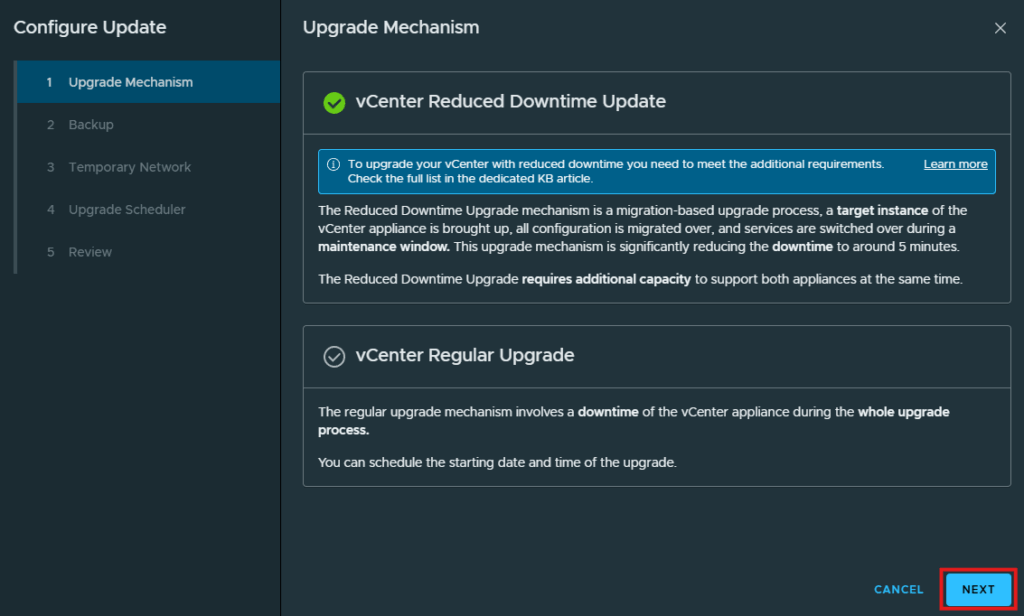
vCenters has two methods for upgrading, the reduced downtime update and the regular upgrade. I am going to keep the default of reduced downtime which will deploy a new vCenter appliance and migrate my environment over to that new vCenter. Click Next after choosing the method for the upgrade.
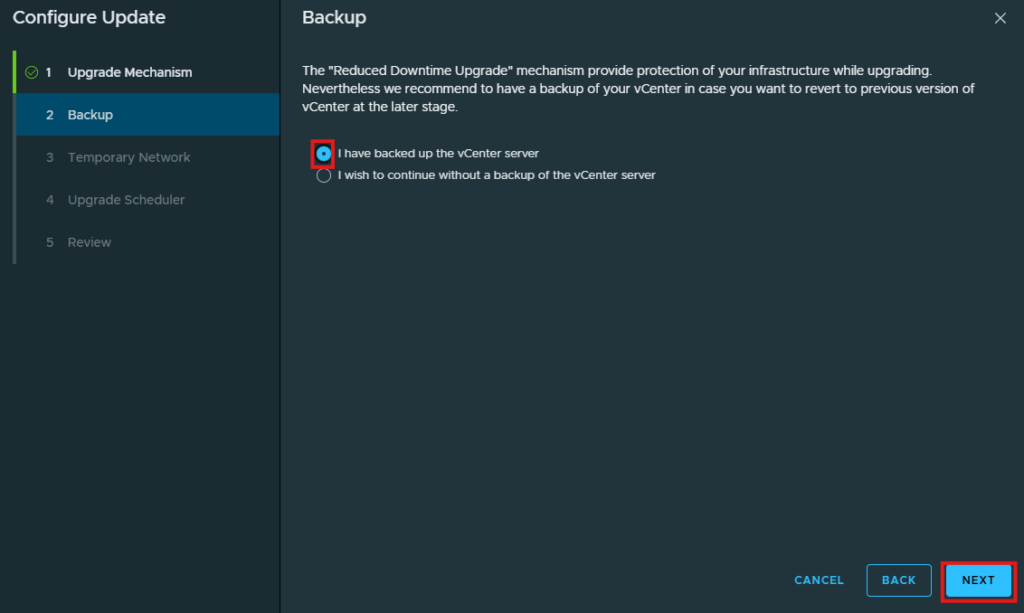
It is best practice to ensure that you have a backup of the vCenter before any upgrade, I backed all my vCenters up the night before I started this. I am confident that backup will suffice so I clicked the radio button next to “I have backed up the vCenter server.” You can also click the radio button to continue without backup. Click Next to continue.
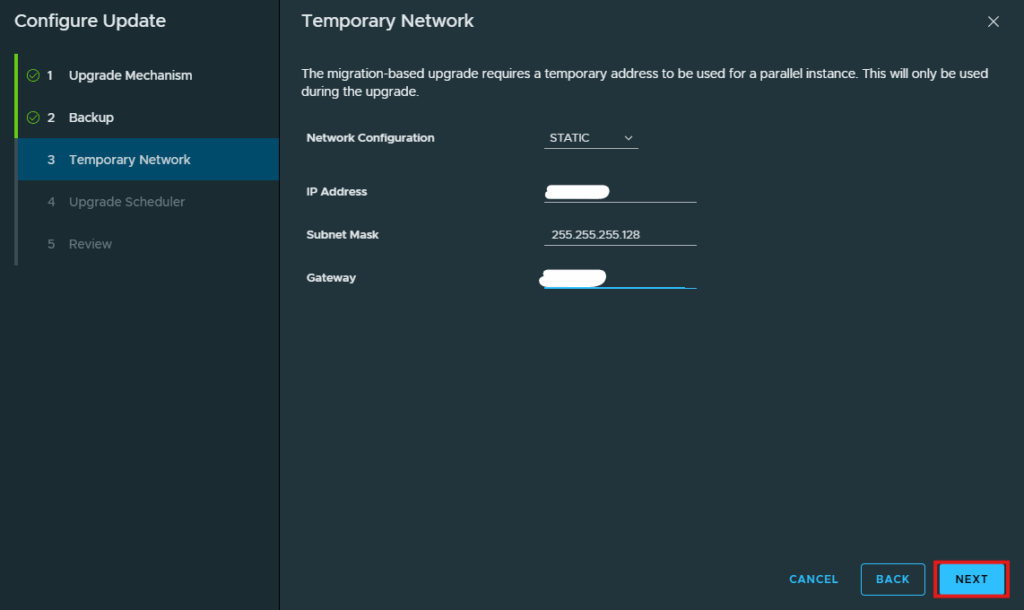
With the reduced downtime upgrade you will need to provide a secondary IP for the new vCenter temporarily prior to it migrating the information from the current vCenter. You have the option to allow it to automatically assign an IP or a static IP assigned to it. I have chosen a static IP, and provided the needed network information for that. Click Next to continue after you select the appropriate network settings.
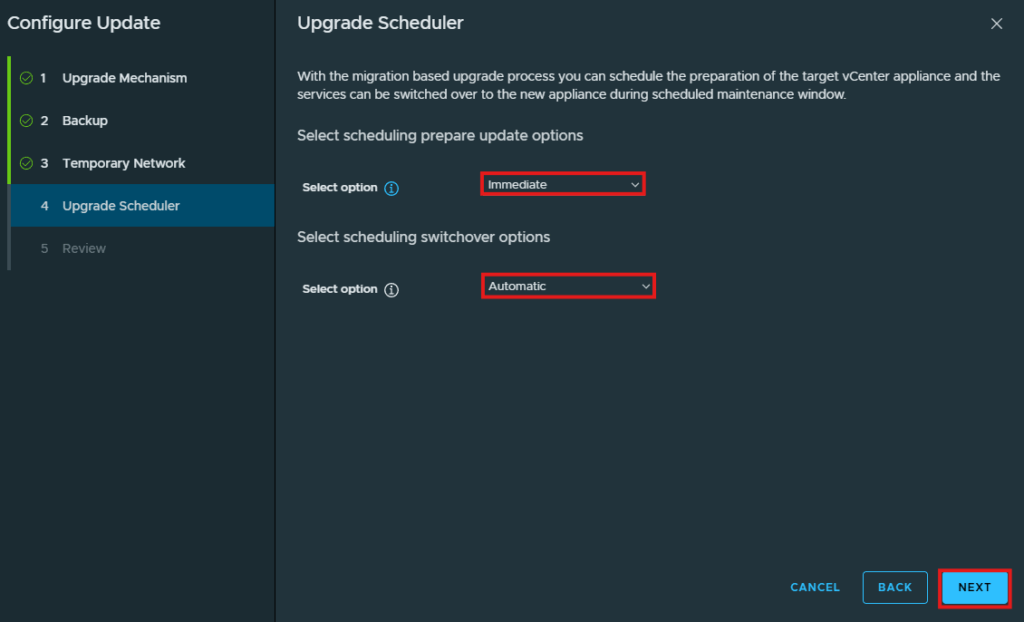
The upgrade scheduler window lets you decide how to handle the cutover to the new vCenter and when to perform this update. I am going to immediate update this vCenter and have it perform an automatic switchover to the new vCenter. Click Next.
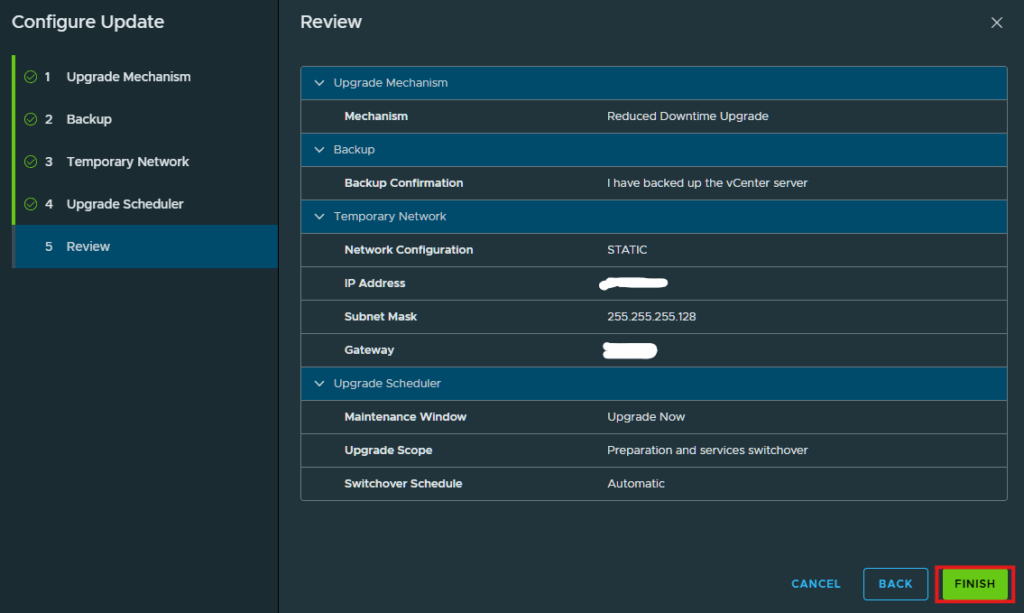
Review the information you provided and click Finish to begin the update.
The update will be scheduled and begin shortly.
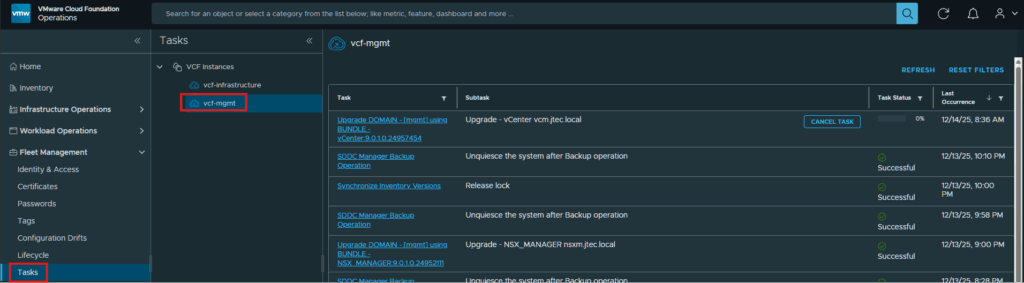
You can follow along by clicking on Tasks and selecting the VCF instance you are upgrading.
The vCenter upgrade was fairly quick, took less than 30 minutes to complete on my lab. Now we can move on to the final step which is upgrading the ESXi hosts. At the Lifecycle screen for the mgmt domain, click Configure Update.
Click Next at the Introduction screen.
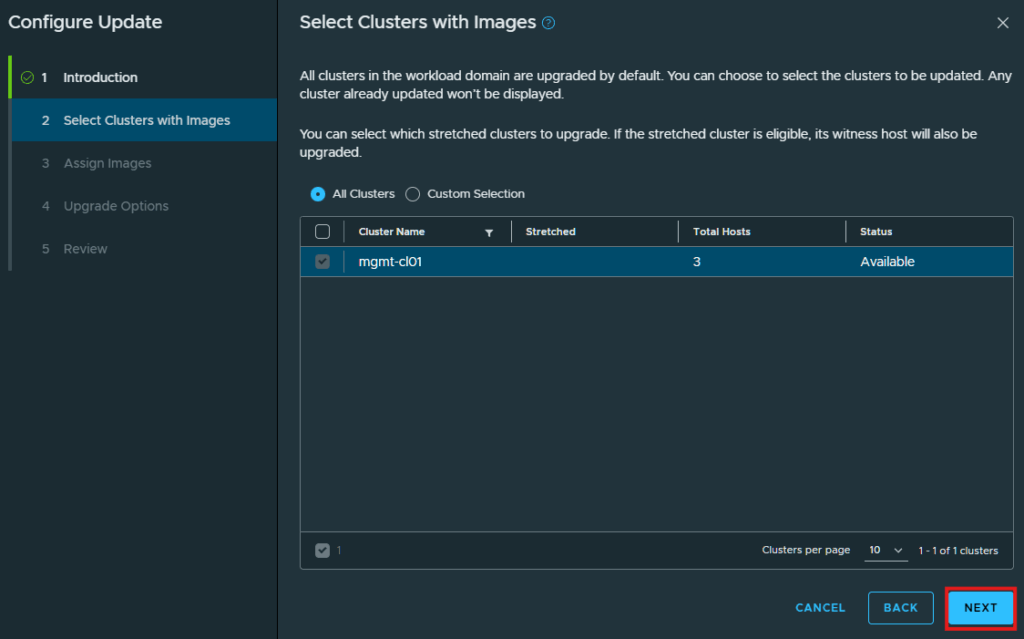
Choose the cluster you want to upgrade and click Next
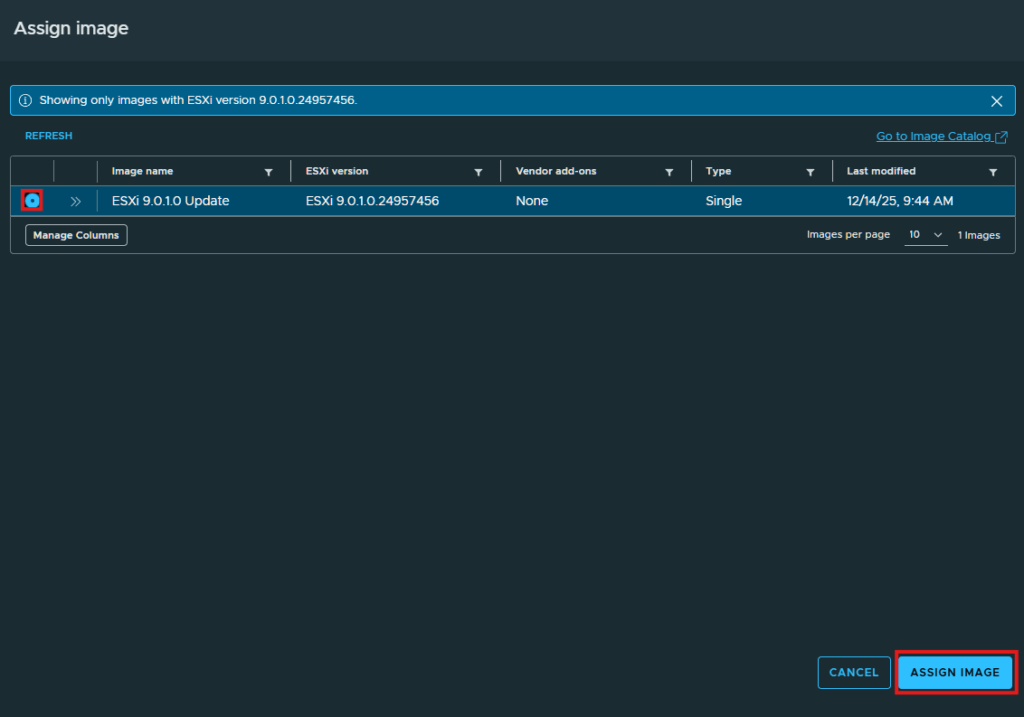
If you get a warning about no images available for this update then you need to ensure the vCenter has an image for this update. You can read William Lam’s post here for more information on how to resolve that. I have already created a new 9.0.1.0 image for this cluster so I clicked the checkbox next to the cluster and clicked on Assign Image.

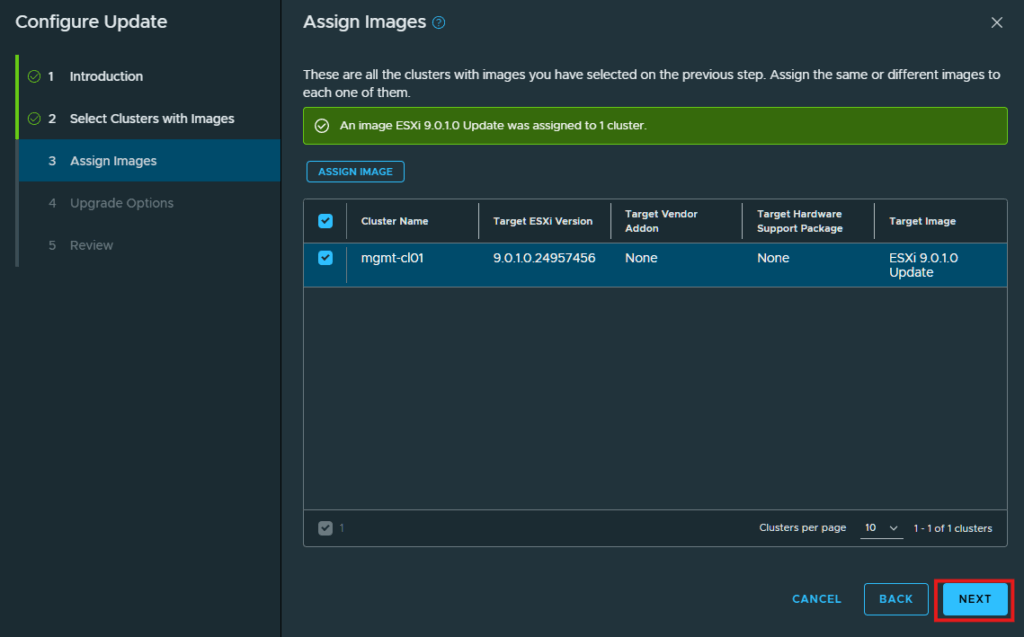
I have only 1 image for this update so I chose that and clicked Assign Image.
Now I can click Next to continue.
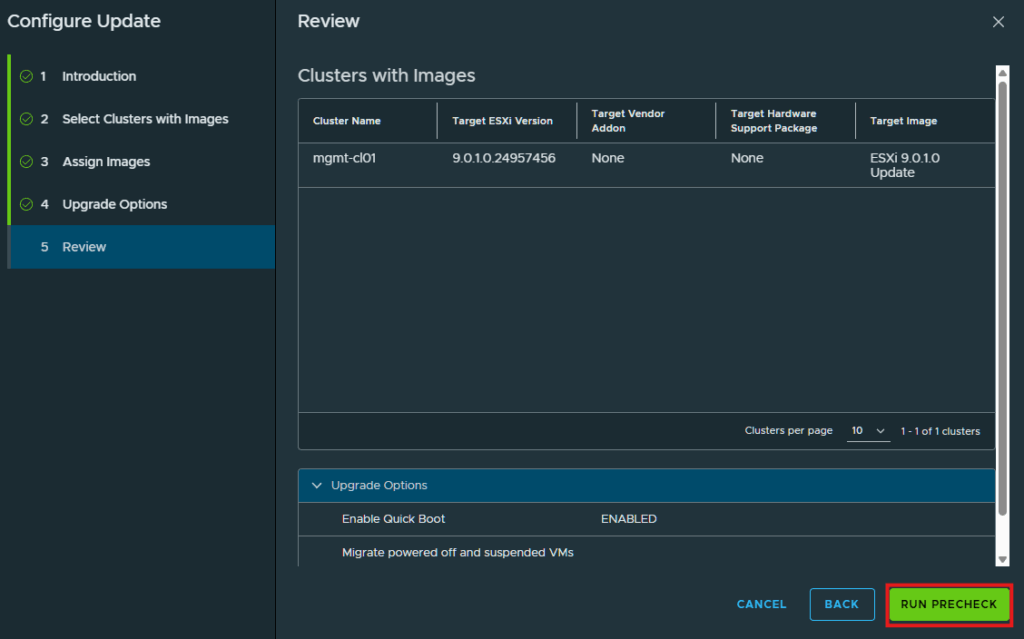
With VCF version 9 there is the introduction of live patching for the clusters which is a faster way to deploy patches without the need for full server reboots. If you would like to know more about this, William Lam has an excellent post about it here. For this update I am not going to select this option though and just leave the preselected default settings. Click Next after you have selected the options for your upgrade.

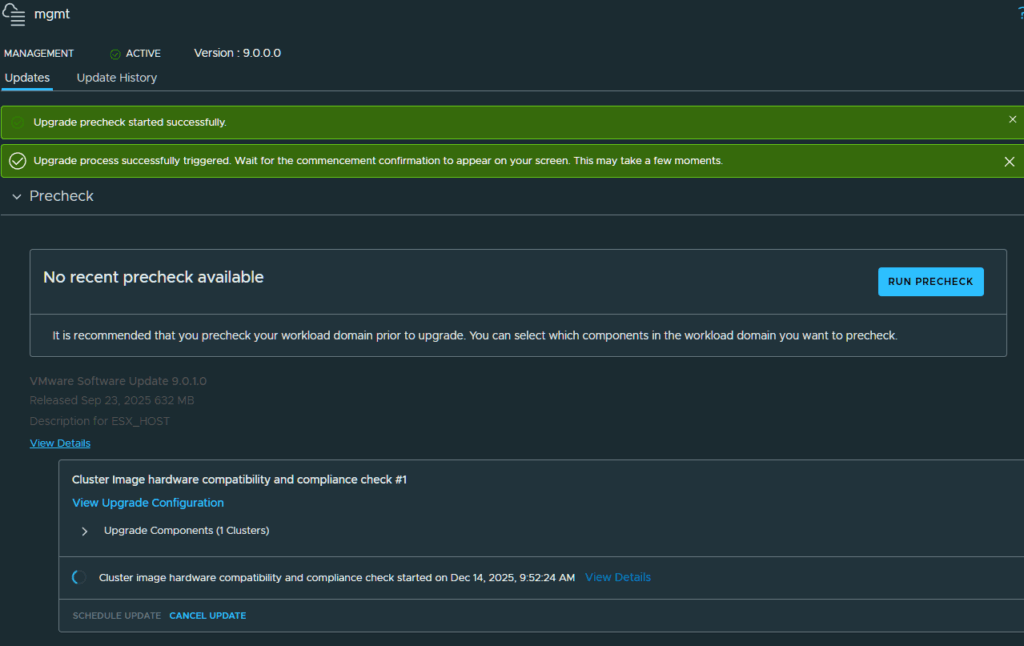
At the Review screen, click Run Precheck to begin the upgrade.
The precheck will start first to validate your options and ensure the image is compatible with the cluser.
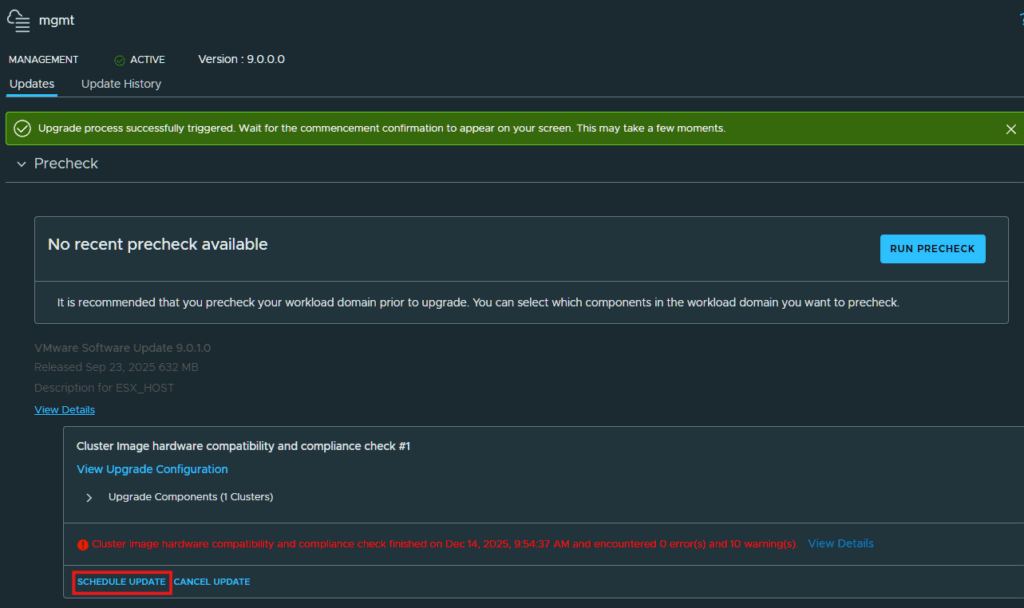
After the precheck has completed if there are any errors, resolve them before clicking Schedule Update. I had some warnings for a .vib file but they are not show stoppers for me.
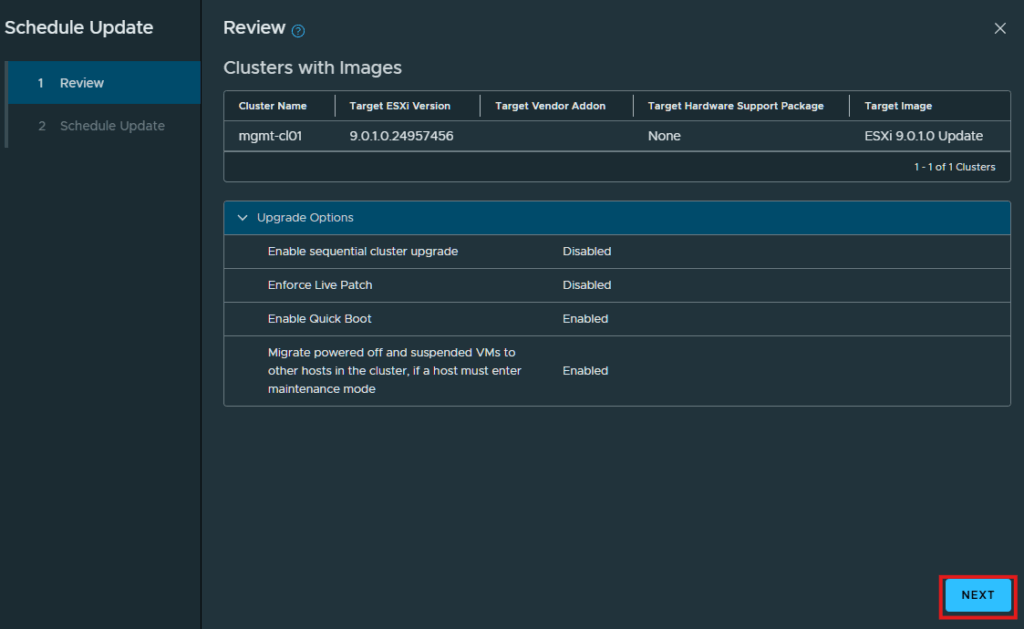
Click Next at the Review screen.
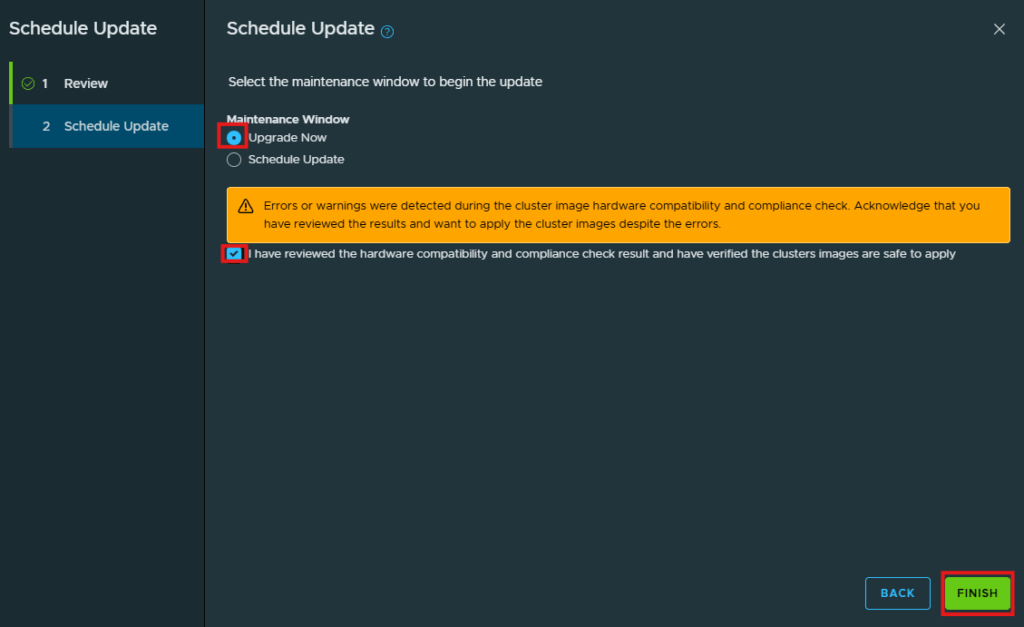
I am going to schedule this upgrade to happen now and click the check box next to “I have reviewed the hardware compatibility and compliance check results…” and click Finish to start the upgrade.
The upgrade will show up under Scheduled Updates and begin shortly.
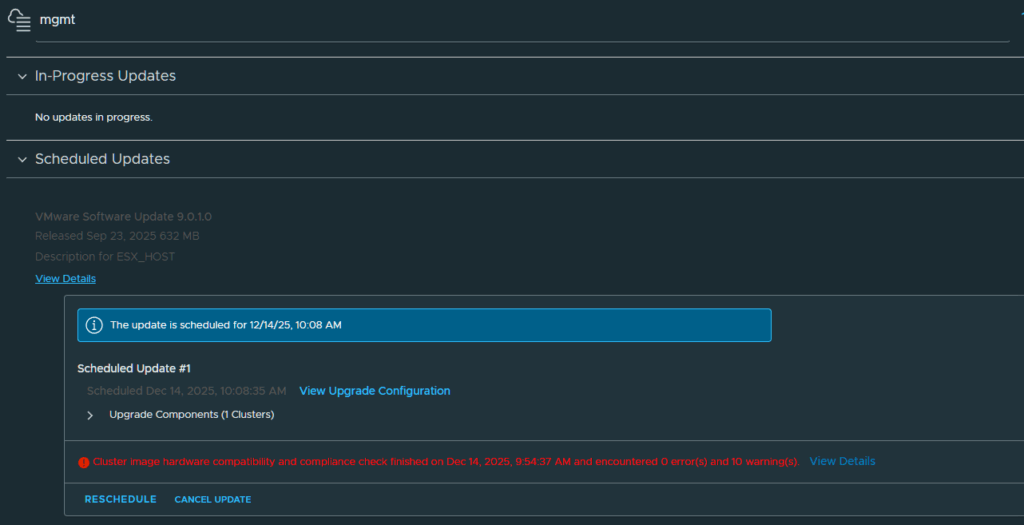
Once the upgrade has started you can click View Status to follow along with the progress.

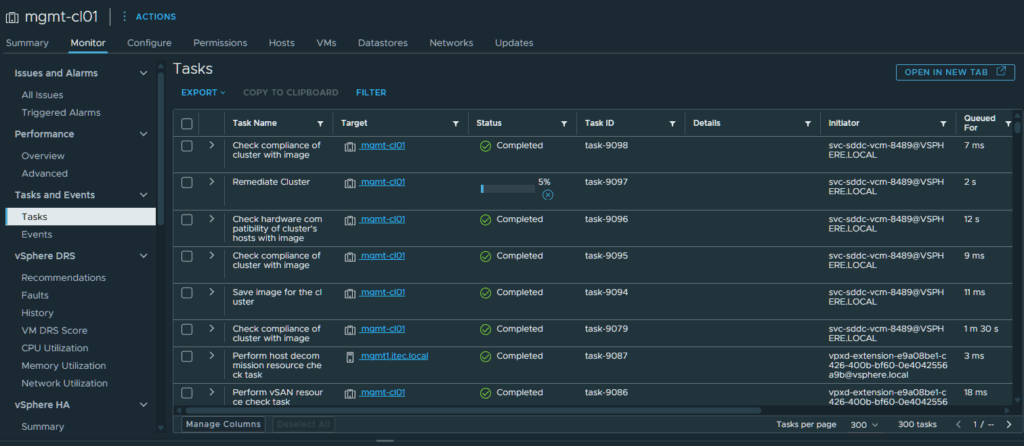
You can also monitor the upgrade from the vCenter itself and the Tasks screen for that cluster.
After the upgrade has completed, you will see the version change for the management domain. It took roughly 40 minutes for my 3 ESXi hosts to upgrade.

That is it for upgrading to version 9.0.1. You can repeat the process above for any additional workloads that you have. I did notice that I will have to update my vSAN disk format with the upgrade so that is something that I will tackle later on.
For my other VCF 9 post, please visit this page.