
Configure BGP on UniFi Dream Machine Pro for NSX
Configure BGP on a UniFi Dream Machine Pro for an NSX lab. Review the FRR file workflow, route upload and BGP neighbor verification.
Overview
I configured BGP on my UniFi Dream Machine Pro to exchange routes with NSX in my VCF 9 lab. This post follows the FRR configuration-file workflow, route upload and neighbor checks that I used to get the connection working.
First let me thank Manuel Billmaier, as his original blog post helped me figure out the frr file contents that are need for the router. You can view that post here.
Prepare the FRR configuration
So the first thing we will need is a frr configuration file that will be uploaded to our unifi udm pro router, an example of that is below.
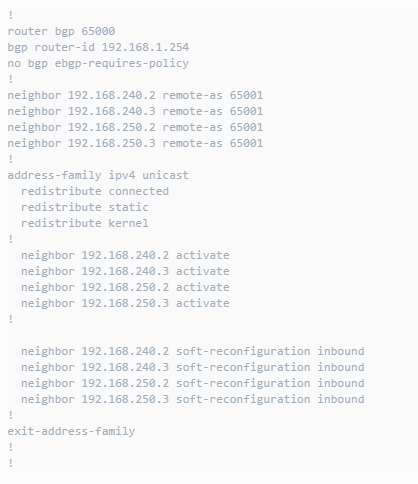
Copyable FRR configuration
Text version of the lab configuration shown above. The IP addresses and AS numbers belong to this example; review them and the routing-policy settings before adapting the file to another network.
!
router bgp 65000
bgp router-id 192.168.1.254
no bgp ebgp-requires-policy
!
neighbor 192.168.240.2 remote-as 65001
neighbor 192.168.240.3 remote-as 65001
neighbor 192.168.250.2 remote-as 65001
neighbor 192.168.250.3 remote-as 65001
!
address-family ipv4 unicast
  redistribute connected
  redistribute static
  redistribute kernel
!
  neighbor 192.168.240.2 activate
  neighbor 192.168.240.3 activate
  neighbor 192.168.250.2 activate
  neighbor 192.168.250.3 activate
!

  neighbor 192.168.240.2 soft-reconfiguration inbound
  neighbor 192.168.240.3 soft-reconfiguration inbound
  neighbor 192.168.250.2 soft-reconfiguration inbound
  neighbor 192.168.250.3 soft-reconfiguration inbound
!
exit-address-family
!
!
Add the BGP route
With that configuration file, we login to the udm web interface. I wanted to point out that I am running version 5.0.5 on my udm pro for the control plane and the network version is 10.0.161.
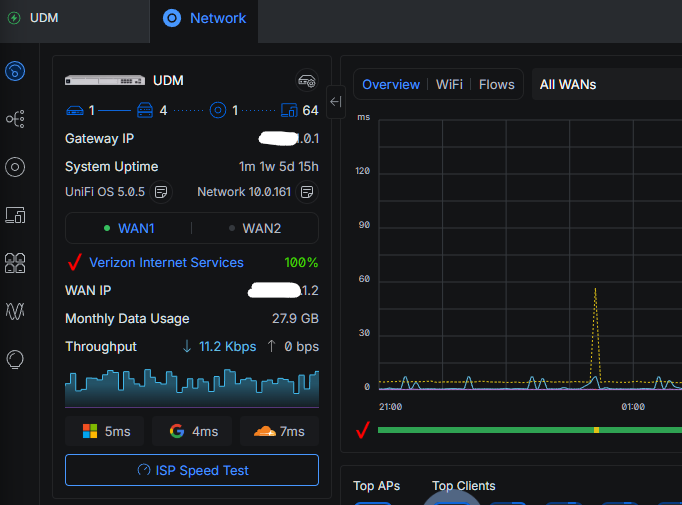
Click on the Settings icon in the bottom left
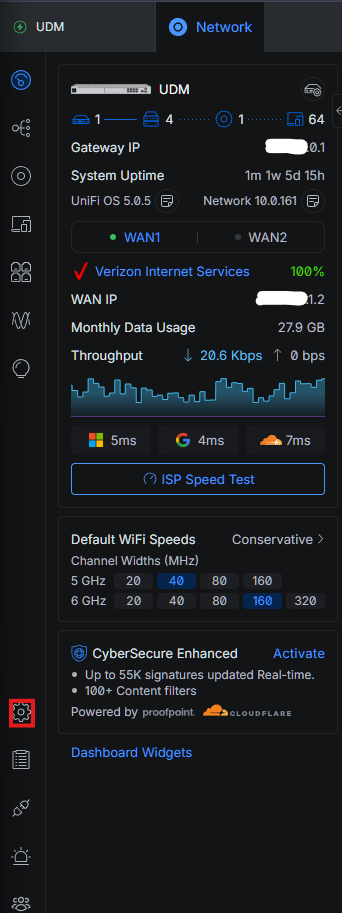
Then click on the Policy Table icon underneath Policy Engine.
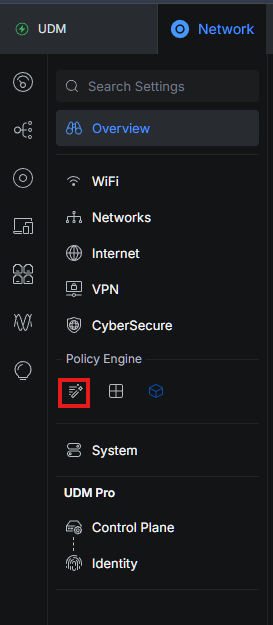
Now we click on Dynamic Routing.
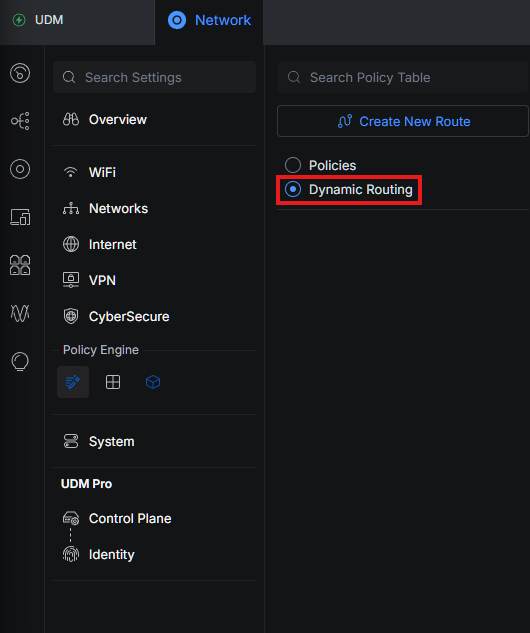
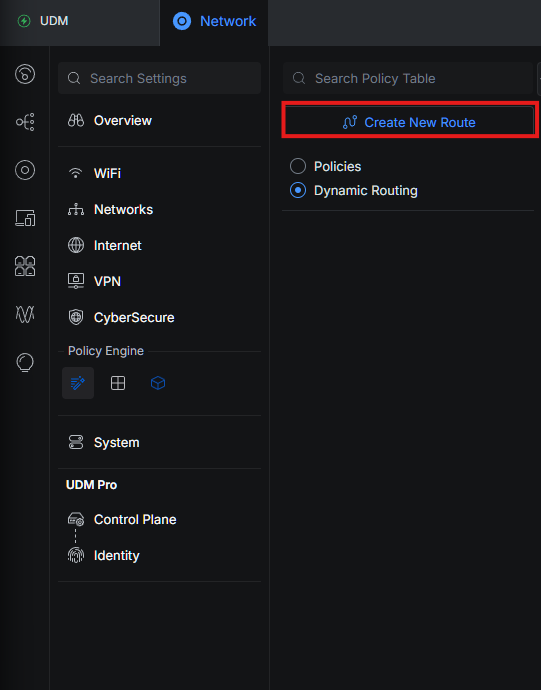
Click on Create New Route.
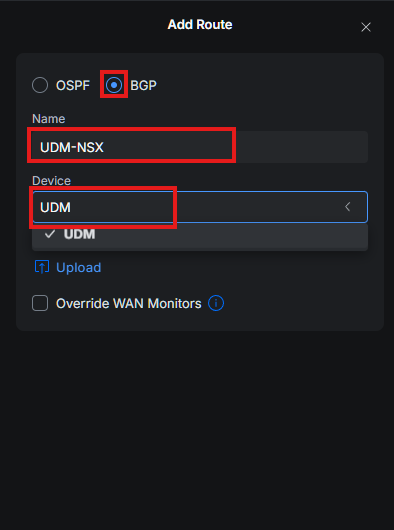
Click the radio button next to BGP and enter in a name for the route and click the drop down to select the router device.
Now click the Upload link and select the configuration file to upload to the router. Through my various searches I found that naming this file frr.conf like it instructed caused it to not work properly so I found a post about naming it something else which my file is named bgp.conf
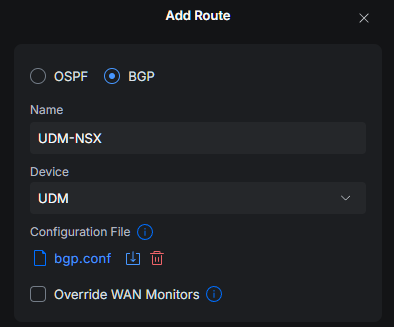
Then click Add to finish the route creation.
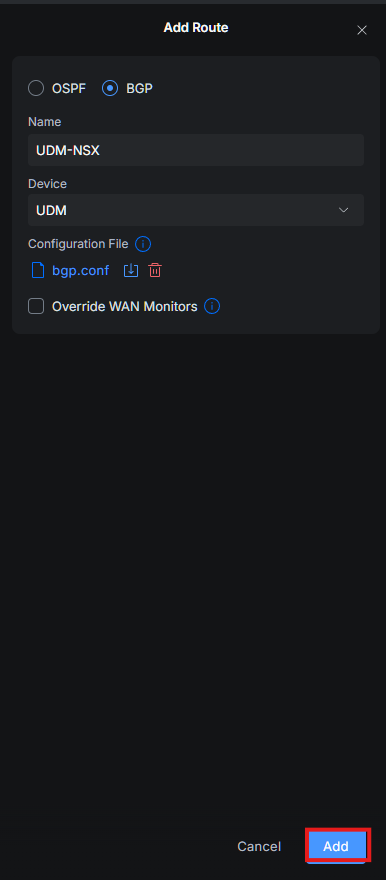
The route will be added and show Enabled status.

Verify BGP neighbors
I have found that the only way to really determine if this works is to ssh into the udm router and view the bgp configuration. So I opened up a Putty session and logged into the router. If you are not sure how to enable ssh on the udm pro, check out this Youtube video for a walkthrough.
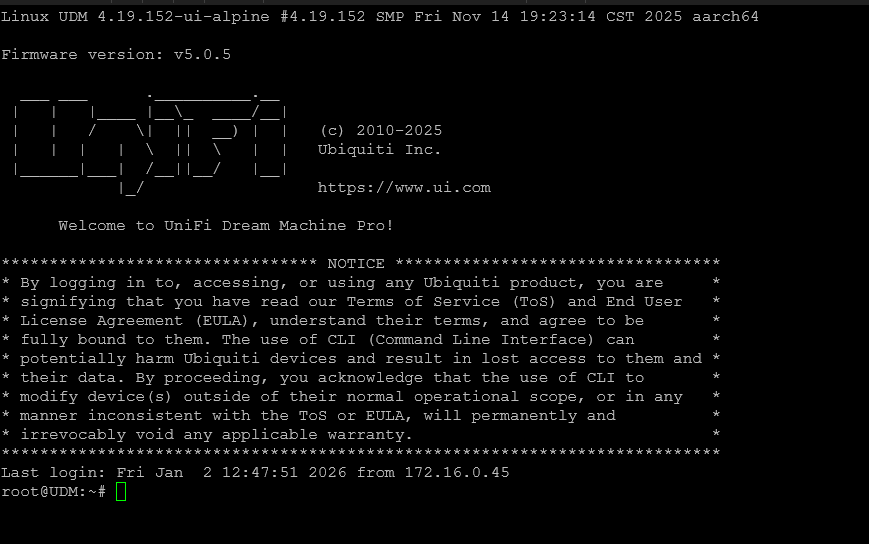
Then we need to connect to the frr session on the router by entering vtysh and pressing Enter.
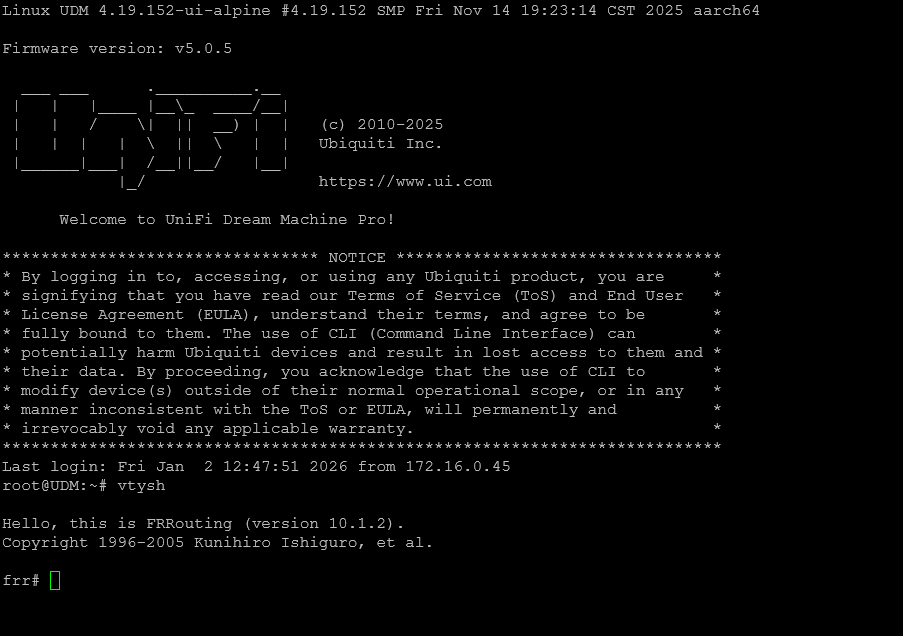
Since I already have NSX configured and running I will see advertisements already established, if you don’t have something running you will not see any neighbors yet.
I ran a show ip bgp summary command to see the neighbors that are connected to the router.
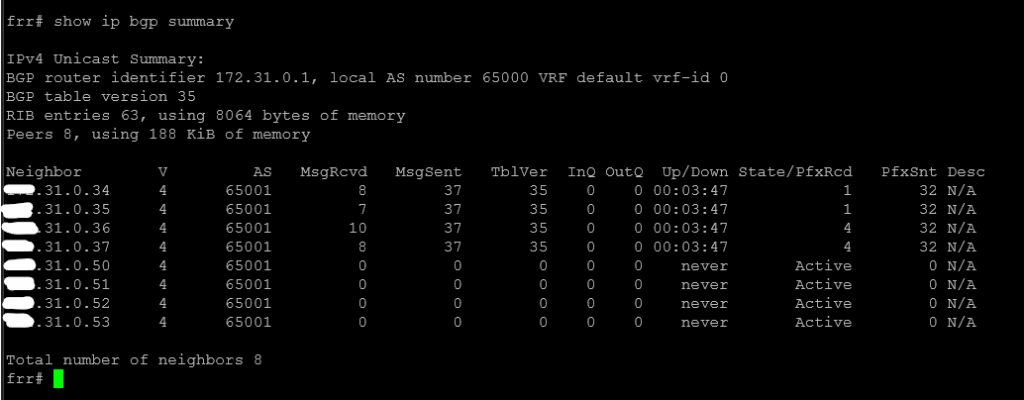
That is how we setup bgp on the unifi dream machine pro router.
Follow along with my VCF 9 lab journey.