
If you have been following along with my VCF 9 journey, then the next step is going to be enabling the vSphere supervisor on my workload domain using NSX VPC networking. There is a new feature in the vSphere supervisor that allows asynchronous updates for the supervisor outside of the vCenter. If you want to learn more about this below is a blog detailing it further.
More Kubernetes, Less Waiting: Upgrade vSphere Supervisor Without updating vCenter
In order to complete this configuration you will need the following requirements to be met:
- VCF 9.0 environment deployed
- NSX VPC configured with Centralized Transit Gateway
- 5 consecutive IP addresses for the vSphere Supervisor Control Plane VM
- If you are using vSAN, ensure no alerts are present
- If you have less than 3 hosts in the cluster, you may have an HA admission issue so disabling the host failover configuration will bypass this error
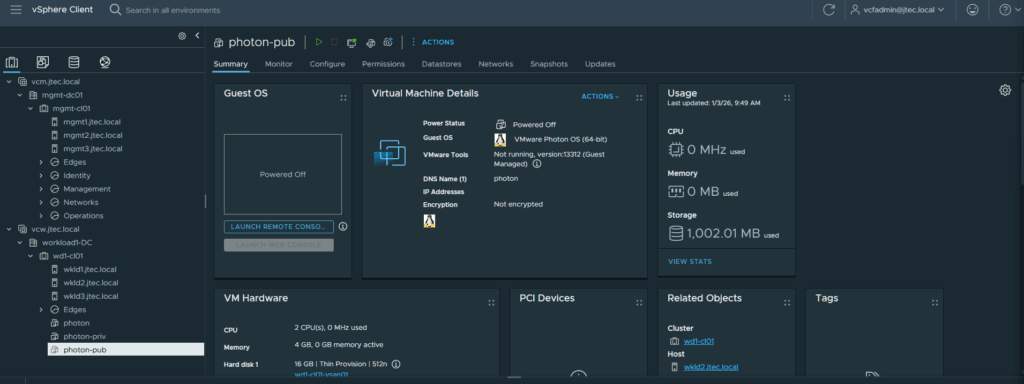
Login to your vCenter server web interface.
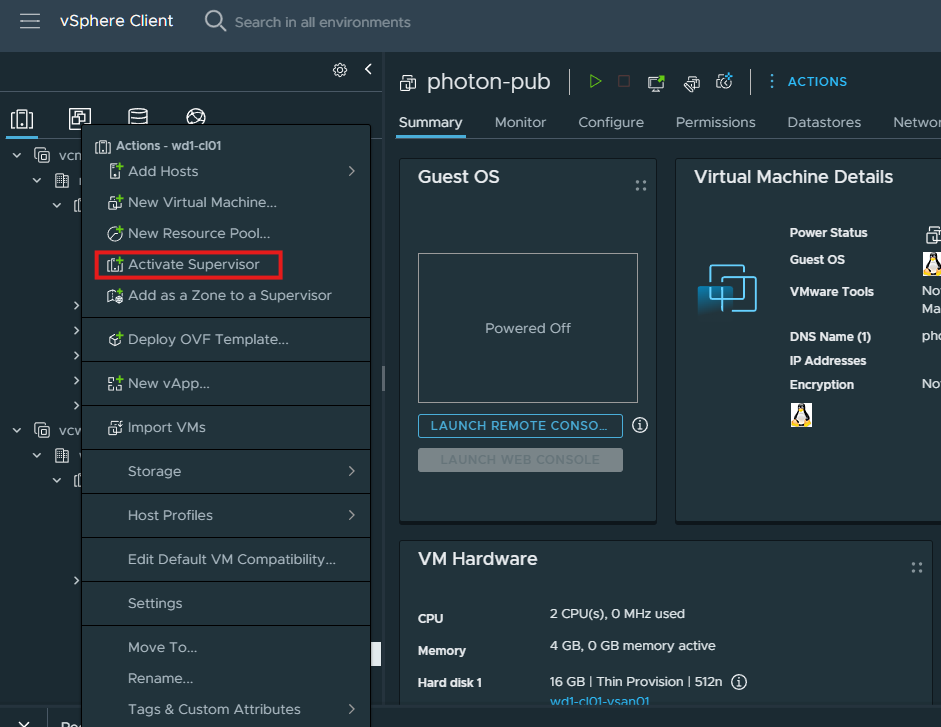
Right click on the vSphere cluster and select Activate Supervisor.
Then click on the Advanced Topologies link in the pop-up

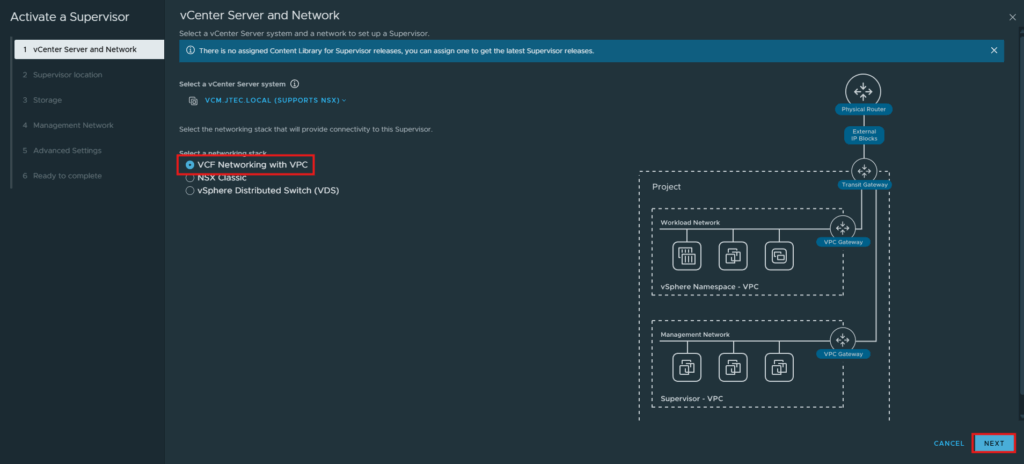
We are going to use VCF Networking with VPC for the network stack, that is pre-selected so click Next to continue.
If you have multiple vCenters linked together, ensure you have the correct vCenter selected in the dropdown for your cluster.
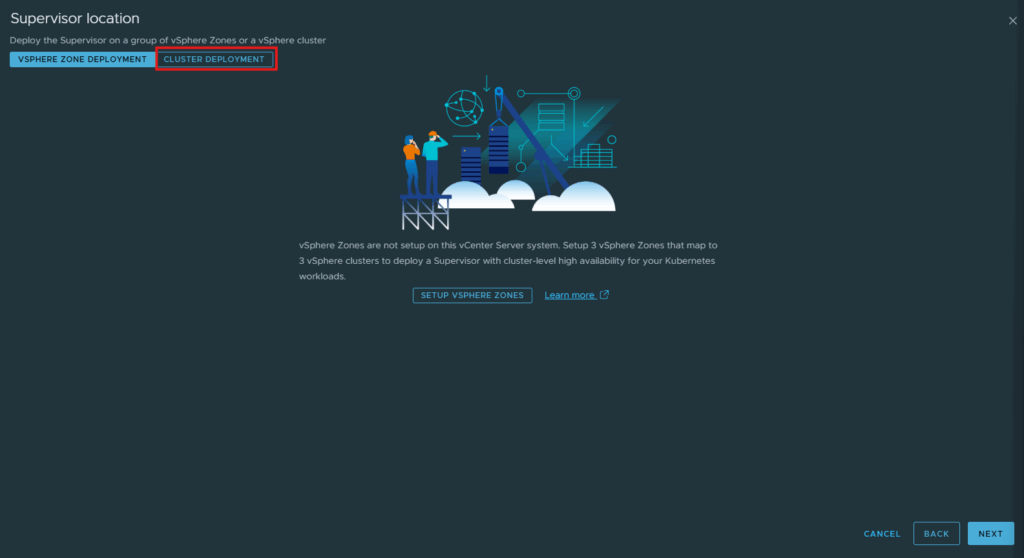
Click on Cluster Deployment.
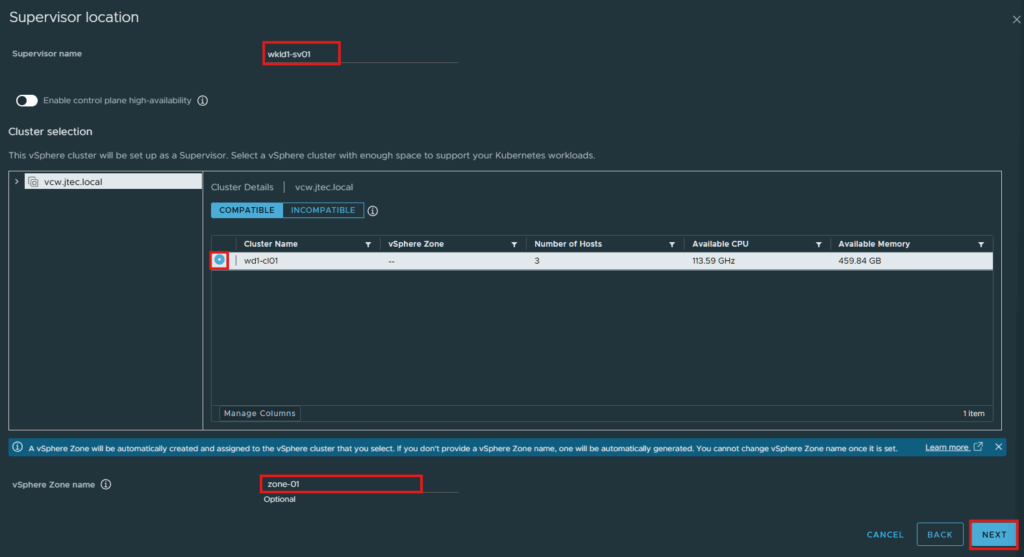
You should see your cluster show up under compatible clusters, click the radio button next to that cluster. Then provide a name for the supervisor along with a name for the vSphere zone. Click Next.
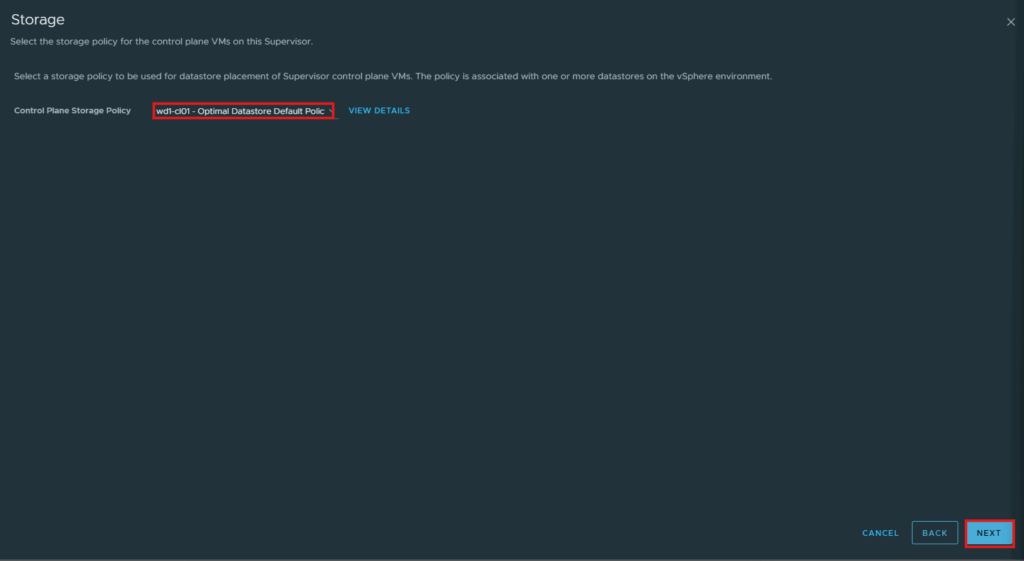
Choose a storage policy for the control plane and click Next.
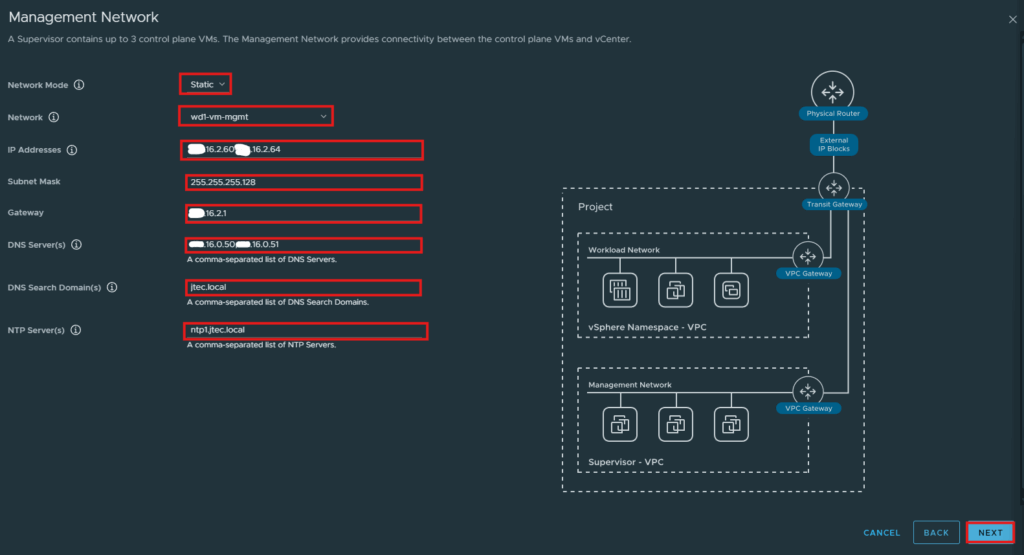
At the Network Management screen, pick the network method and network you want to use. I am going to use static so I can manually assign the IPs I want to use, then enter the necessary information for your environment. Once all the information is entered, click Next.
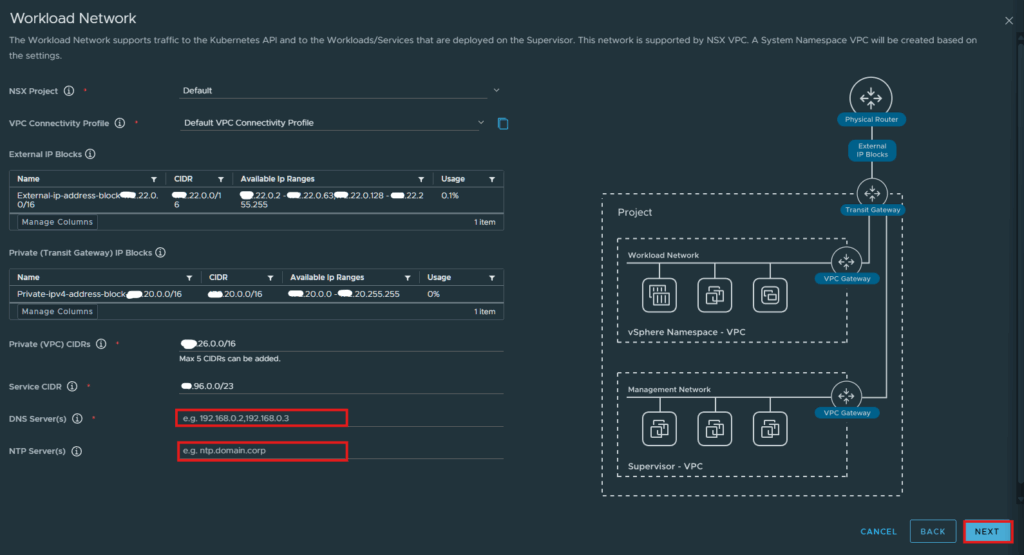
The Workload Network should automatically detect the NSX VPC connections and provide that information for you, fill in the DNS and NTP server information for your environment and click Next.
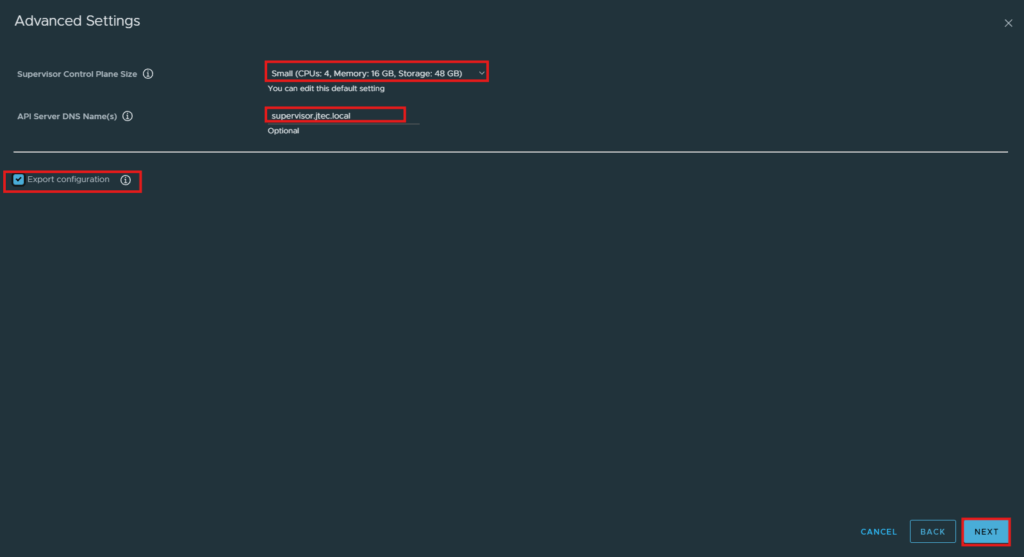
Select the desired vSphere Supervisor Control Plane vm size and a DNS name if you want an easier way for accessing the vSphere Supervisor endpoint. This will resolve to the first IP address that was provided at the Management Network screen. Click Next.
***There is a checkbox to export the configuration as well if you want to store this information***
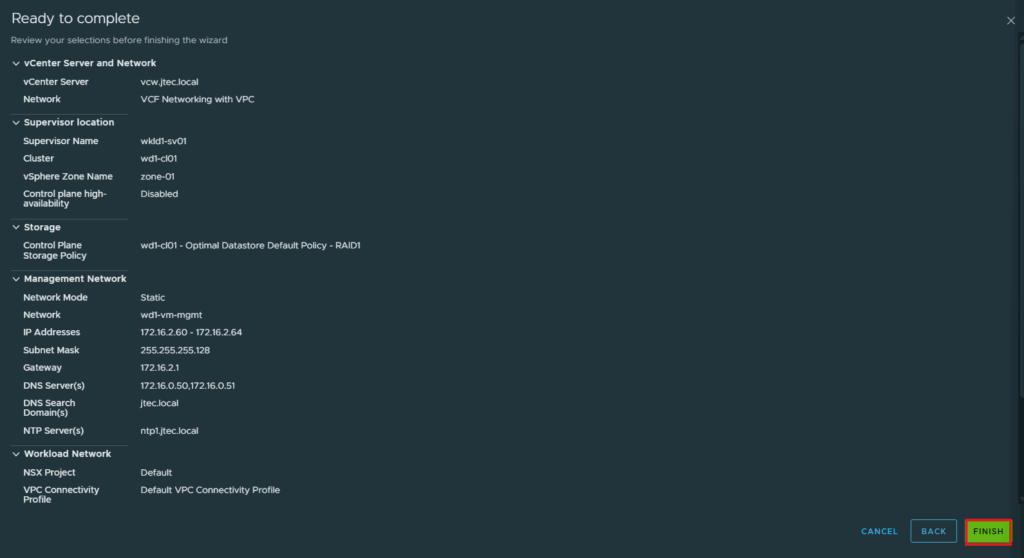
Click Finish to complete the setup.
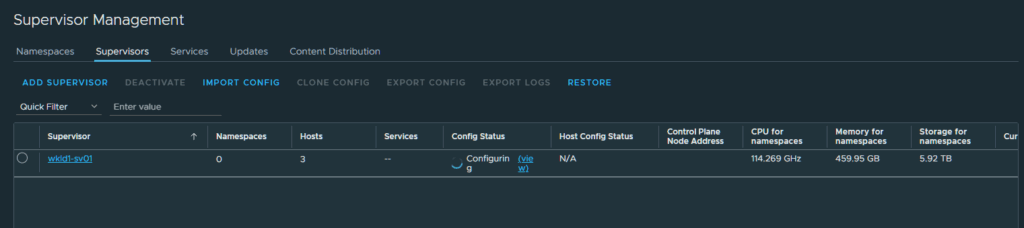
The vSphere Supervisor will begin deployment.
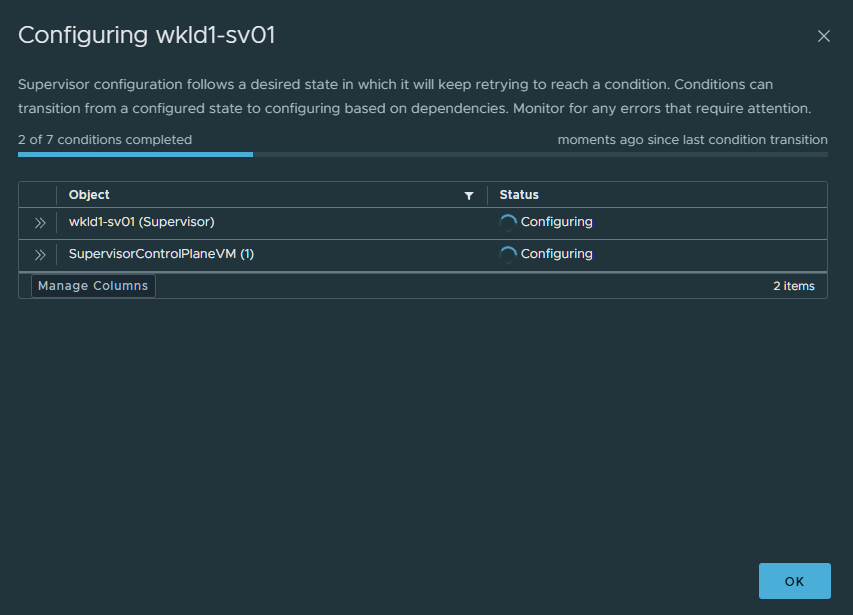
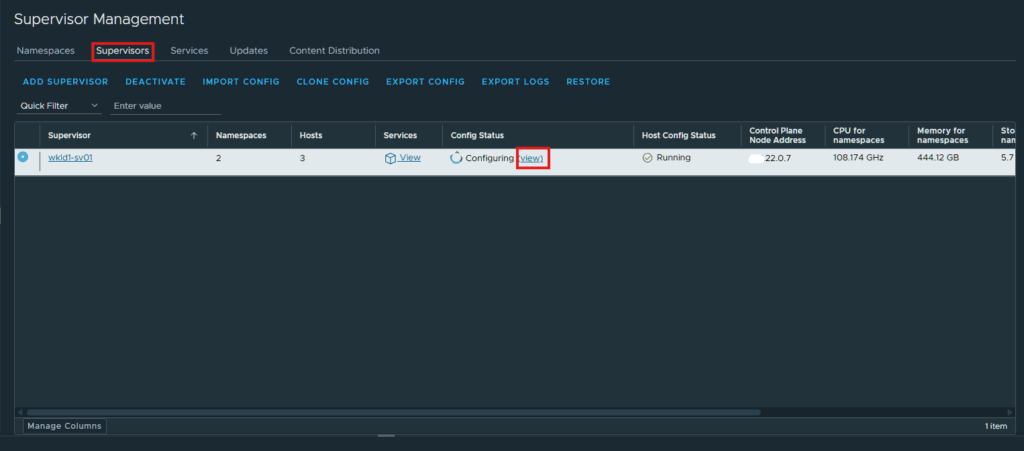
If you want to follow the progress, click the View link next to Configuring.
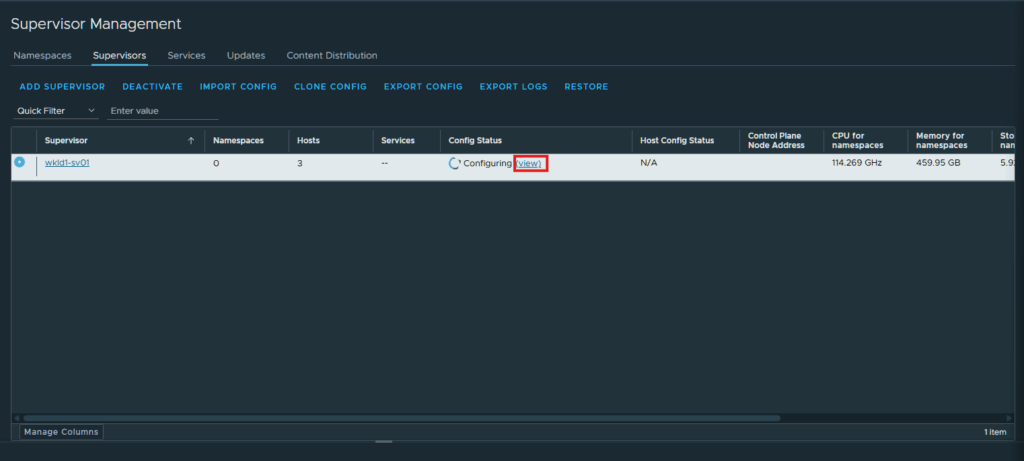
You will get a pop-up then showing the progress.
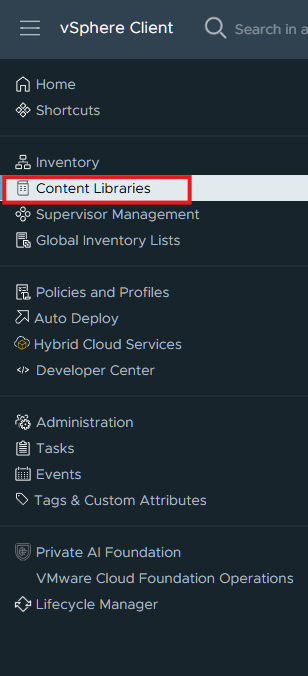
While the vSphere Supervisor is deploying, we need to create a content library for the supervisor enablement and upgrades. Click the 3 horizontal lines in the top left and select Content Libraries.
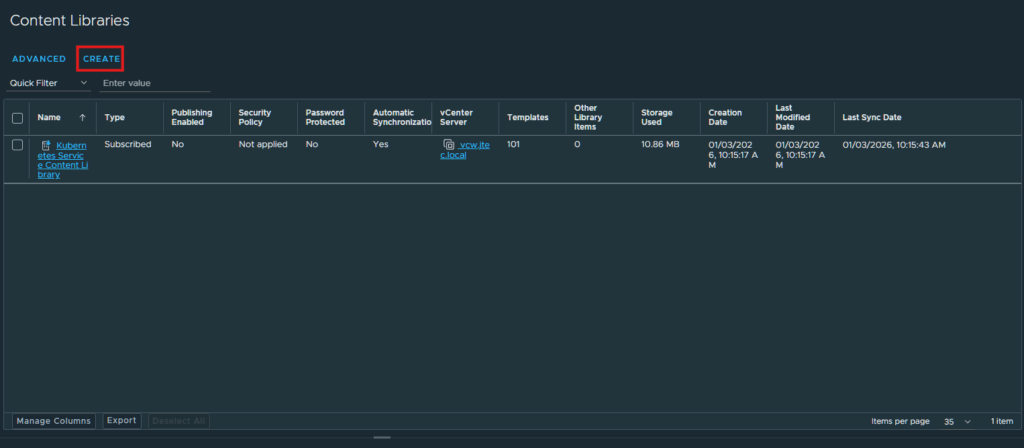
Click Create.
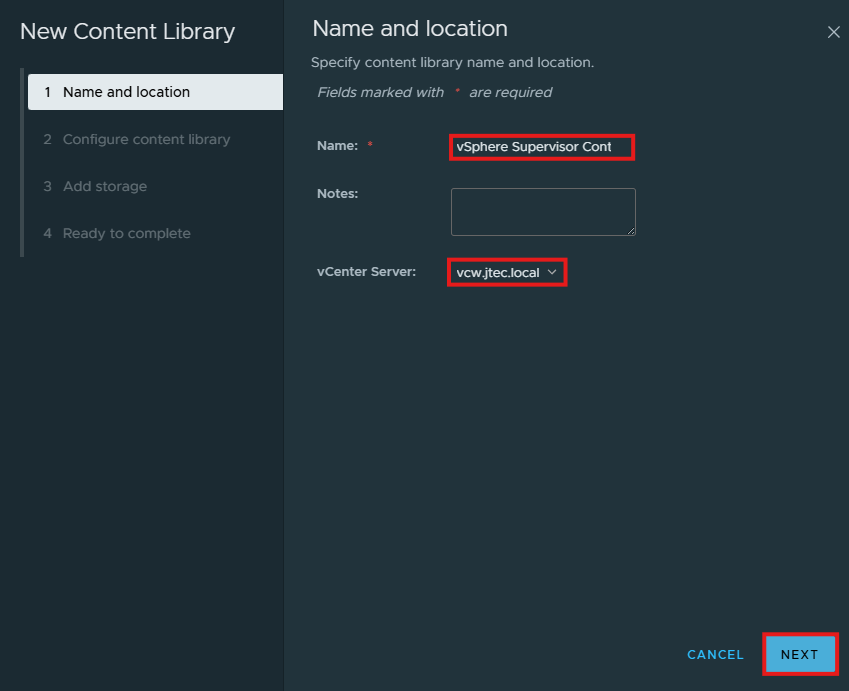
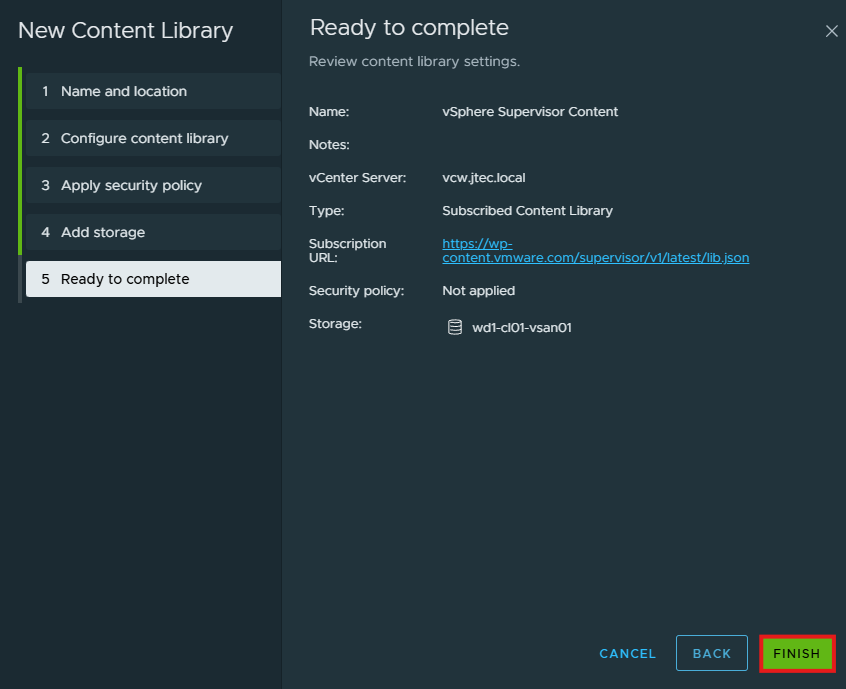
Give the new content library a name and ensure you have the vCenter selected where your vSphere Supervisor is located. Click Next.
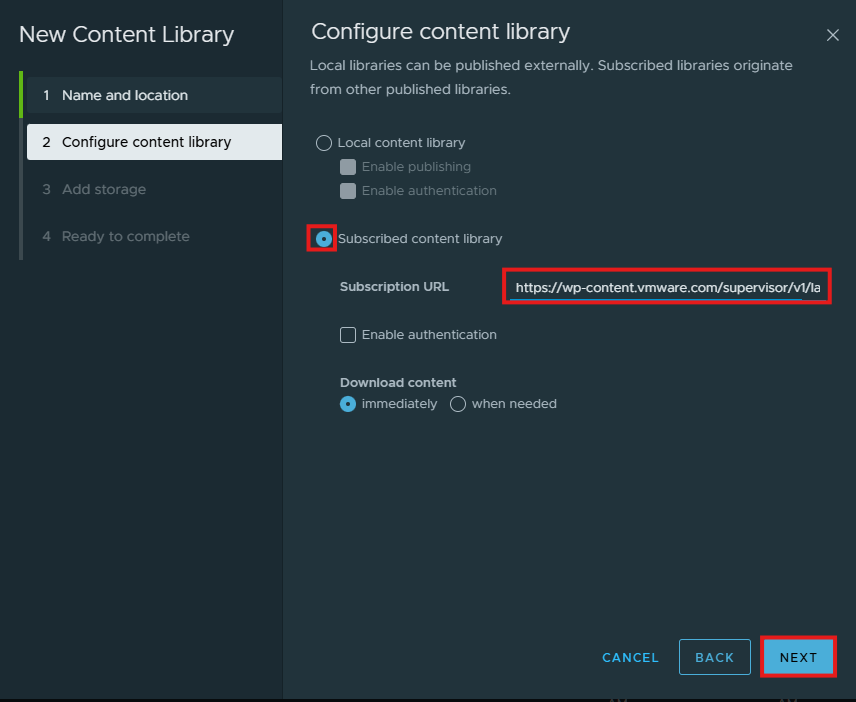
Click the radio button next to Subscribed content library and enter in the following URL: https://wp-content.vmware.com/supervisor/v1/latest/lib.json. Click Next
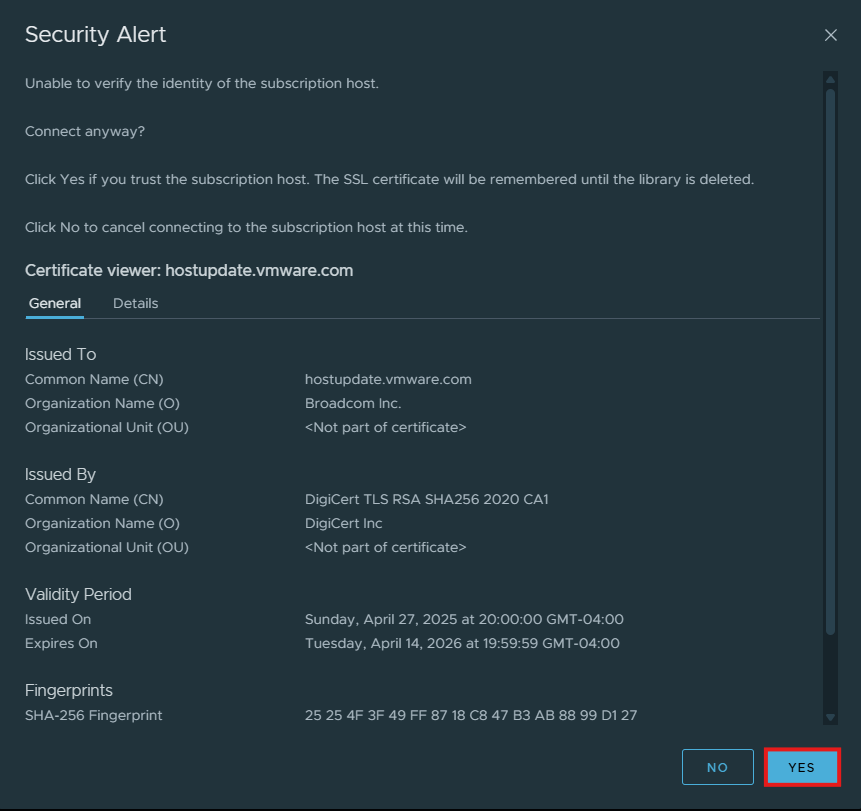
If you get a Security Alert, click Yes.
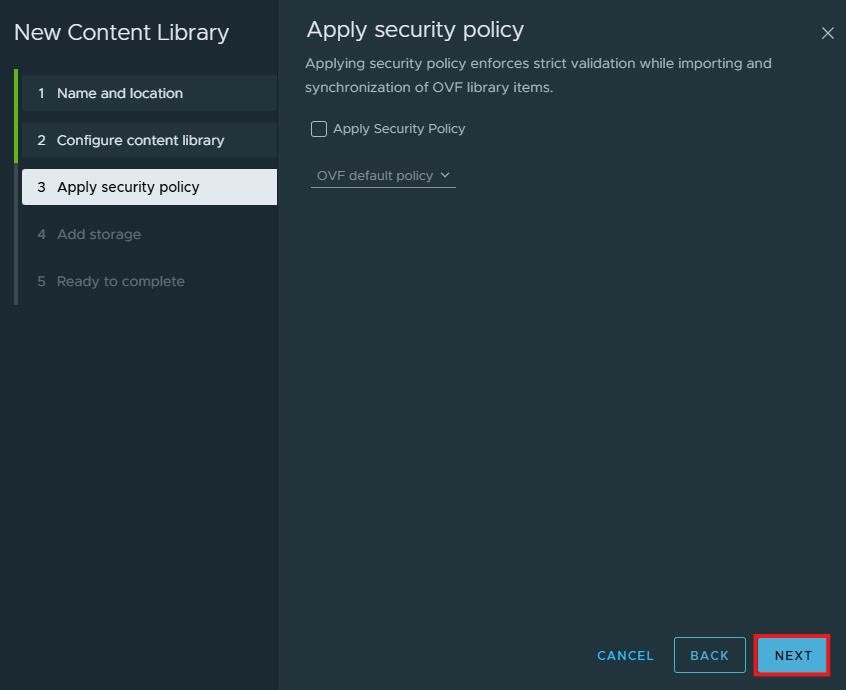
Assign a security policy for this content library if you want to, I don’t have any created. Click Next.
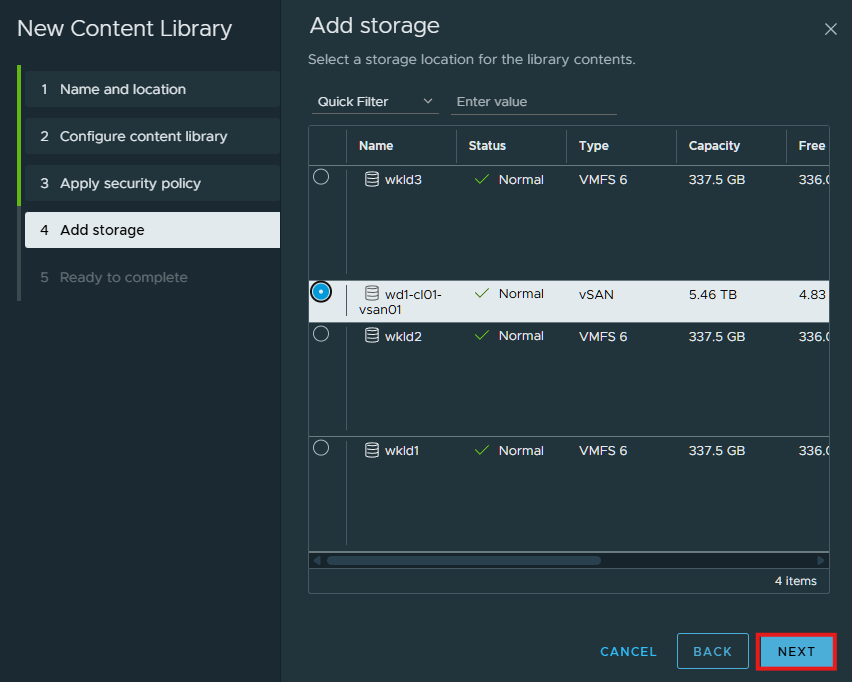
Click the radio button next to the storage location where you want this content library stored and click Next.
Click Finish to complete the content library creation.
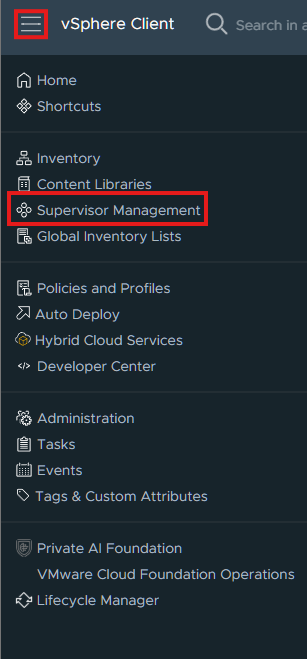
Click the 3 horizontal lines and select Supervisor Management.
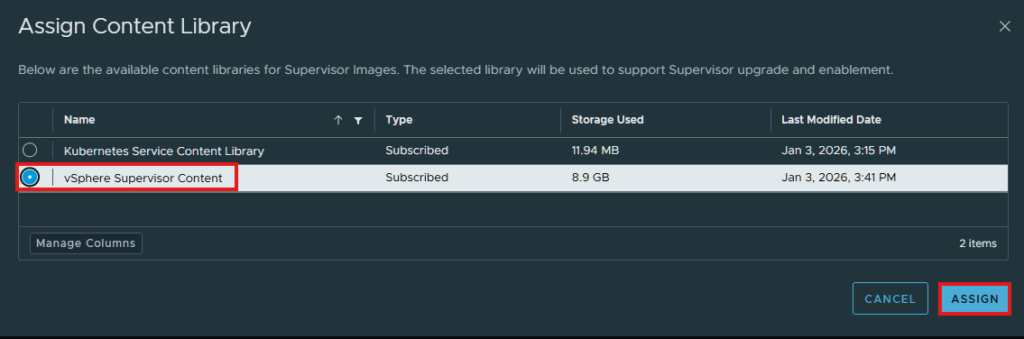
Click on Content Distribution > Assign. If you have multiple vCenters linked together, ensure you have the vCenter where the supervisor is located selected

Select the content library we just created and click Assign.
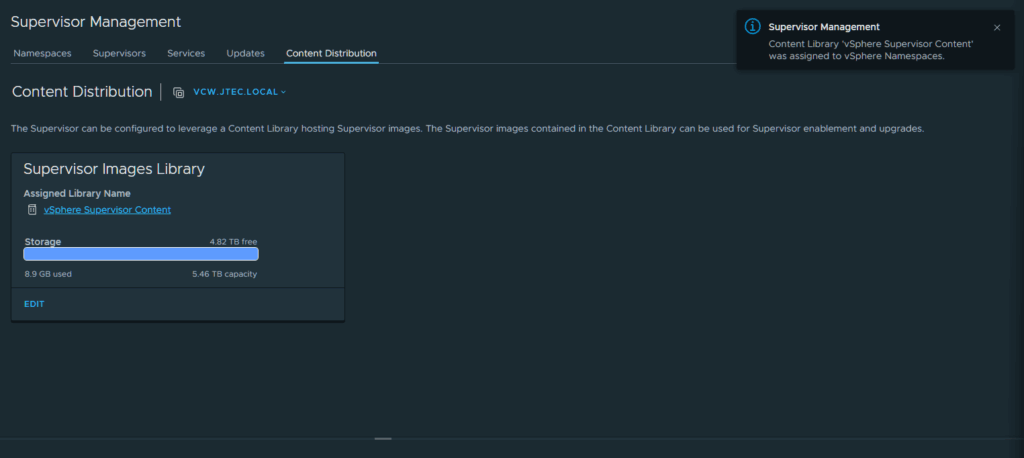
You will receive a confirmation message and the assigned library will change.
It will take some time for the vSphere Supervisor to deploy and configure the workload domain but should complete within an hour depending upon the hardware you have running in your environment.
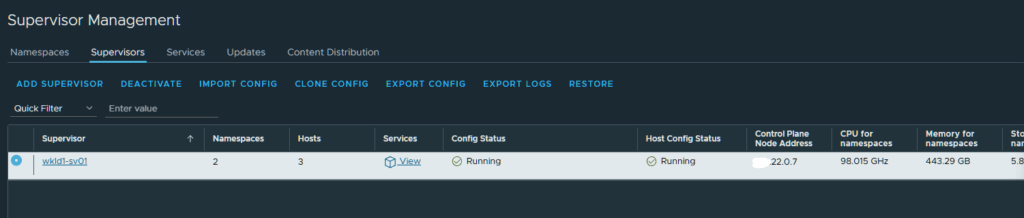
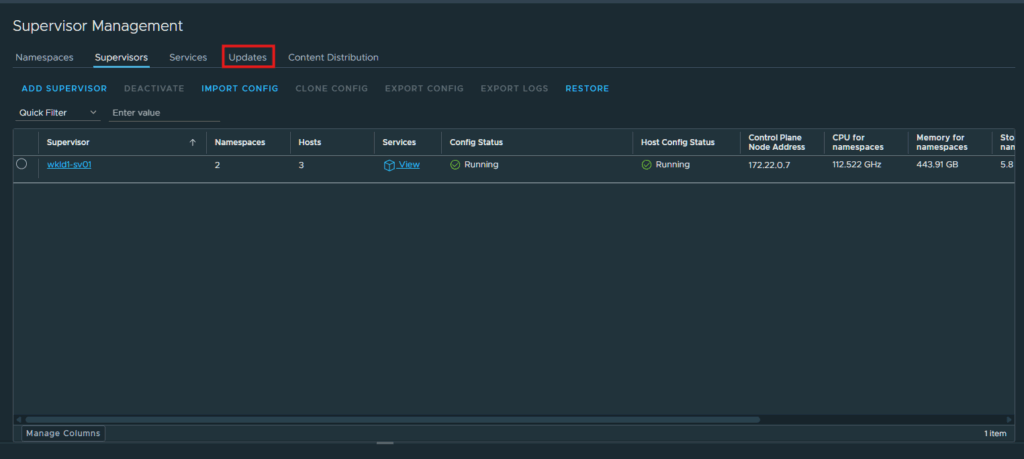
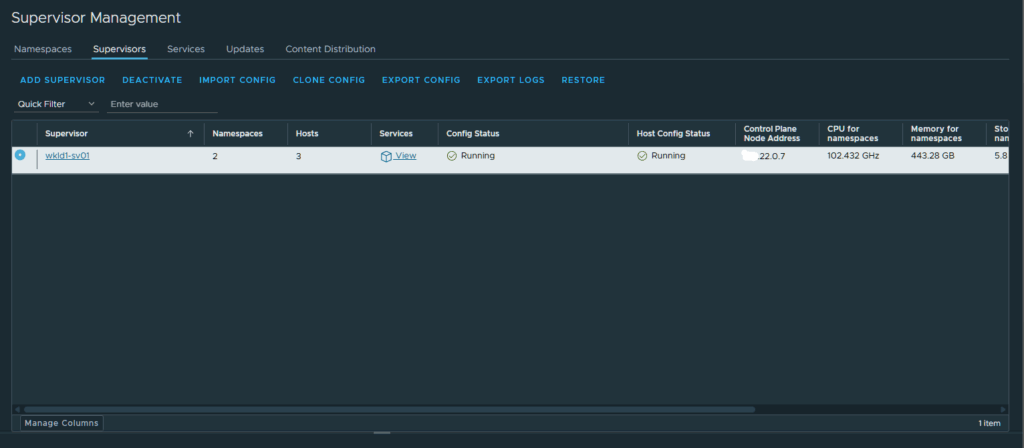
Once your supervisor service is running, click on the Updates tab.
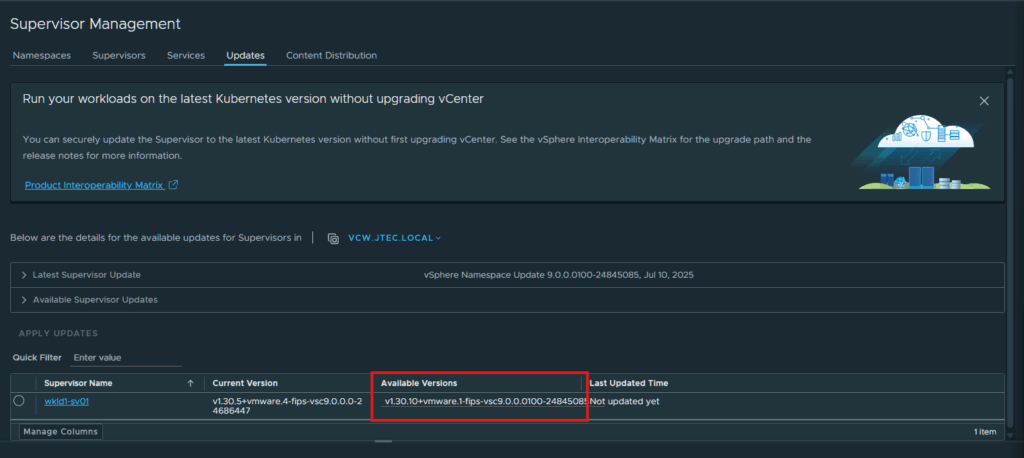
If you see any updates available, it would be a good time to apply them and have the latest version available. I have an update available for my supervisor.
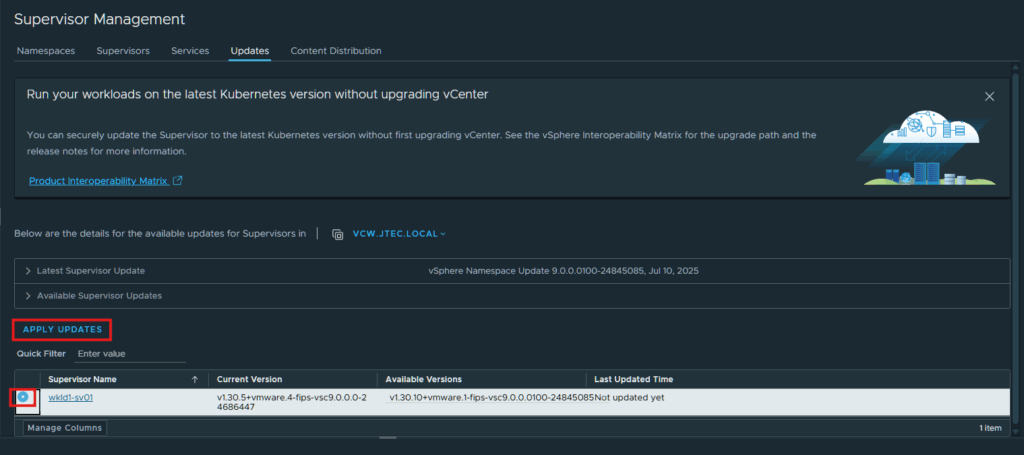
Click the radio button next to the supervisor name and click Apply Updates.
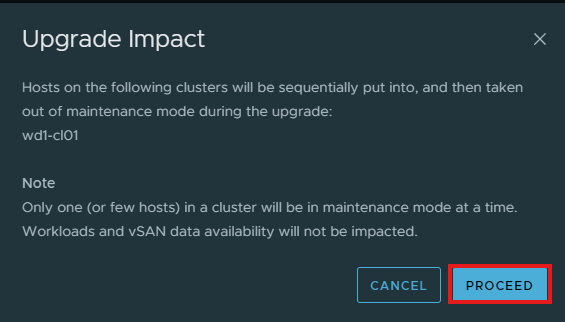
Click Proceed in the Upgrade Impact pop-up
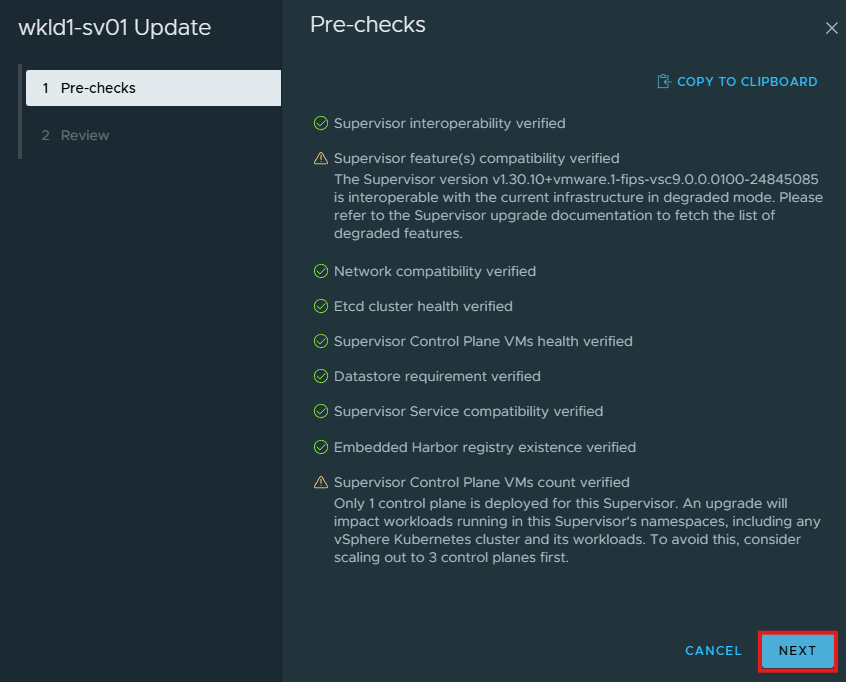
The Pre-Checks screen will come up and begin preparing for the upgrade. Click Next to continue the upgrade.
I received an warning for Supervisor VMs as I have a single supervisor deployed which is fine for a lab environment, if this was a production deployment I would have at least 3 Supervisor VMs. I also believe that is why I received the compatibility warning as it mentioned I am in degraded mode and I didn’t find any direct information in the upgrade documentation about this.
If you have warnings, there will be a pop-up ensuring you want to continue. click Proceed.
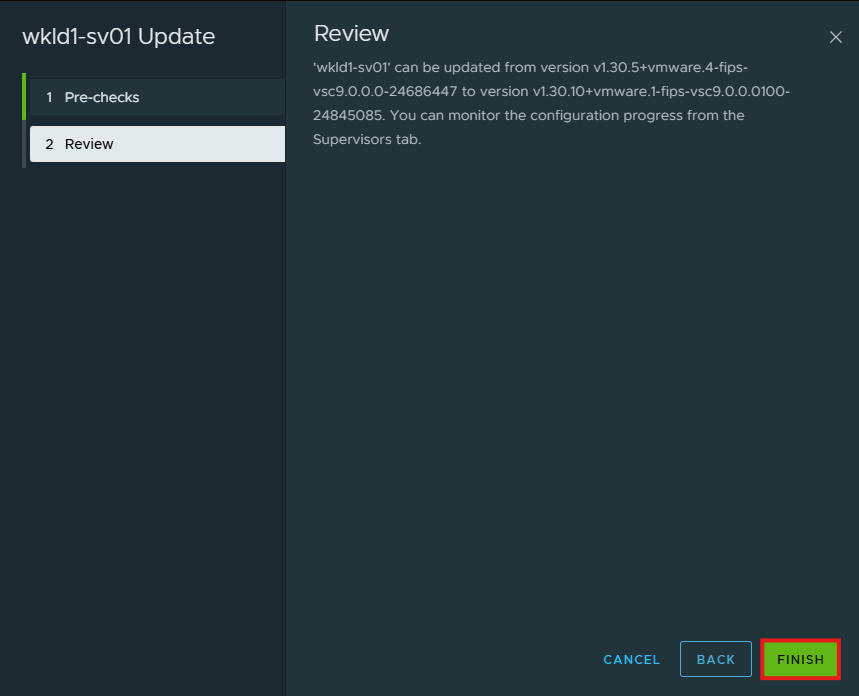
Click Finish to start the upgrade.
If you want to follow along with the upgrade, click on the Supervisors tab and click the View link next to Configuring.
It took about an hour for this update to complete and it resulted in a new supervisor being deployed.
Now that we have that deployed we can start configuring Kubernetes and VCF Automation to use this workload domain, I will configure these in future posts.
Follow along with my VCF 9 Lab journey.