
VCF Automation is a product I have never really been able to gain much experience as the customer base I have supported over the years didn’t want to spend the extra money that was required to procure this product. Now that it has been integrated with the entire VCF product suite, I have seen use cases increase for my customers to utilize this product and knowing that I will be supporting this more in the near future makes me want to understand it as much as I can.
Up until now I have not even logged into the VCF automation gui, it has just been a VM that was deployed with VCF and running in the background. Prior to us setting this up, you will need to the following requirements to be met in order to complete this configuration.
- VCF 9.0 environment deployed
- NSX VPC configured with Centralized Transit Gateway
- vSphere supervisor configured with VPC networking
Open a web browser and navigate to the VCF automation gui.
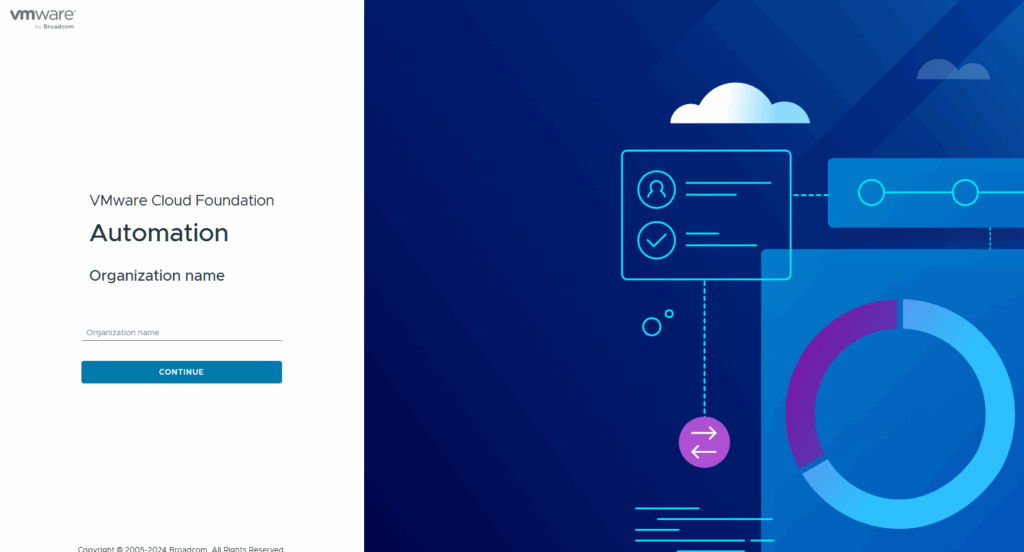
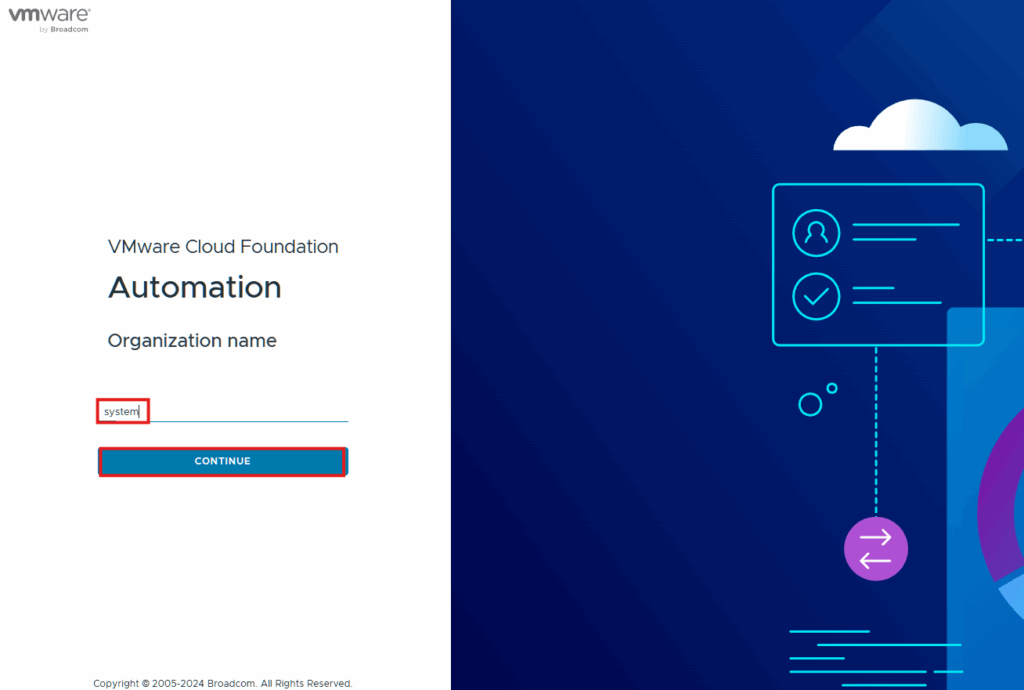
The default organization name is system. Click Continue.
The default login is admin and the password you provide during deployment. Click Log In.

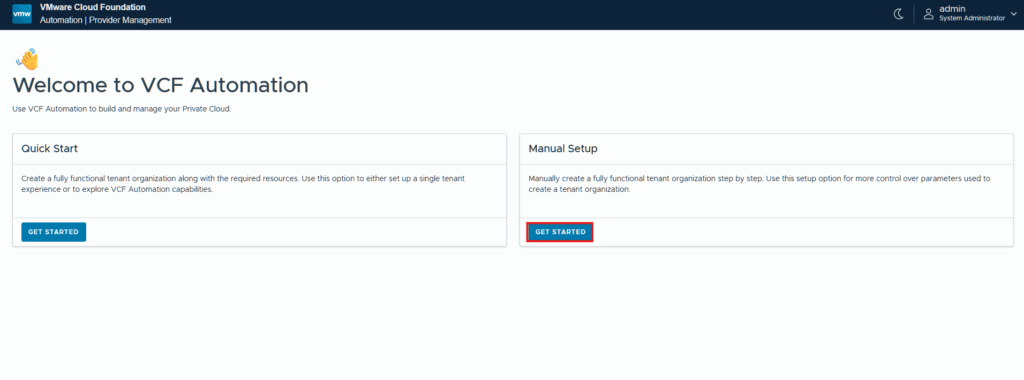
When logging in for the first time you will have two options to complete the configuration, I am clicking Get Started under Manual Setup.
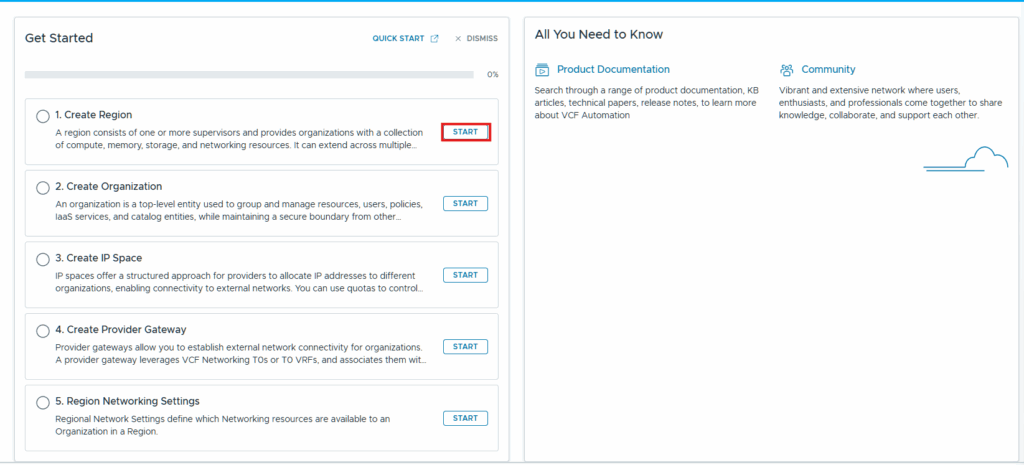
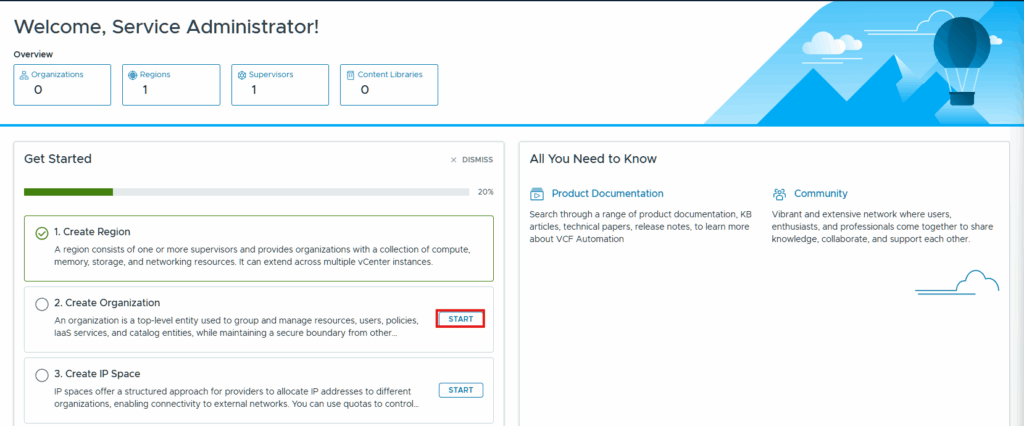
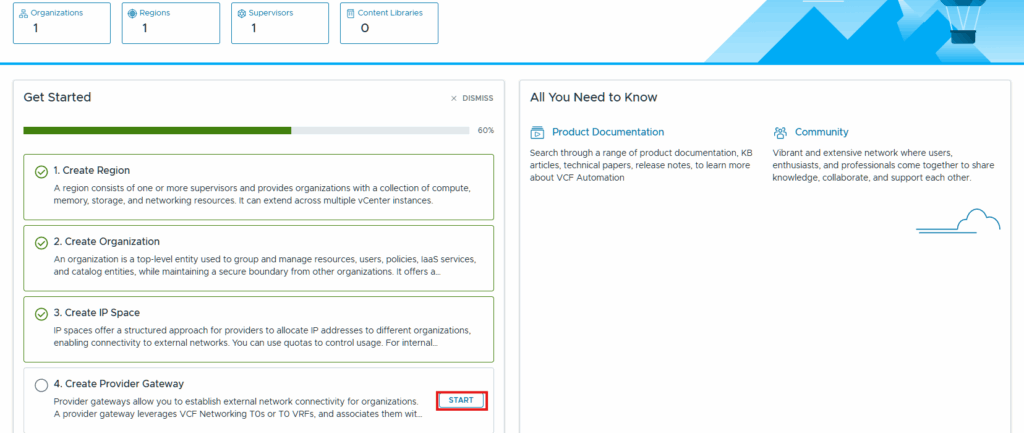
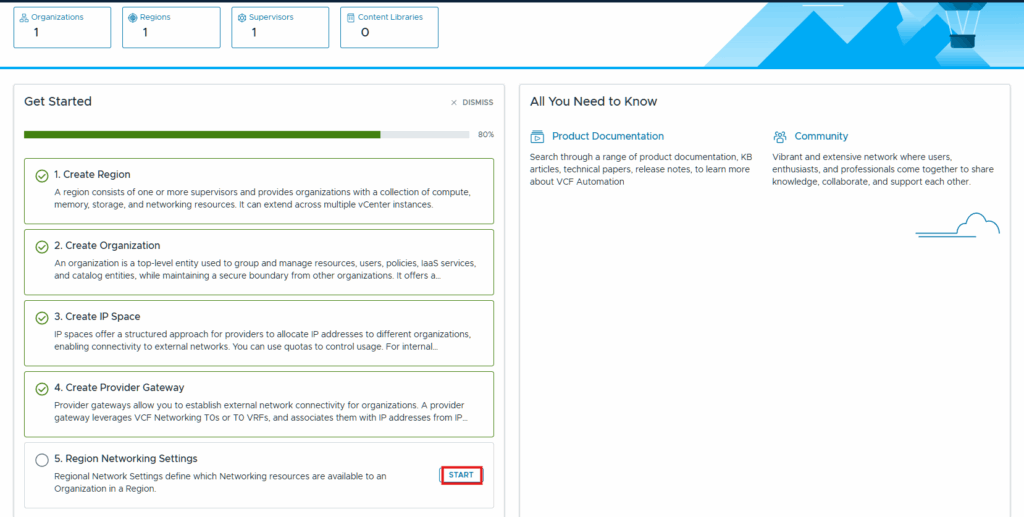
We now see that there are five steps to complete the setup process. Click Start next to create region.
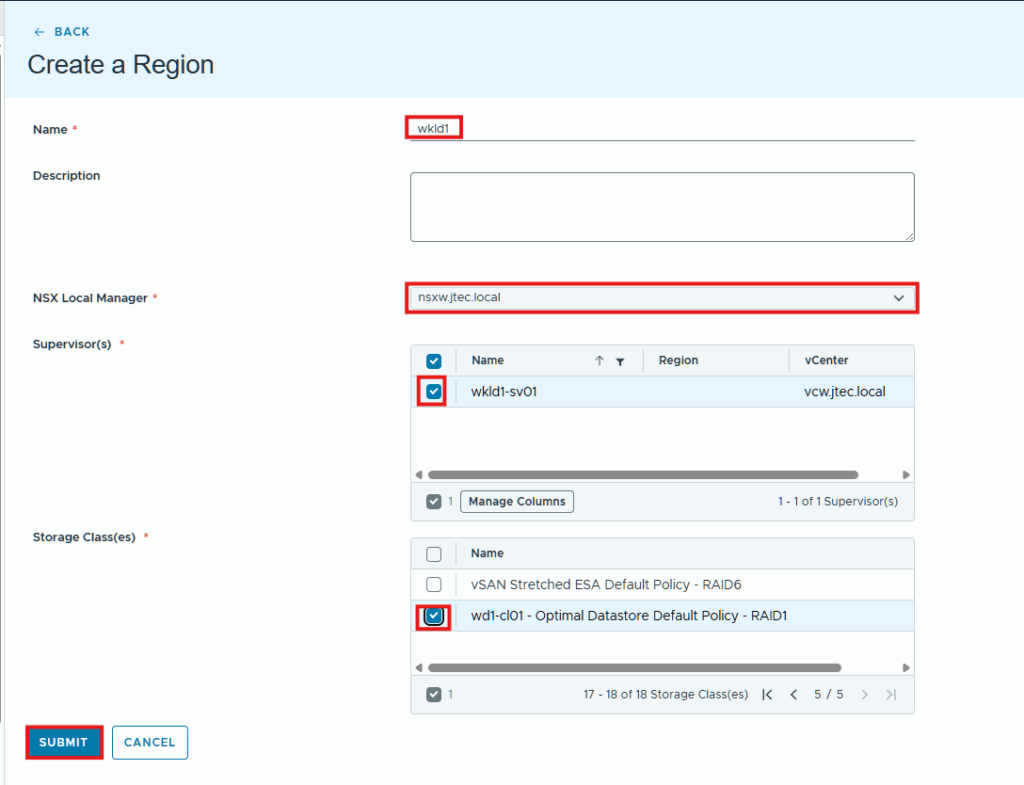
Enter the required information for the region and click Submit
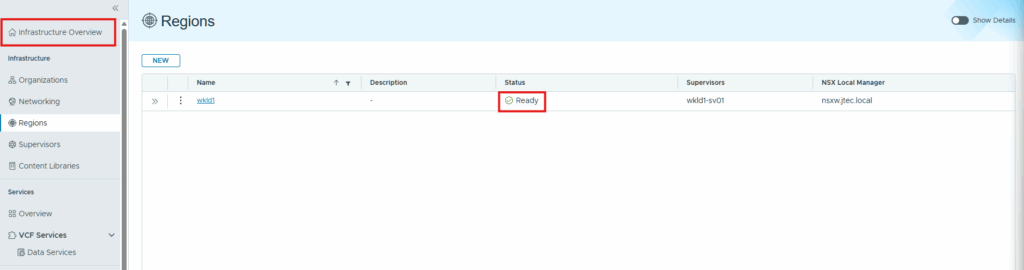
The region creation will begin and once it is ready click Infrastructure Overview.
Click Start next to create organization.
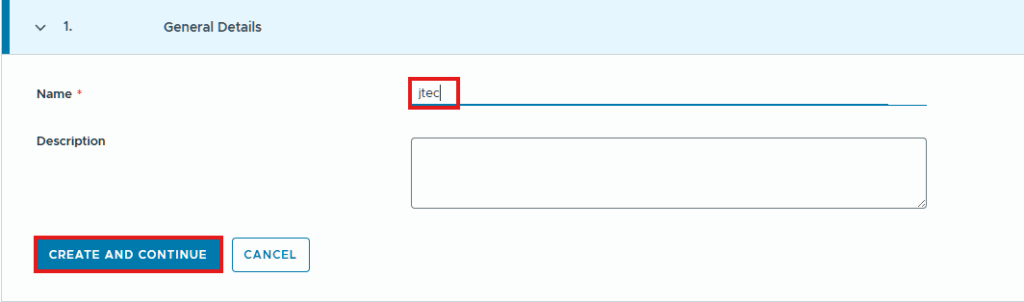
Enter an organization name and click Create and Continue.
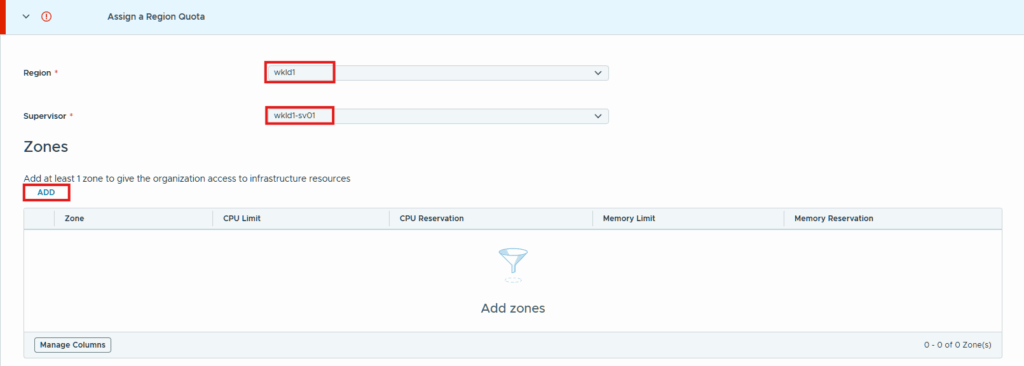
Click the drop downs to select the region we just created and the supervisor for that region. Then click Add under Zones.
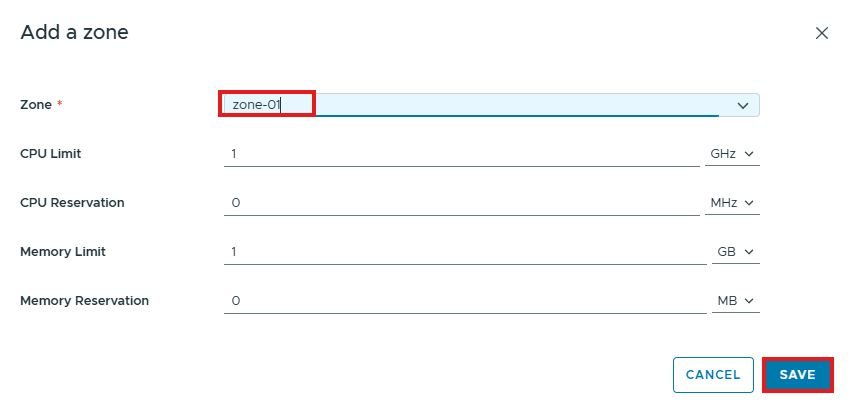
Click the drop down to select the zone assigned to that region and set any limits or reservations for compute. Click Save.
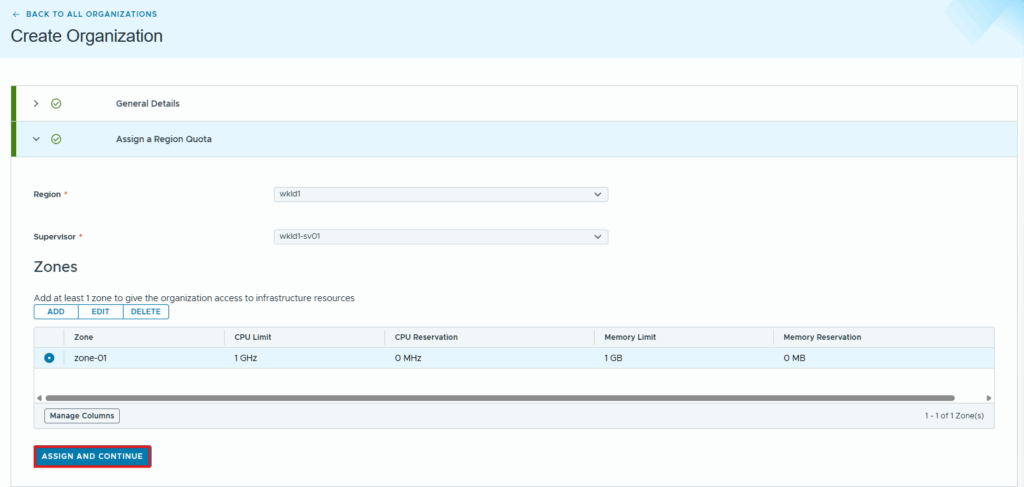
Click Assign and Continue.
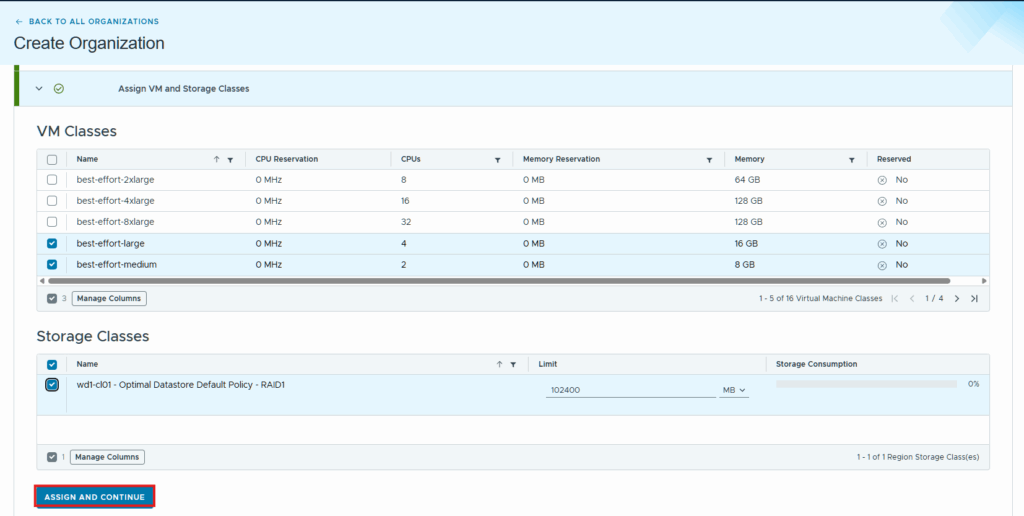
Click the checkboxes next to the VM classes you want to be available and the storage class for those VMs, click Assign and Continue.
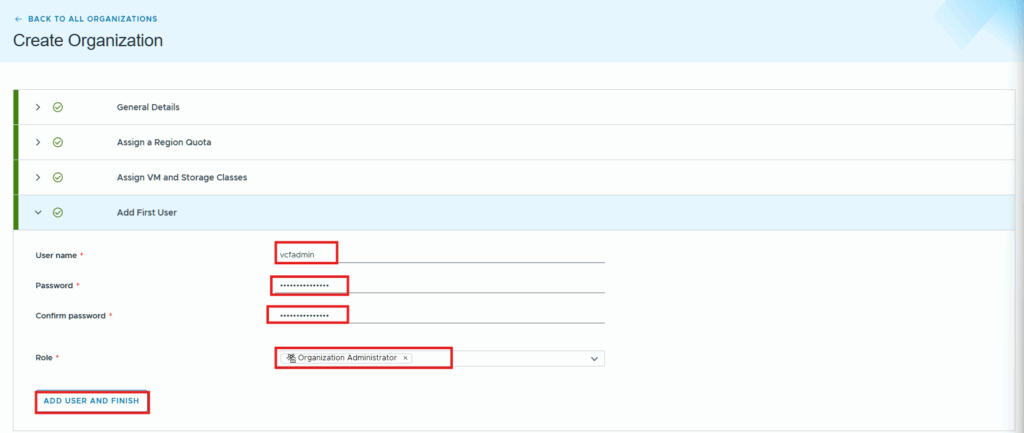
At the Add First User section, this is where we will create and organization administrator, we can add additional users later. Enter in the required information and the role for this first user and click Add User and Finish.
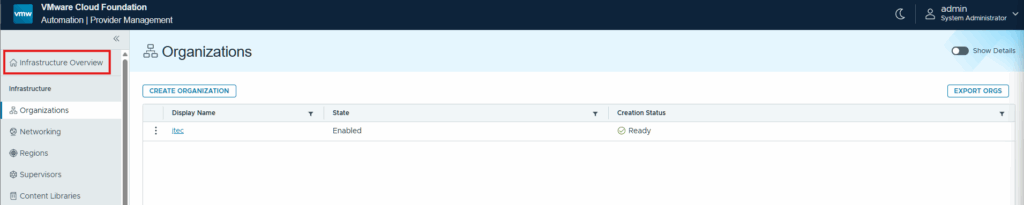
Now that the organization is created click on Infrastructure Overview.
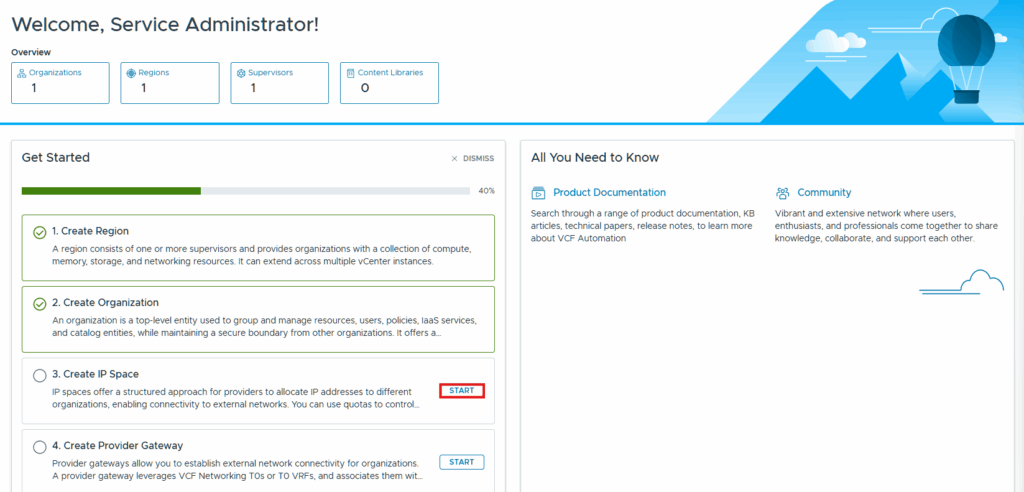
Click Start next to create IP space.
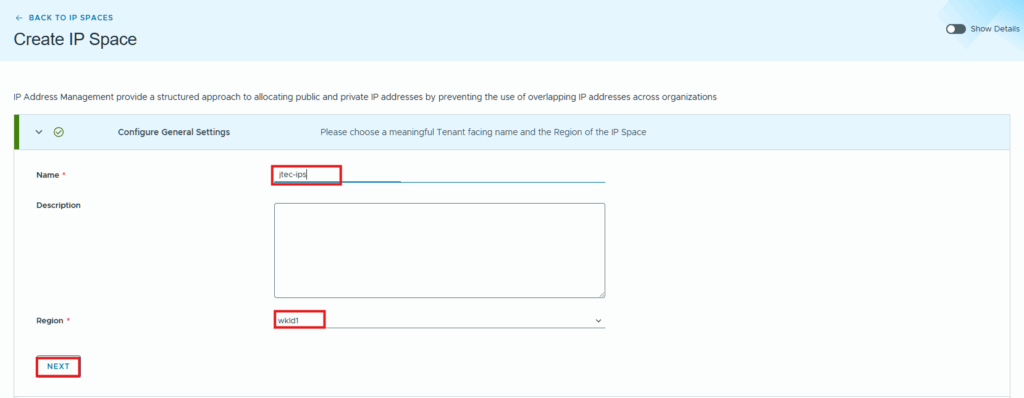
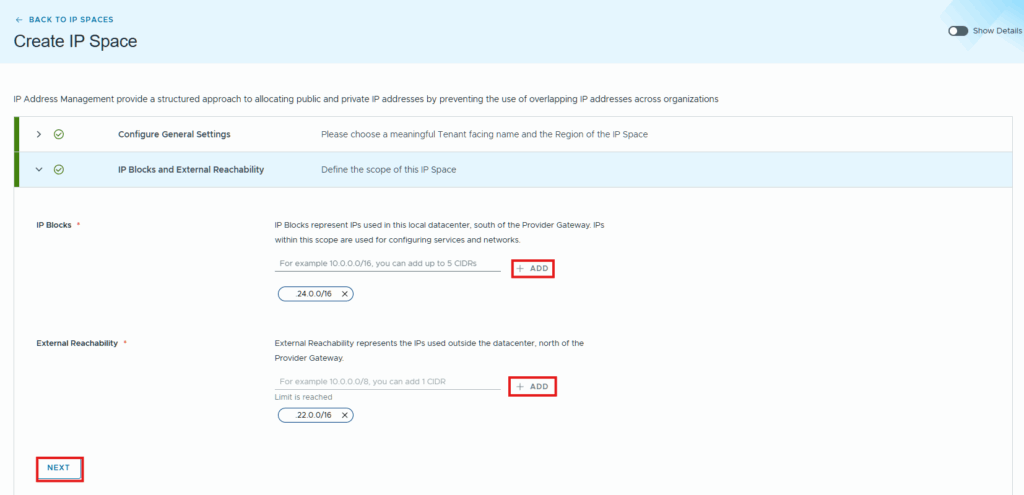
Provide a name for the IP space and click the drop down to select the region, click Next.
Provide an IP block space and external reachability space for this IP space, I am using the same external IPs as I did for the VPC connectivity. click Next to continue.
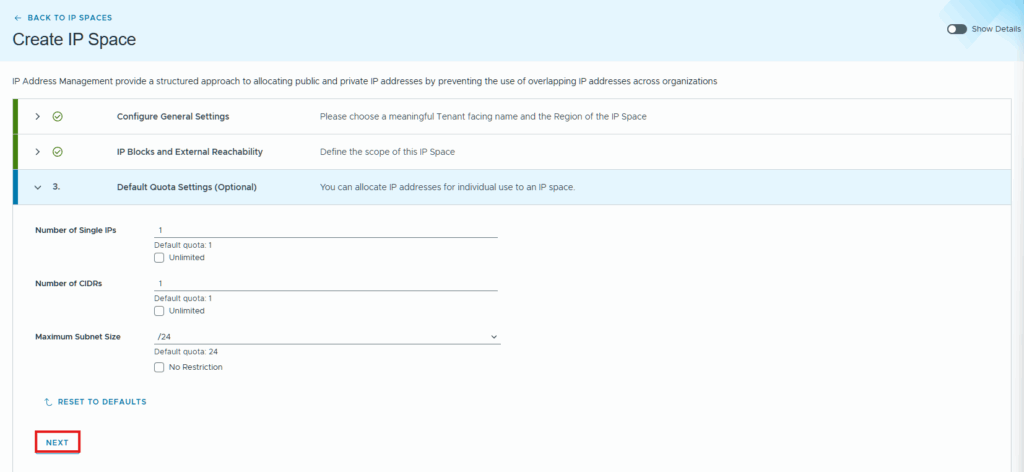
The Quota settings are optional, I am leaving the defaults and clicking Next.
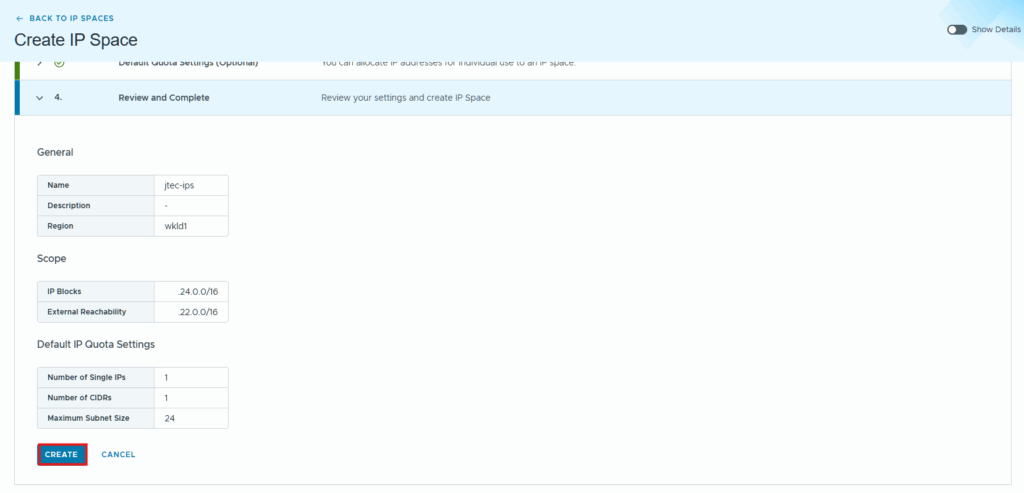
Click Create to finish.
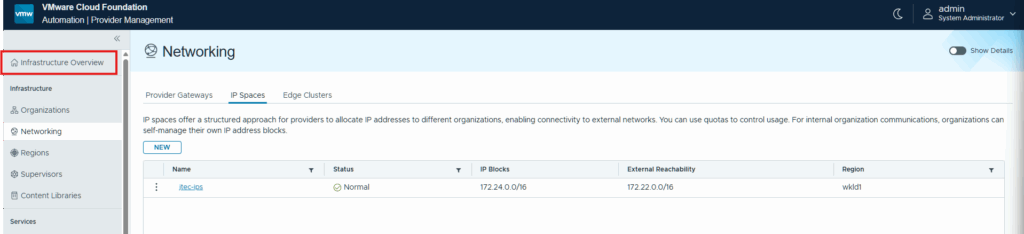
After the IP space is created, click Infrastructure Overview
Click Start next to create provider gateway.
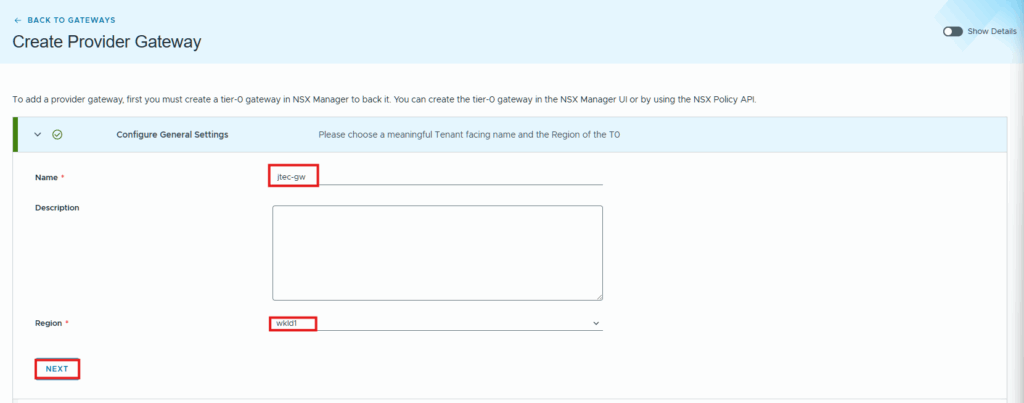
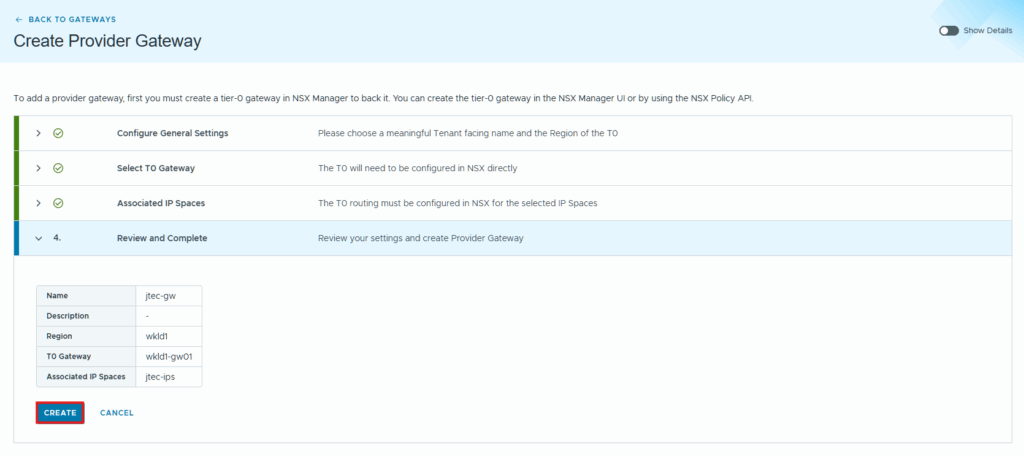
Provide a name and select the region in the dropdown for the provider gateway. Click Next.
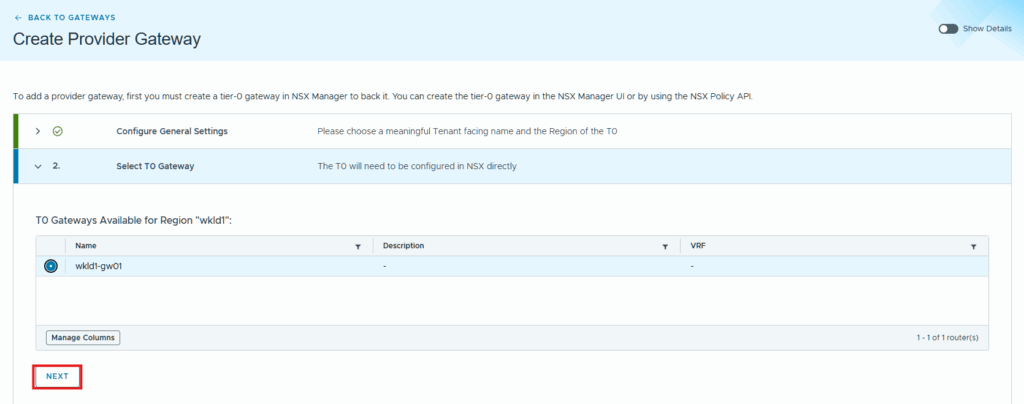
Select the Tier0 gateway for that region and click Next.
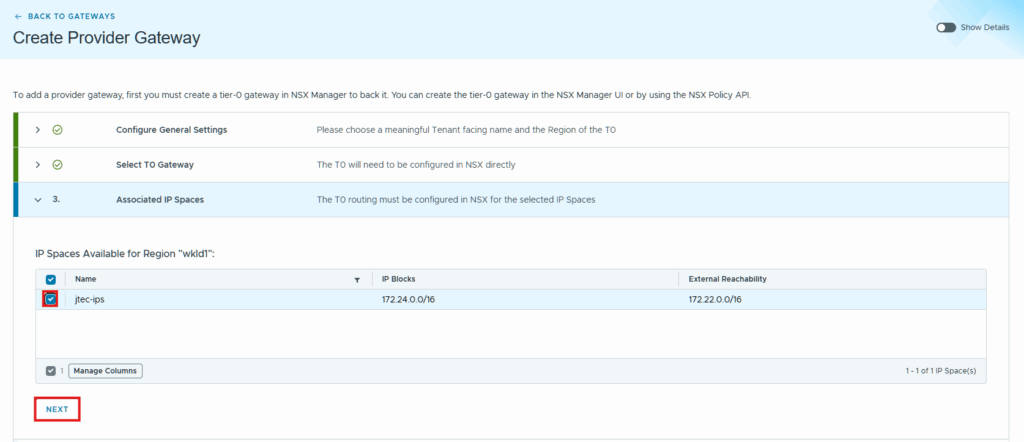
Click the checkbox next to the IP space we created previously and click Next.
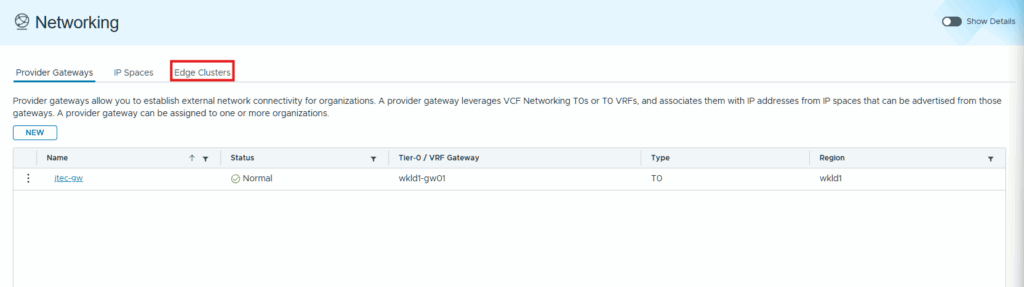
Click Create.
With the gateway created, click on Edge Clusters.
Click Sync if you don’t see the Edge Clusters listed below.
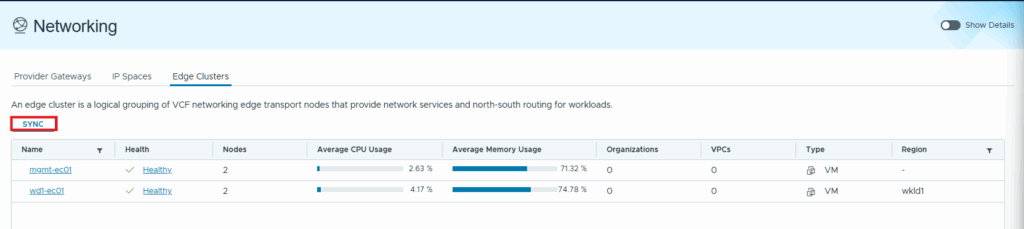
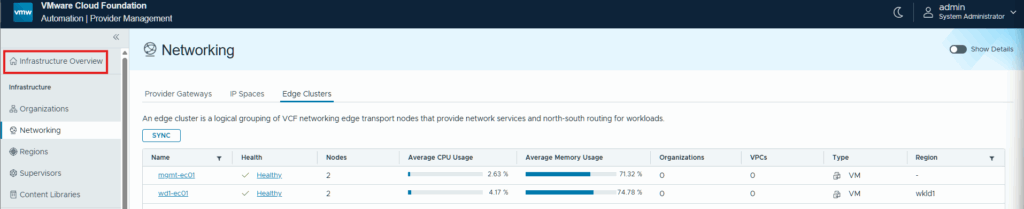
This is to ensure that our automation appliance has connected to NSX and pulled the information needed for region network settings. Now click on Infrastructure Overview.
Our last step is to click Start under region networking settings.
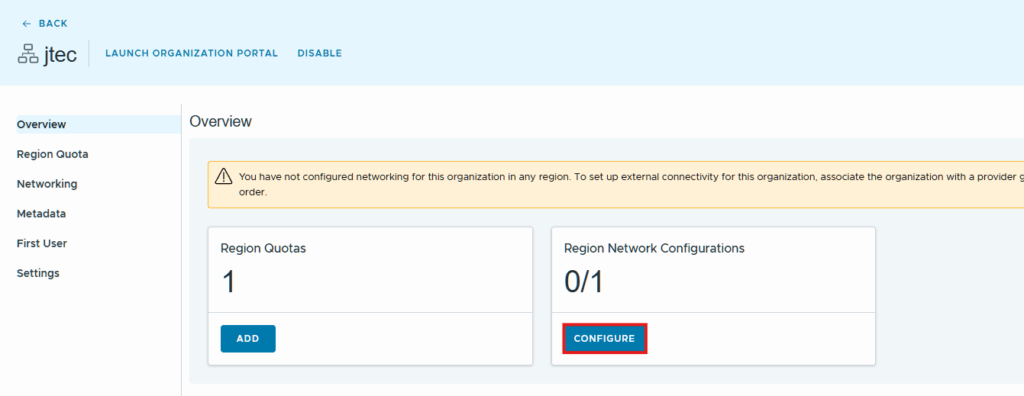
Click on the organization we created previously.

Click Configure under region network configurations.
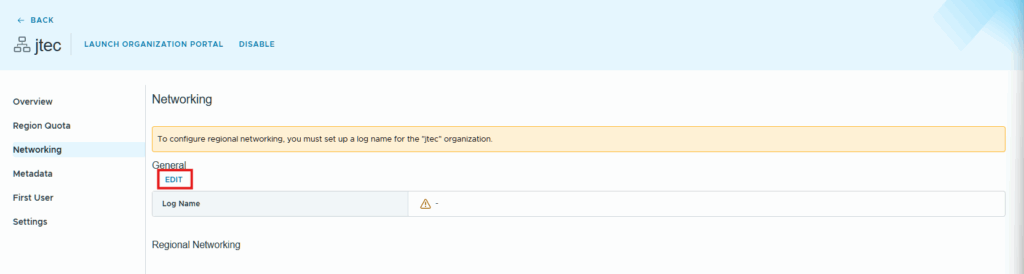
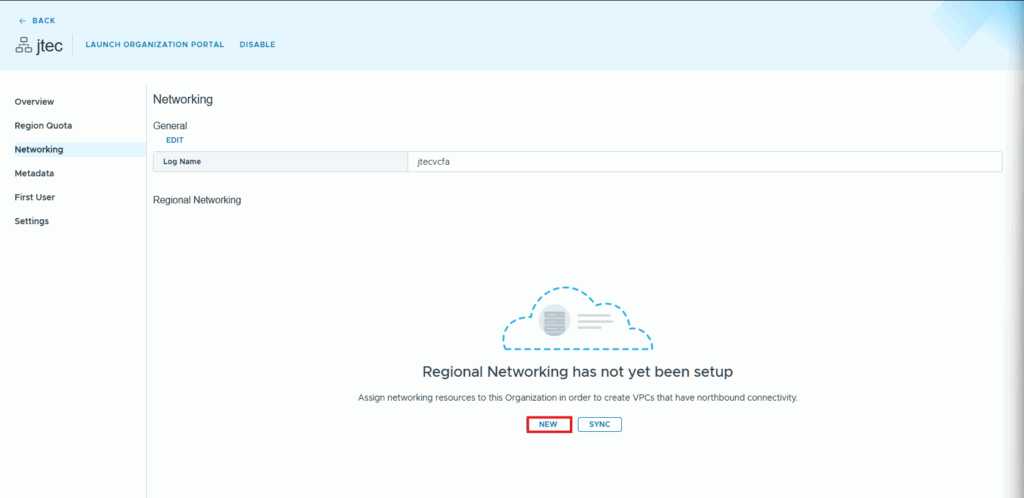
Click Edit under general as you notice there is a warning to setup a log name for the organization.
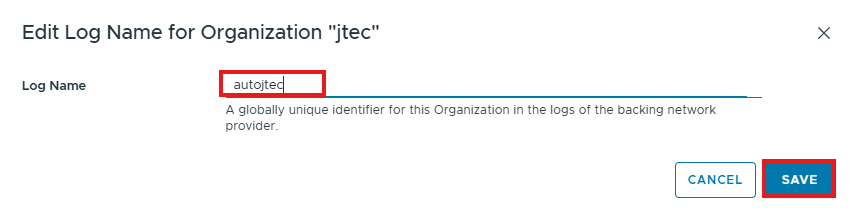
Provide a unique identifier for the organization, you are limited in length of the name so ensure it is easily recognizable. Click Save.
Click New under Regional Networking.
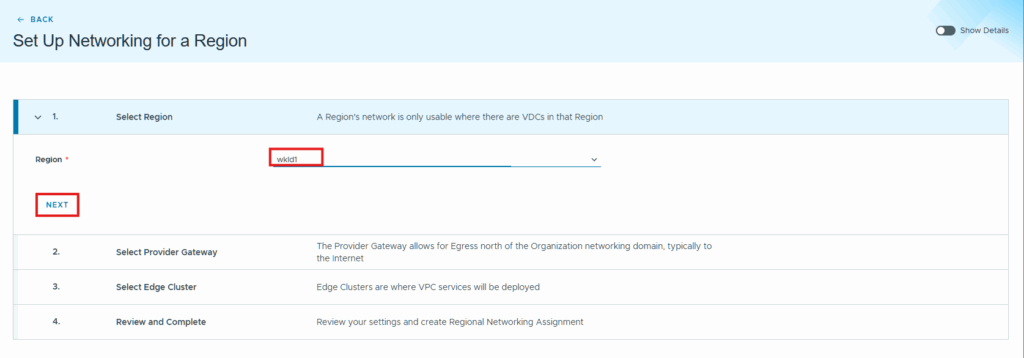
Select the region in the drop down and click Next.
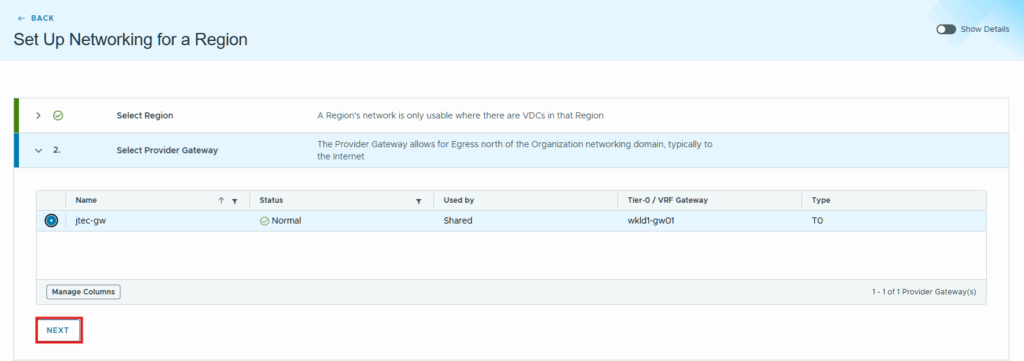
Click the radio button next to the provider gateway we want to use and click Next.
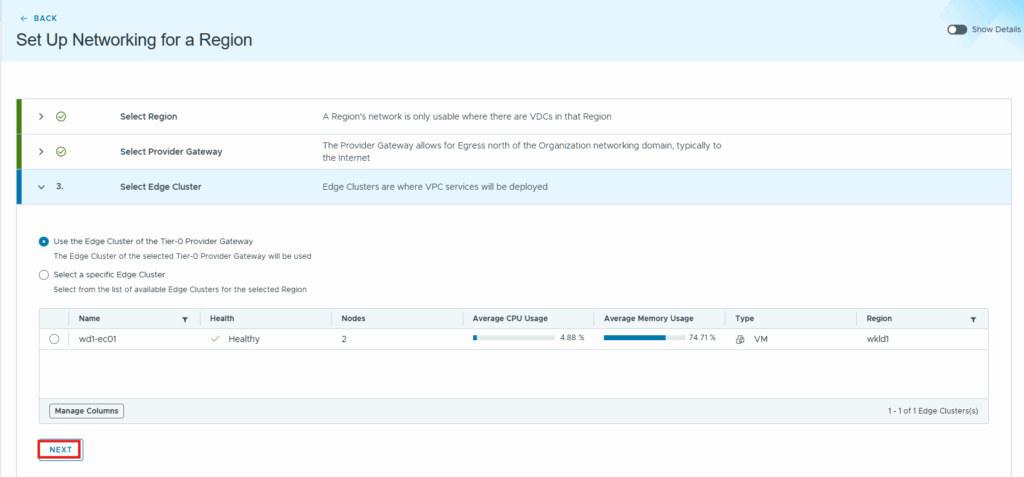
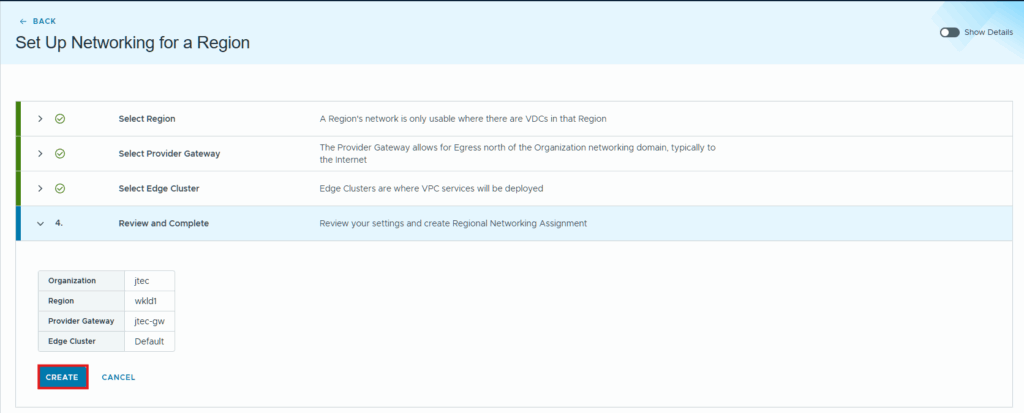
Click Next at the edge cluster selection, if you have multiple clusters on a single Tier 0 gateway you can specify a specific edge cluster as well.
Click Create to finish.
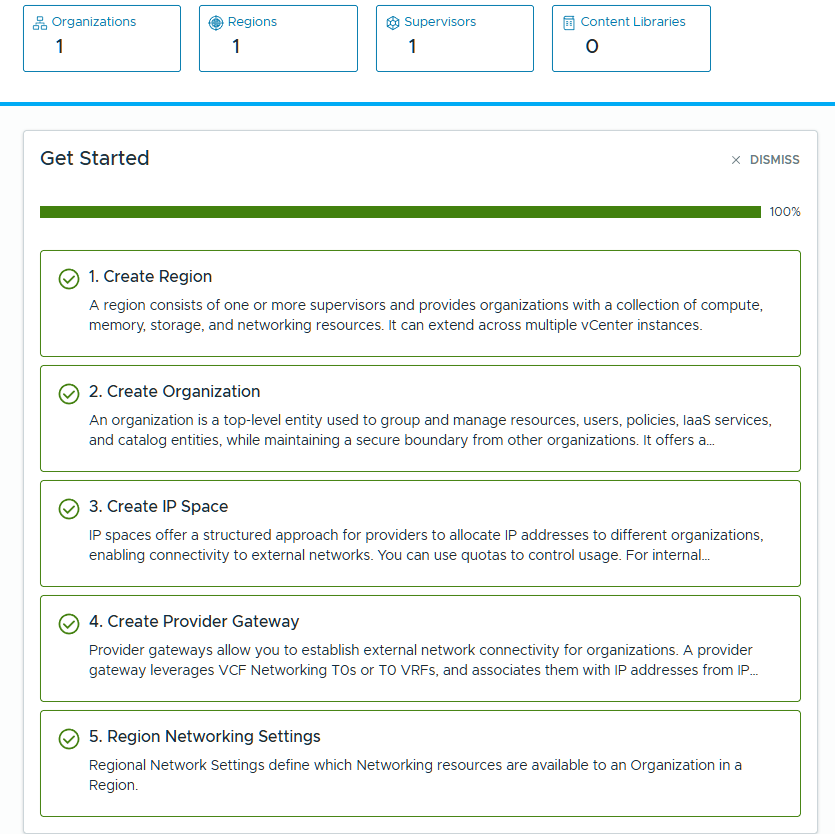
Once that has completed, click Infrastructure Overview.
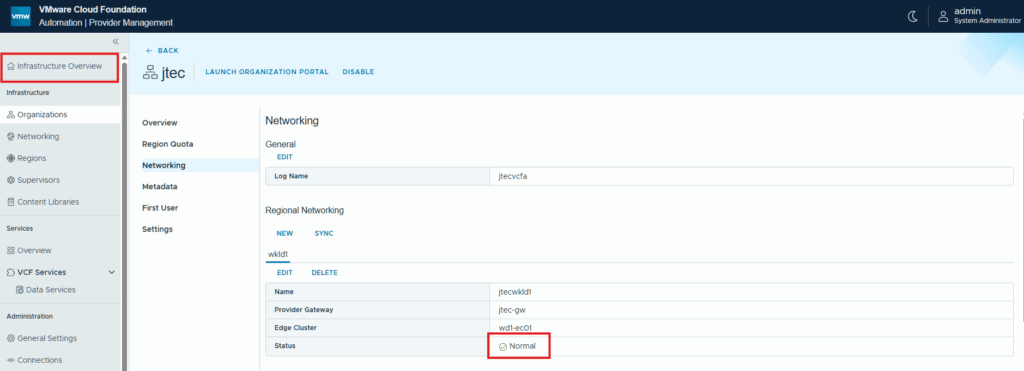
We have completed the setup process for VCF Automation with that organization.
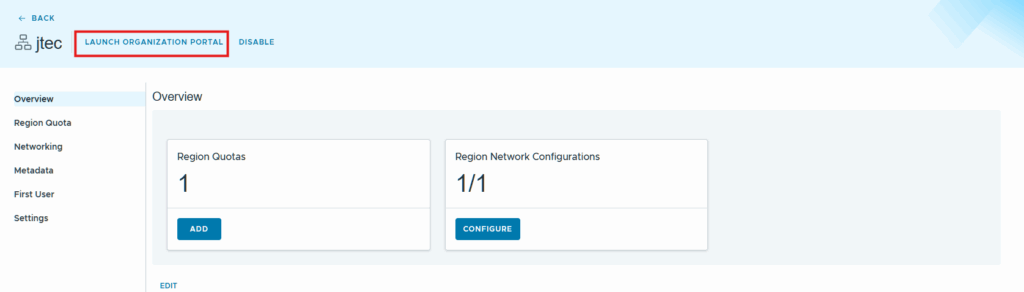
We can now click on Organizations.
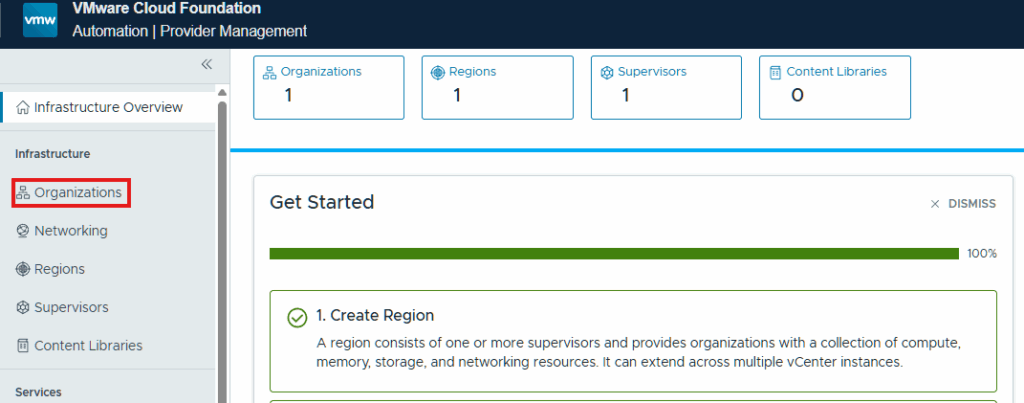
Click the organization we created.

Click Launch Organization Portal.
Our organization is up and running,
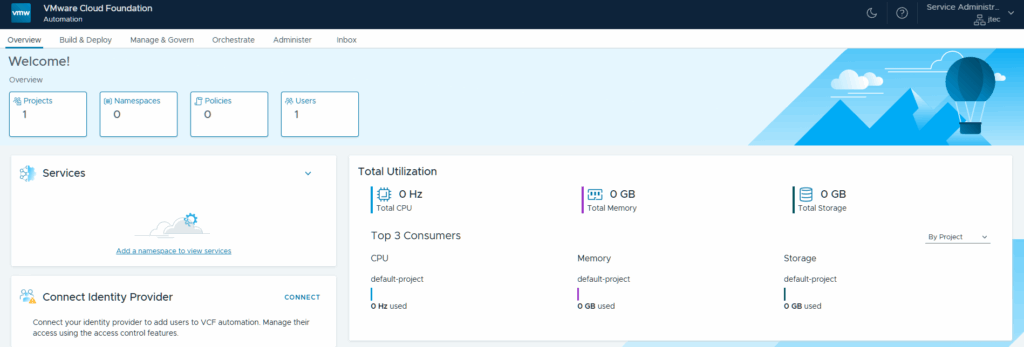
In future posts we will explore this organization setup further, in the meantime feel free to begin exploring.
Follow along with my VCF 9 Lab journey.