
Install Photon OS on ESXi for a VCF Lab
Install a Photon OS VM on ESXi for a VCF lab. Follow VM sizing, ISO installation and static network configuration for a future offline depot.
Overview
This Photon OS 5.0 virtual-machine walkthrough covers creating the VM on ESXi, installing the operating system and completing its initial configuration. It prepares an OS instance for lab use; it does not configure a finished offline depot.
Release used: Photon OS 5.0. I used the latest available Photon OS 5 image when preparing this walkthrough. The exact ISO build and package-update level are not recorded here. Use the Photon OS 5 documentation alongside these steps; the release name does not imply that the original installation has every subsequent update.
In this post I am going to walkthrough the deployment of a photon virtual machine and this particular virtual machine will be used for VCF Offline depot appliance.
Requirements
- Photon OS ISO downloaded from VMware GitHub and uploaded to a datastore on the ESXi host
Photon Virtual Machine Deployment
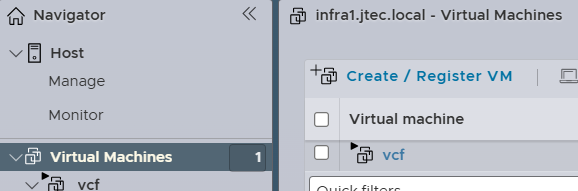
We will start the photon deployment by logging into the ESXi host and clicking on Virtual Machines in the left hand column. Then click on Create/Register VM
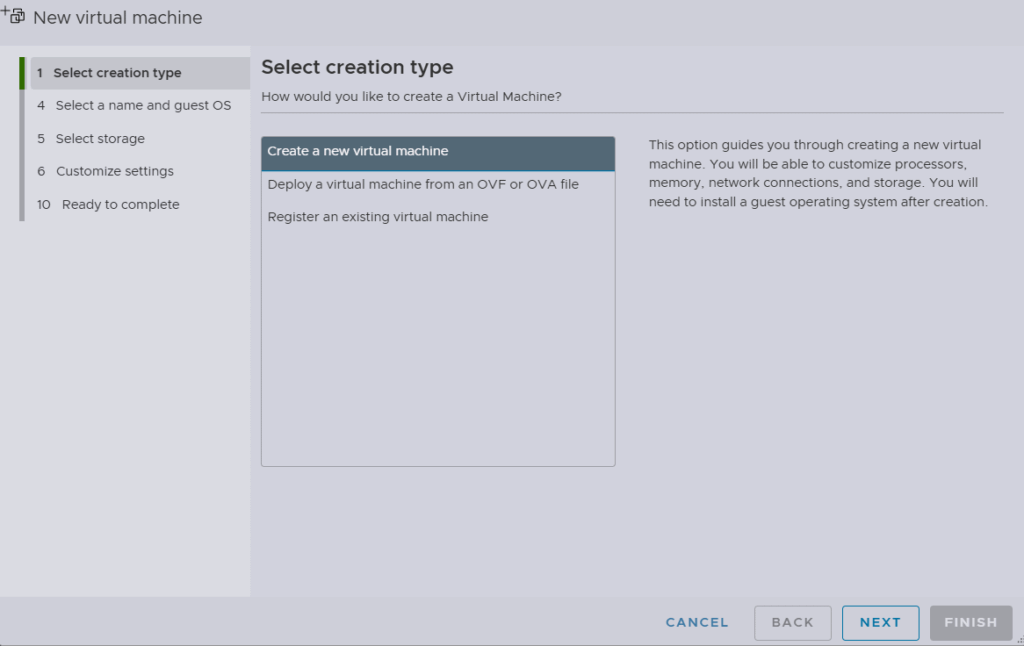
Select Create a new virtual machine and click Next
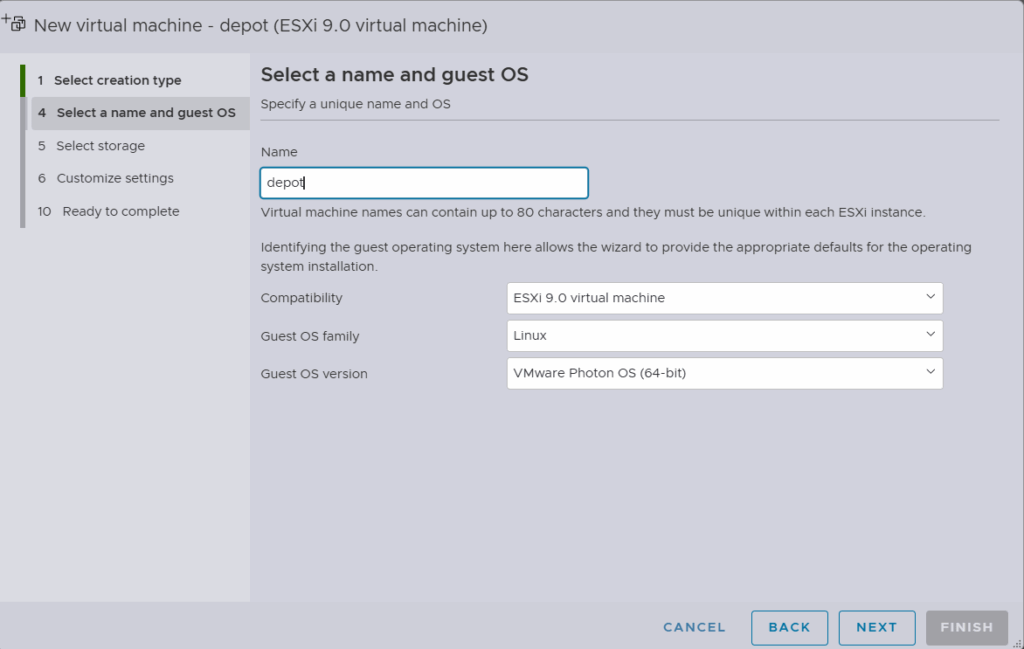
Enter a name for the virtual machine, leave compatibility at the latest version, select Linux for Guest OS Family and select VMware Photon OS for Guest OS version. Click Next
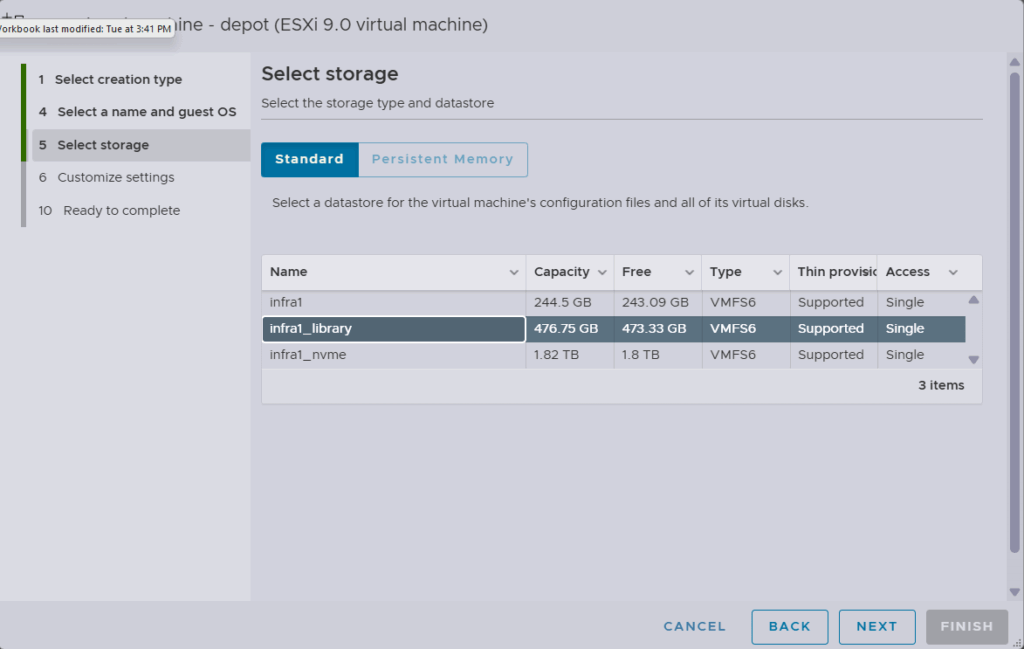
Choose a datastore for the virtual machine and click Next
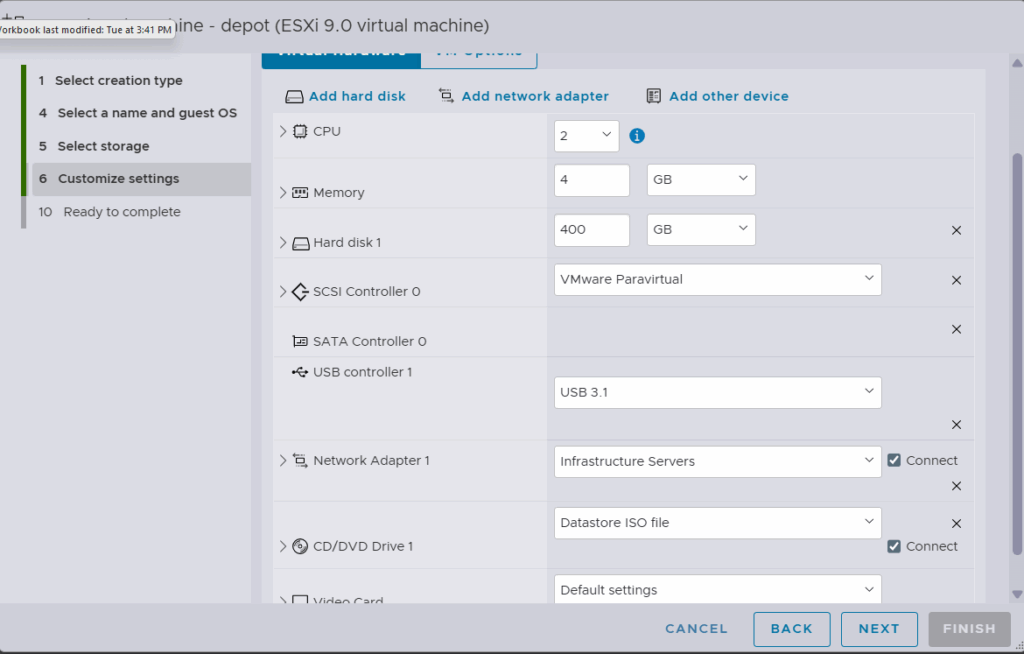
In Customize settings, the configuration shown for my lab is:
CPU – 2
Memory – 4 GB
Hard Disk – 400 GB
Storage sizing note: The 400 GB disk is my lab allocation, not a minimum requirement or a sizing recommendation for Photon OS or a VCF offline depot. Choose capacity for the operating system, the depot files you plan to retain, and space for downloads and future growth. This walkthrough installs Photon OS 5.0; configuring and populating the offline depot is a separate step.
I have chosen to keep everything on the primary hard drive for ease of use, you can choose to add a secondary hard drive. On the CD/DVD drive, choose Datastore ISO file in the dropdown and pick the iso from your datastore.
Click Next
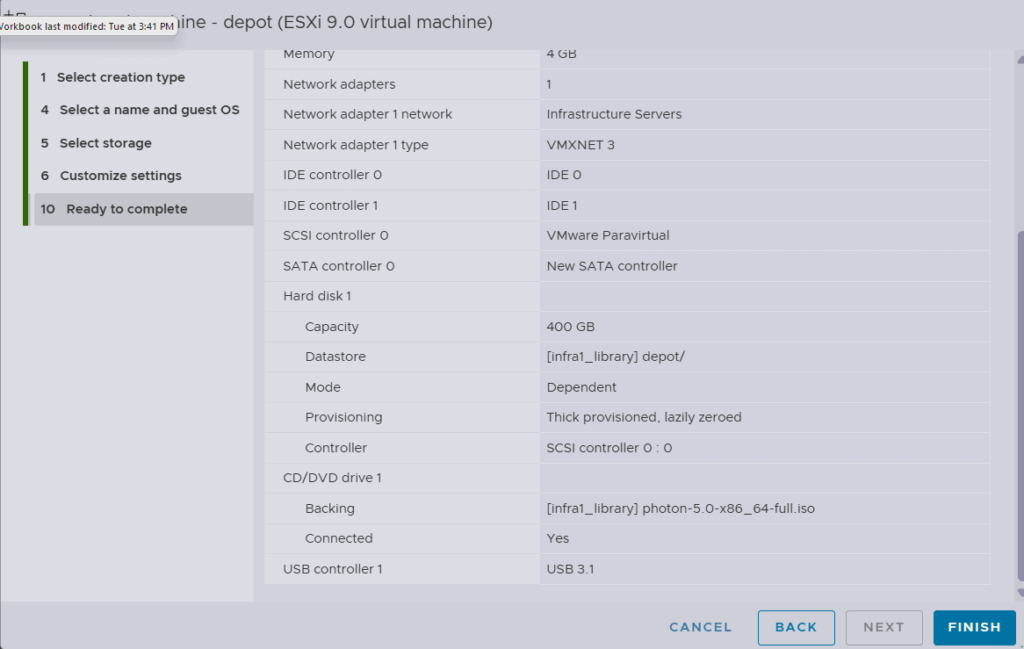
Review your configuration settings and click Finish
Install and configure Photon OS
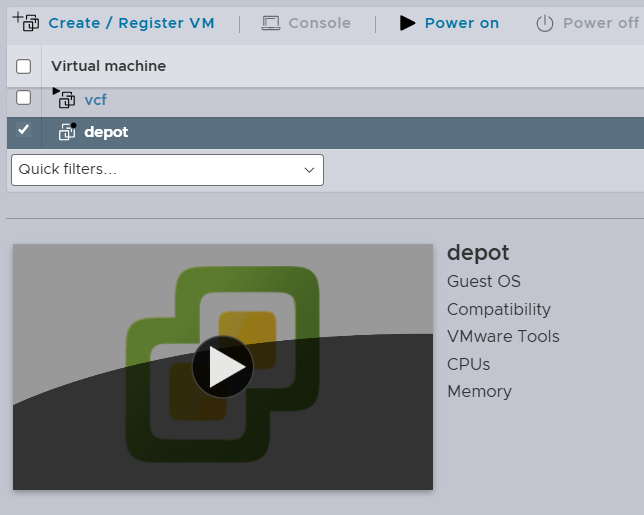
After clicking Finish, select the VM in the list and click Power On
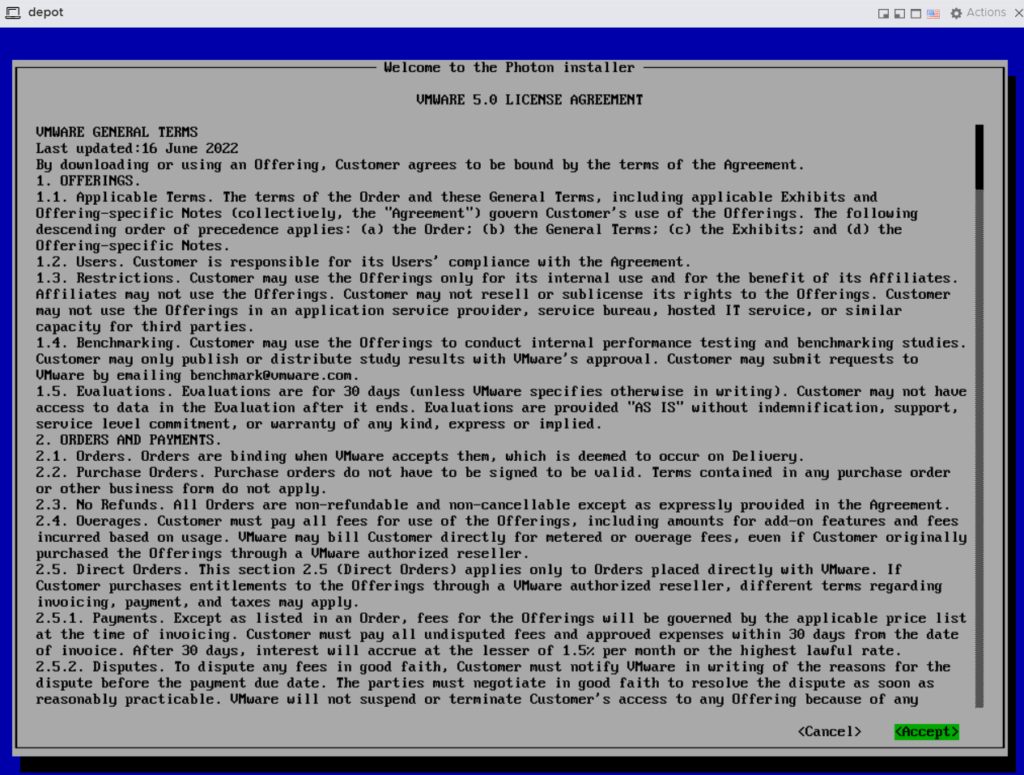
Open a console window to the Photon OS virtual machine by clicking on the VM Name, after the Photon ISO boots up you will see the license agreement page. Review the terms and hit Enter to accept.
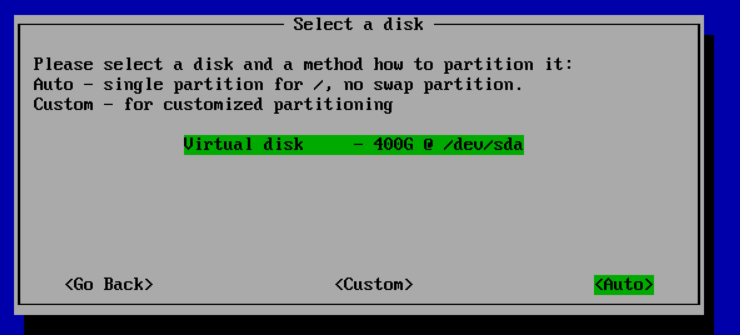
Then select the disk for install and I leave the partitioning to auto since I will be using this single hard drive for everything, Hit Enter to continue
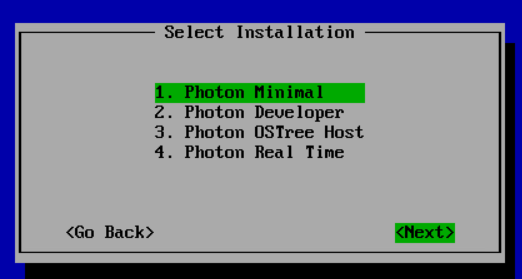
I am going to be installing Photon Minimal as this will be a basic web server only and hit Enter to continue
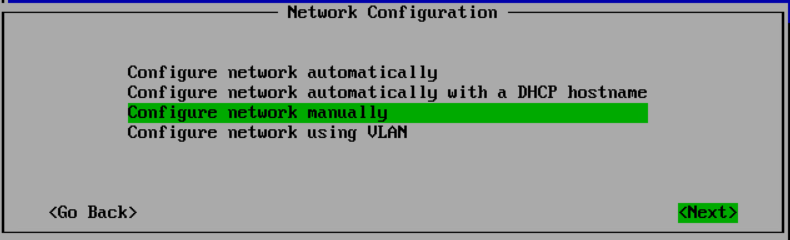
Under Network Configuration, click the down arrow to select the Configure network manually and hit Enter to continue
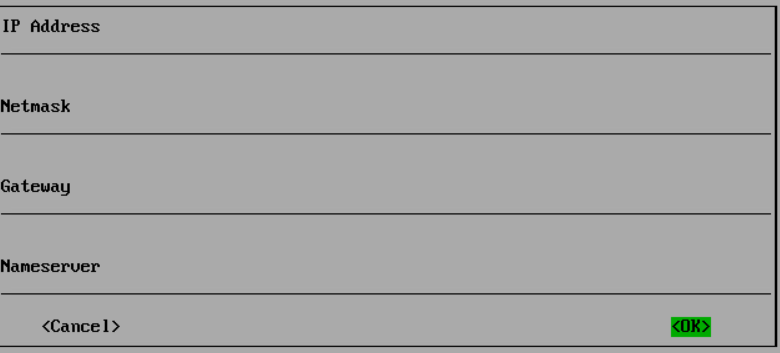
Enter in the IP address, netmask, gateway and DNS server for your depot appliance and hit enter to continue
Click the down arrow to select VMware hypervisor optimized for the linux kernel to install and hit Enter to continue
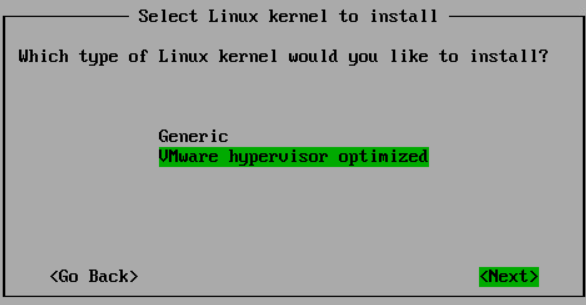
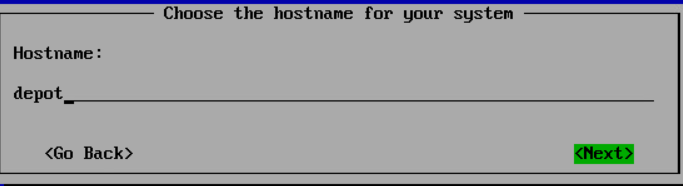
Key in the hostname for you depot appliance and hit Enter to continue
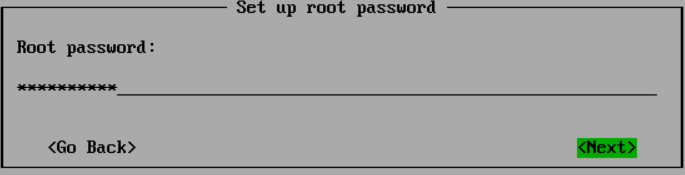
Key in a root password the appliance and hit Enter to continue
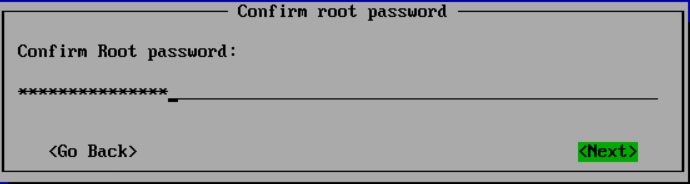
Confirm the root password and hit Enter to continue
At the confirm screen hit Enter to continue
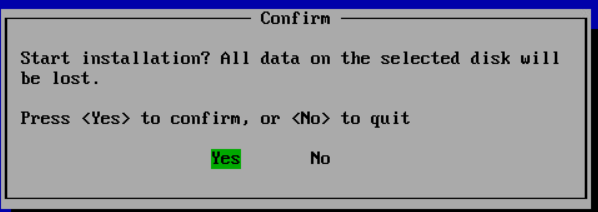
Photon will begin installing
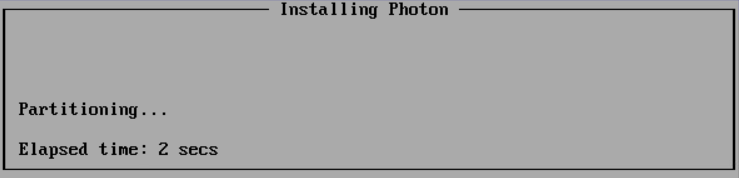
After installation has completed, hit Enter to continue
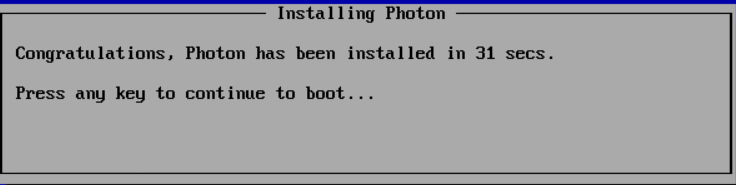
Disconnect the installation media
After it reboots, I right-click on the virtual machine and select Edit Settings. Then click the dropdown for CD/DVD drive and select Host Device. Click Save. This is just a housekeeping thing I do after having an ISO mounted to a virtual machine just in case it causes an issue later on if I was to move that VM or remove the ISO from the datastore.