
Photon OS has become a stable in my lab environments recently as its capabilities have increased, my initial plans are to use Photon for my SFTP backups for VMware products and also the offline depot for VCF Installer to simulate an air-gapped network which is a common experience for the customers I work with.
In this post I am going to walkthrough the deployment of a photon virtual machine and this particular virtual machine will be used for VCF Offline depot appliance.
Requirements
- Photon OS ISO downloaded from VMware GitHub and uploaded to a datastore on the ESXi host
Photon Virtual Machine Deployment
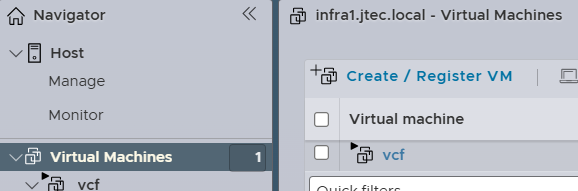
We will start the photon deployment by logging into the ESXi host and clicking on Virtual Machines in the left hand column. Then click on Create/Register VM
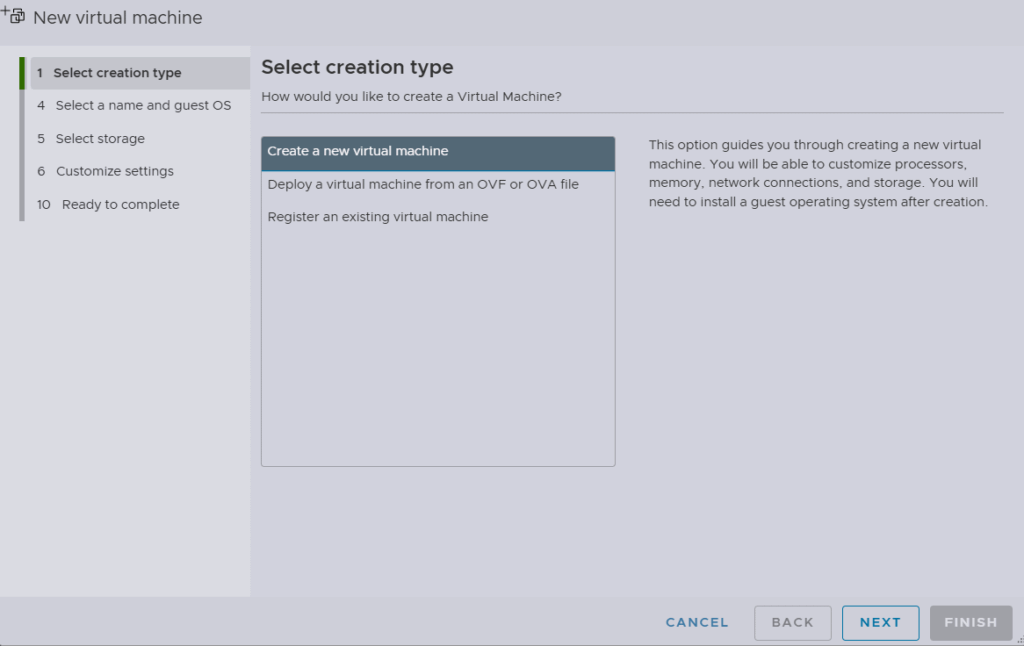
Select Create a new virtual machine and click Next
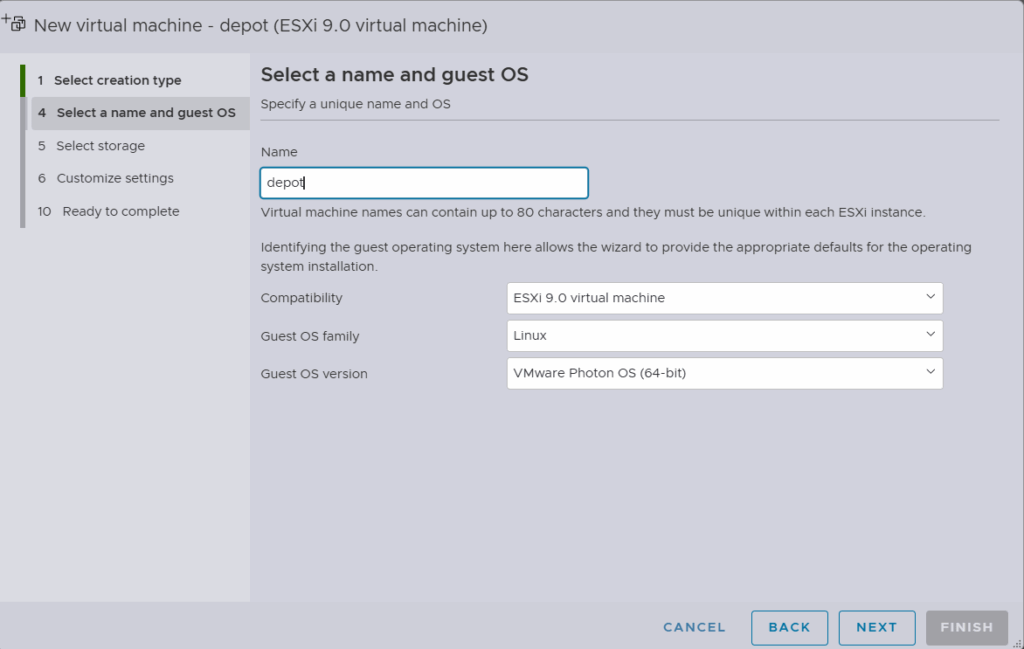
Enter a name for the virtual machine, leave compatibility at the latest version, select Linux for Guest OS Family and select VMware Photon OS for Guest OS version. Click Next
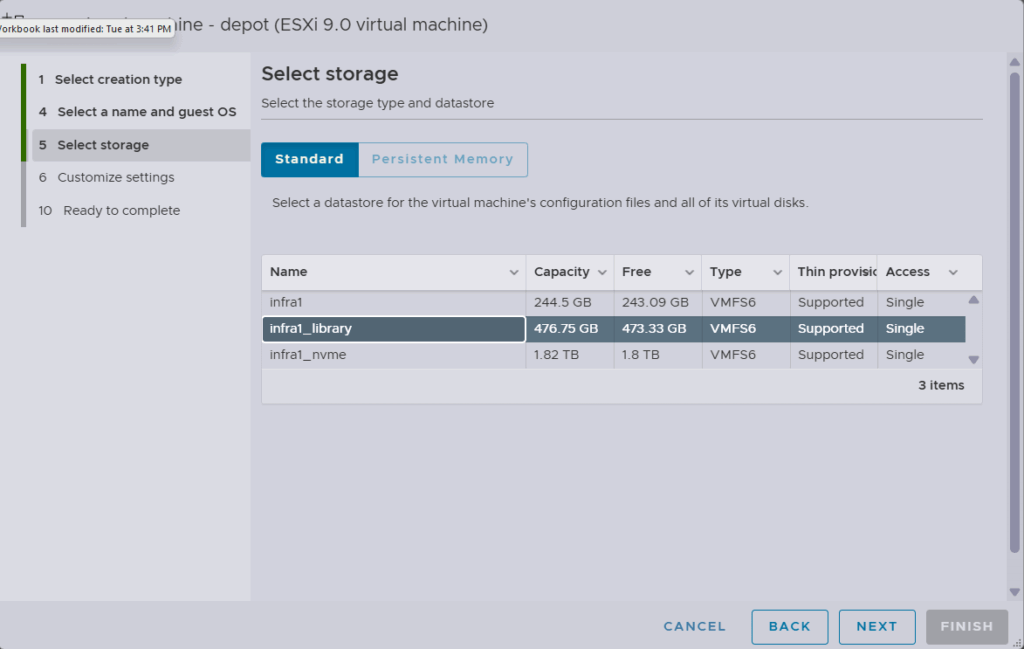
Choose a datastore for the virtual machine and click Next
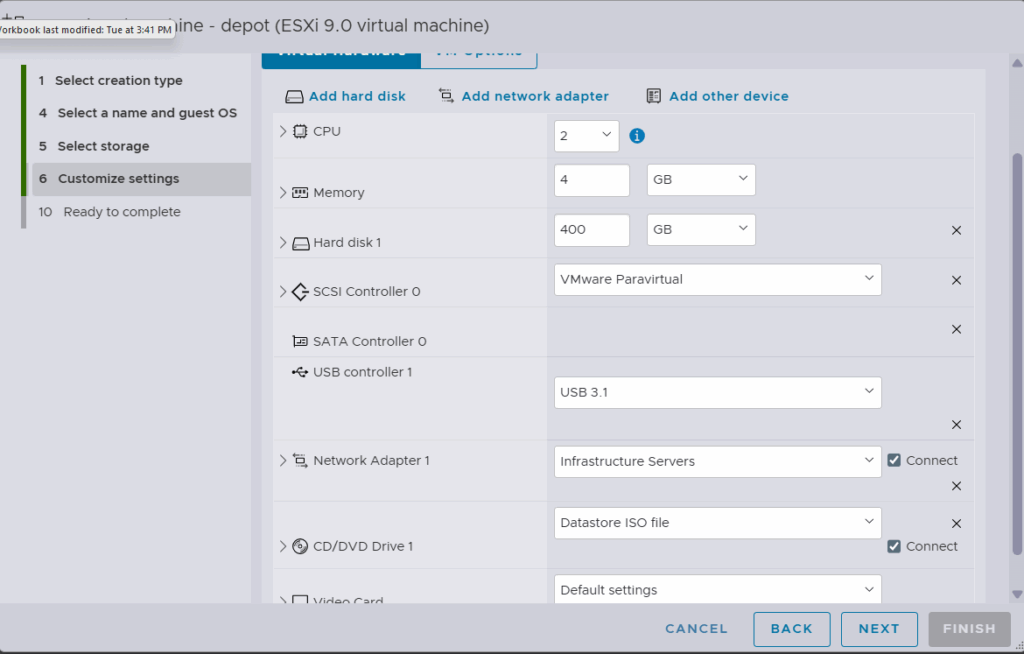
In the Customize settings, select:
CPU – 2
Memory – 4GB
Hard Disk – 400GB
I have chosen to keep everything on the primary hard drive for ease of use, you can choose to add a secondary hard drive. On the CD/DVD drive, choose Datastore ISO file in the dropdown and pick the iso from your datastore.
Click Next
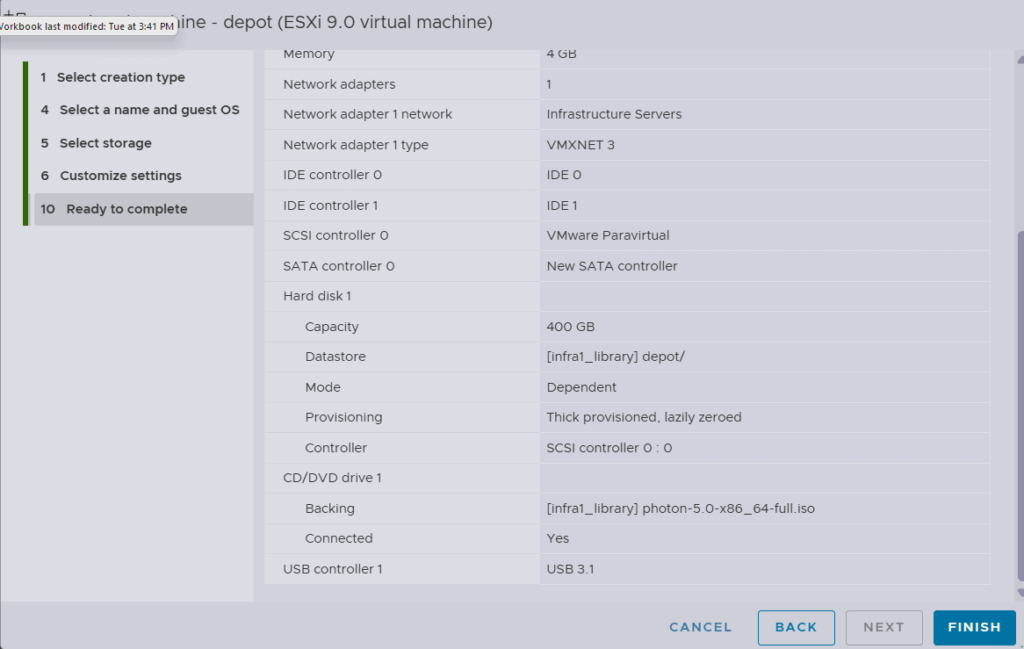
Review your configuration settings and click Finish
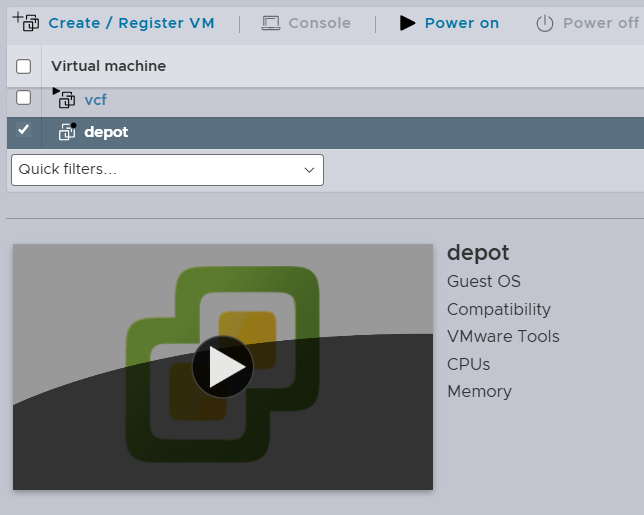
After clicking Finish, select the VM in the list and click Power On
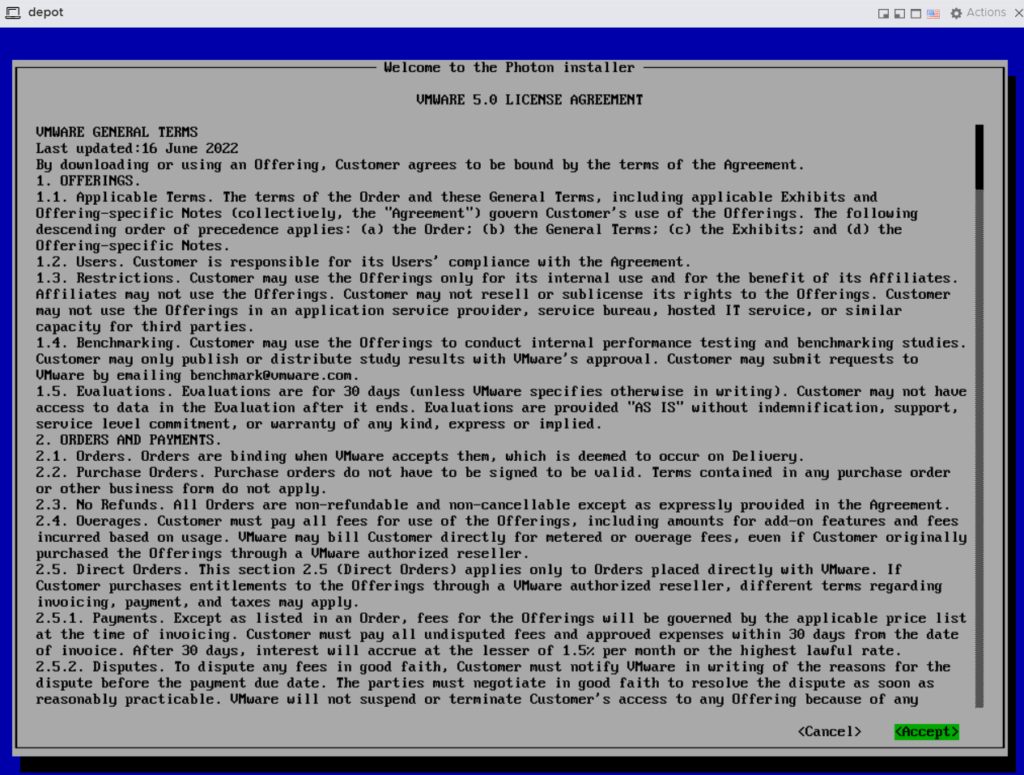
Open a console window to the Photon OS virtual machine by clicking on the VM Name, after the Photon ISO boots up you will see the license agreement page. Review the terms and hit Enter to accept.
Then select the disk for install and I leave the partitioning to auto since I will be using this single hard drive for everything, Hit Enter to continue

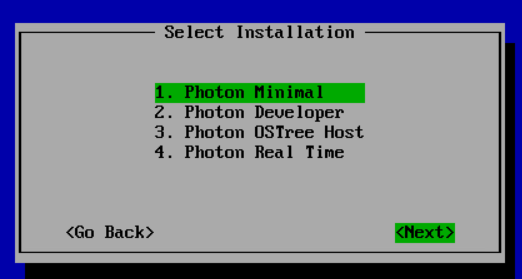
I am going to be installing Photon Minimal as this will be a basic web server only and hit Enter to continue
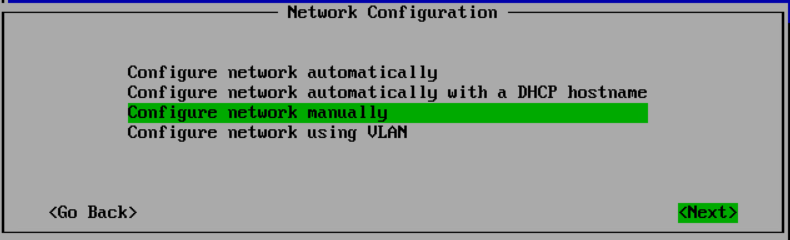
Under Network Configuration, click the down arrow to select the Configure network manually and hit Enter to continue
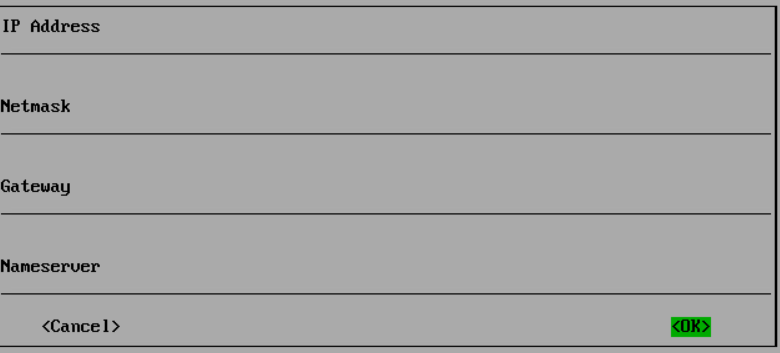
Enter in the IP address, netmask, gateway and DNS server for your depot appliance and hit enter to continue
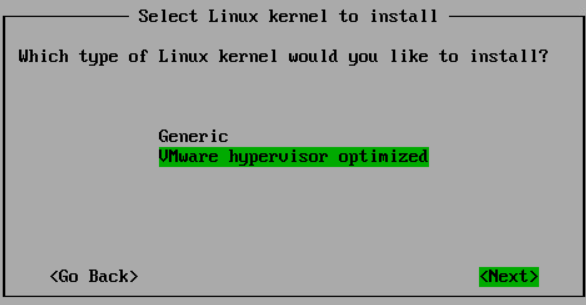
Click the down arrow to select VMware hypervisor optimized for the linux kernel to install and hit Enter to continue
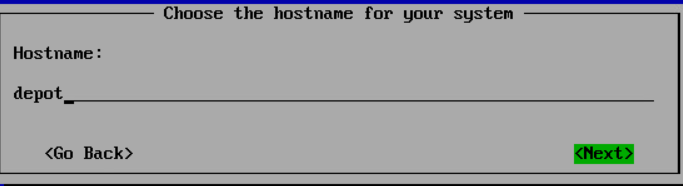
Key in the hostname for you depot appliance and hit Enter to continue
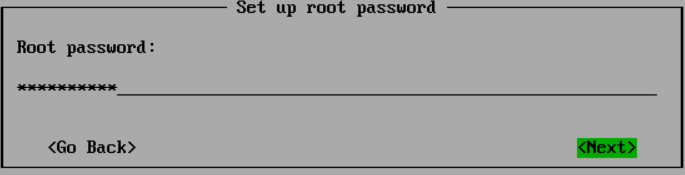
Key in a root password the appliance and hit Enter to continue
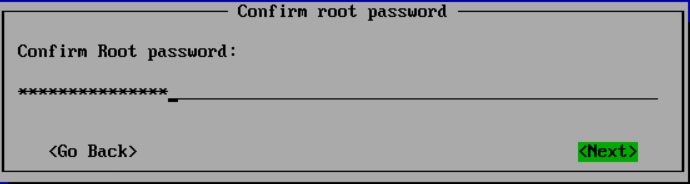
Confirm the root password and hit Enter to continue
At the confirm screen hit Enter to continue
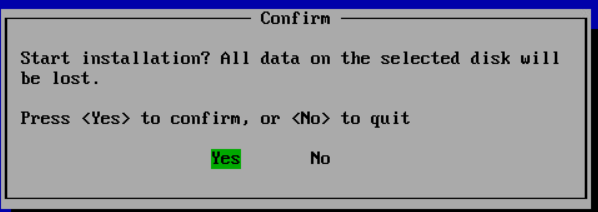
Photon will begin installing
After installation has completed, hit Enter to continue

After it reboots, I right-click on the virtual machine and select Edit Settings. Then click the dropdown for CD/DVD drive and select Host Device. Click Save. This is just a housekeeping thing I do after having an ISO mounted to a virtual machine just in case it causes an issue later on if I was to move that VM or remove the ISO from the datastore.