Circling back to discuss my first VCF Import with version 9, I wanted my infrastructure cluster and VCF management cluster to share a common identity broker. The only way to achieve this is to have them connected to the same VCF Fleet manager. I could have done a full rebuild and VCF deployment on my 2 node infrastructure cluster. However, I already had some VMs running on them and didn’t want to spend time moving them off and rebuilding, so importing is what I went with.
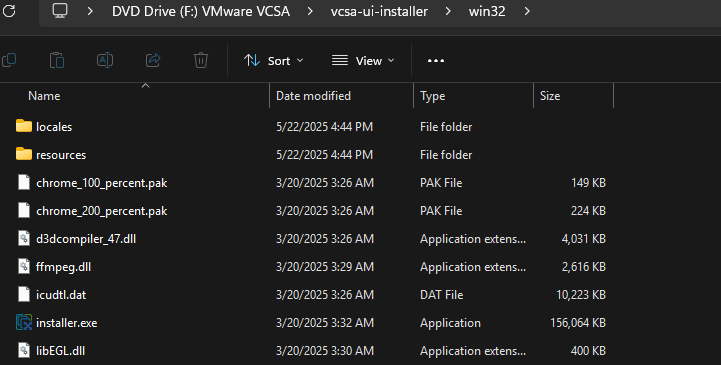
In order to perform a VCF import, it requires a vCenter to be deployed already. So that was my first step. This is a fairly straightforward process. You will need to download the vCenter server ISO from support.broadcom.com if you don’t already have it. Then mount it to your workstation and start up the GUI installer. Follow through the Install option screens to deploy on one of the infrastructure hosts.
With the vCenter deployed, you will have to create a datacenter and cluster, then add the hosts to that cluster. Once the hosts are added, I created a distributed virtual switch for both hosts. I also created the necessary port groups I would need.
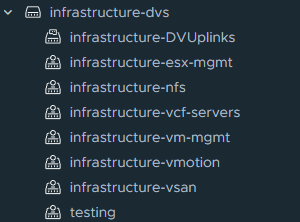
The I added my hosts to that distributed virtual switch and migrated everything over. After migrating to the distributed switch, I removed the standard switch. Then, I began deploying the VMkernel adapters I would need. I usually have my vSAN and vMotion NICs setup for DHCP. Since I am performing a VCF Import, they are going to need static configurations. Below is what both of my host VMkernel configurations are:

Now with that configured and setup, I needed to decide what components I was going to re-use. I have the VCF installer on this cluster, but I wanted to maintain that for future deployments. Therefore, everything but vCenter will be deployed with this import.
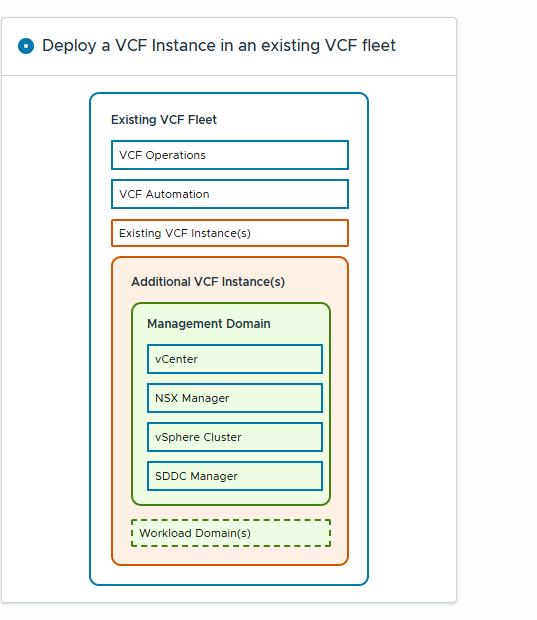
In the VCF installer select Deployment Wizard > VMware Cloud Foundation. Since this is an import, I will select Deploy a VCF Instance in an existing VCF Fleet and click Continue.
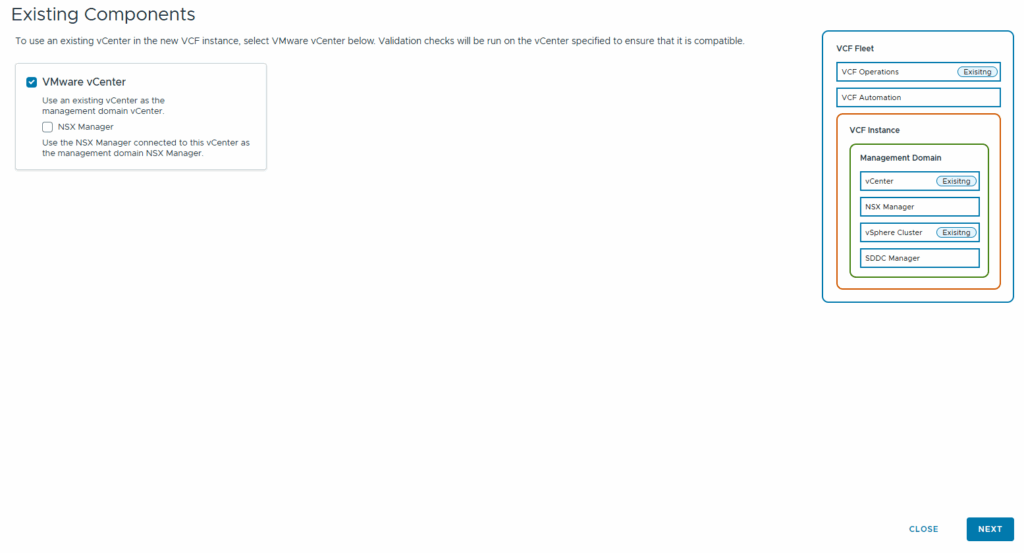
In the existing components screen, click the checkbox for VMware vCenter and click Next.
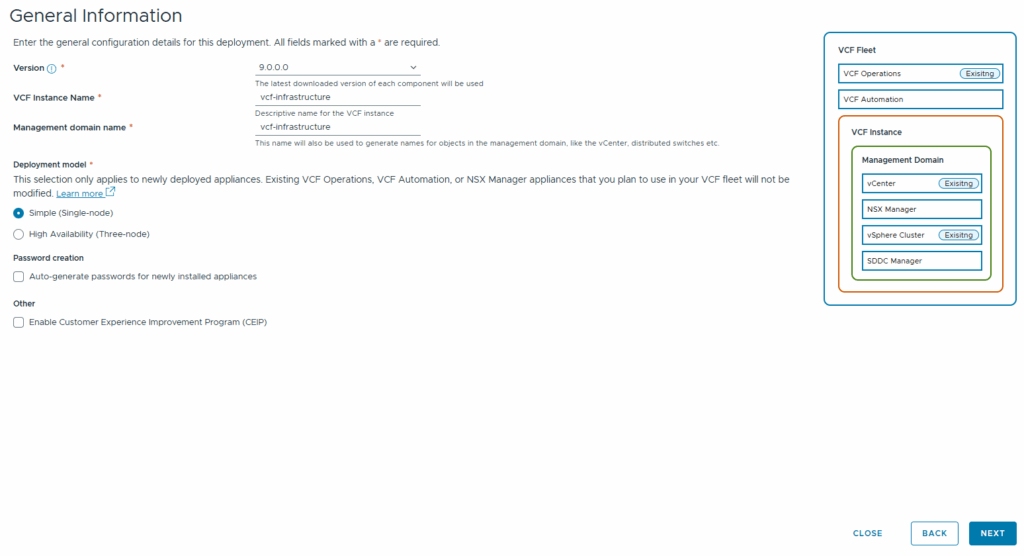
At the General Information screen, enter the VCF Instance and Management domain name. Select the deployment model you want to use. I chose Simple (Single-Node) because I don’t need high availability for a lab. Click Next
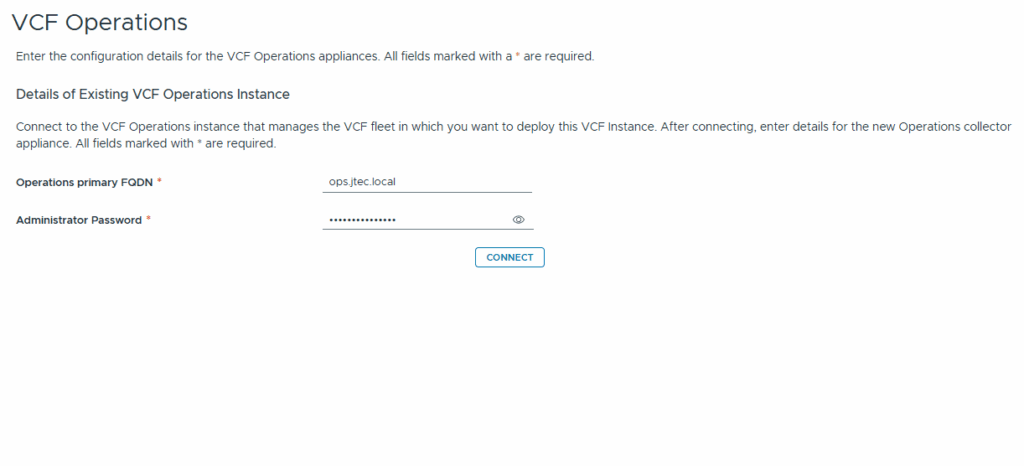
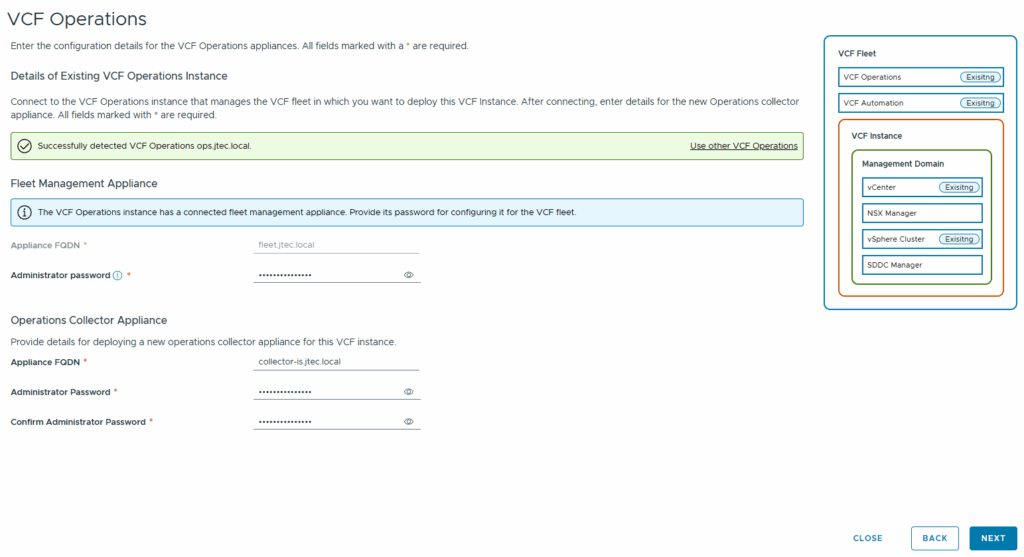
On the VCF Operations screen, enter in your currently deployed VCF Operations FQDN and the administrator password, then click Connect
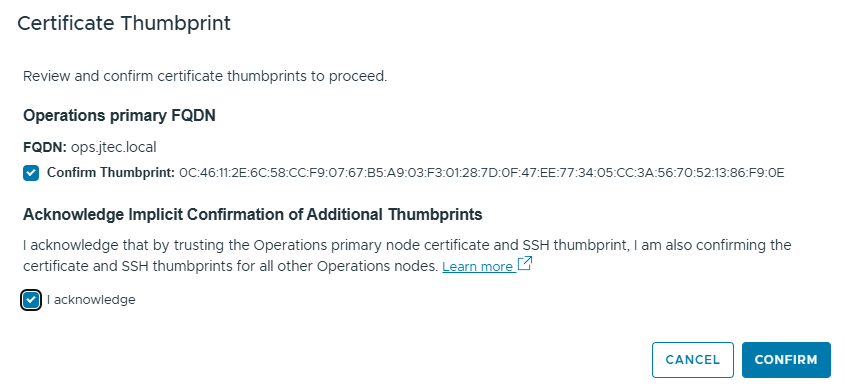
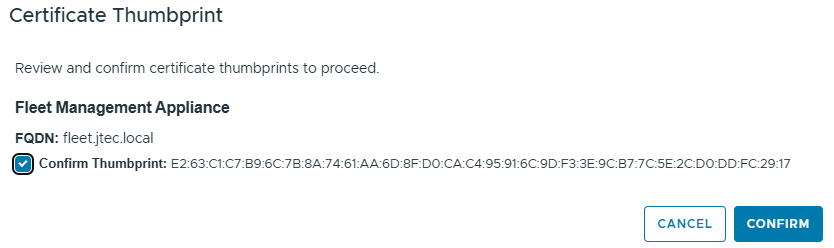
After clicking Connect, you will receive a Certificate Thumbprint pop-up that requires you to confirm the thumbprint. Acknowledge the trust. Then click Confirm
It will return you to the VCF Operations screen. It will ask for the Fleet Management administrator password. An FQDN and Administrator password for a new collector appliance will also be needed. This will be deployed on the imported cluster.
Another Certificate Thumbprint pop-up will appear for the VCF Fleet Manager, click Confirm after confirming the thumbprint
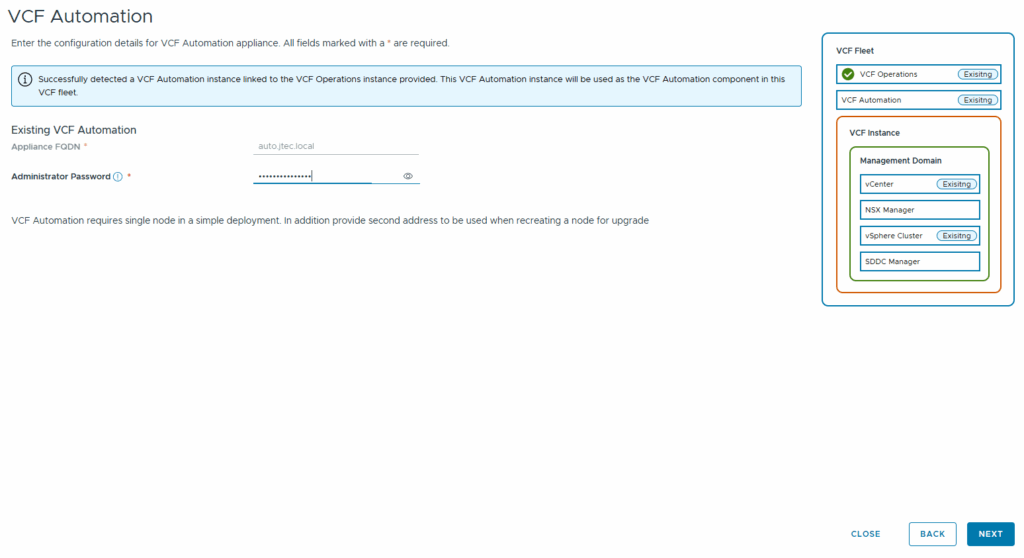
If you have VCF Automation deployed, it will be detected as well. It will require you to input the administrator password for that appliance.
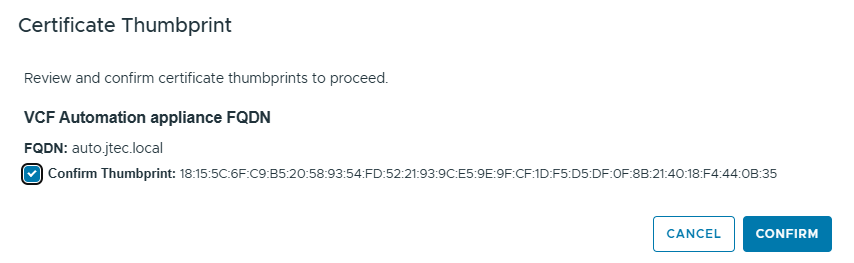
Another pop-up will appear asking you to confirm the certificate thumbprint. Click Confirm to continue
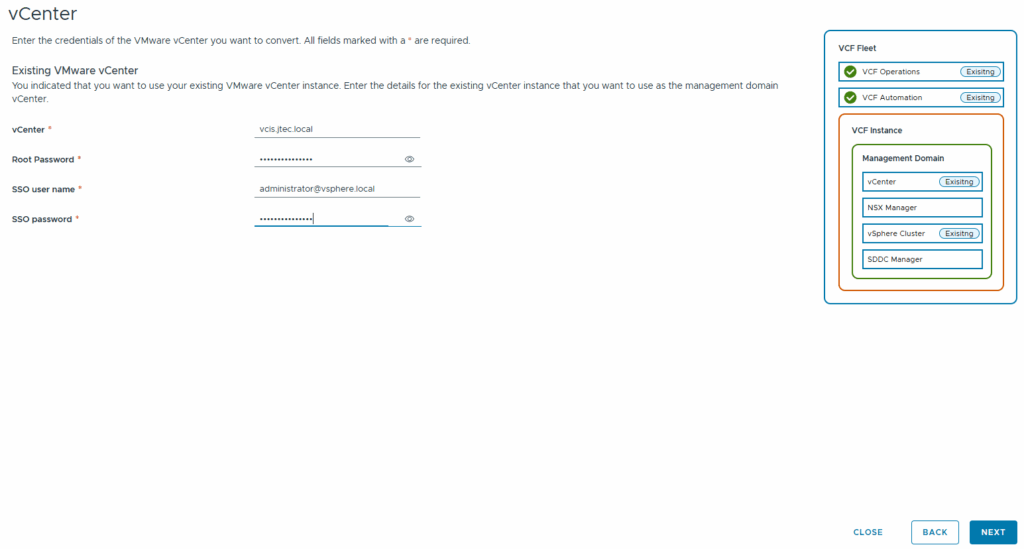
The installer will them ask you for the existing vCenter information, fill in the required information and click Next.
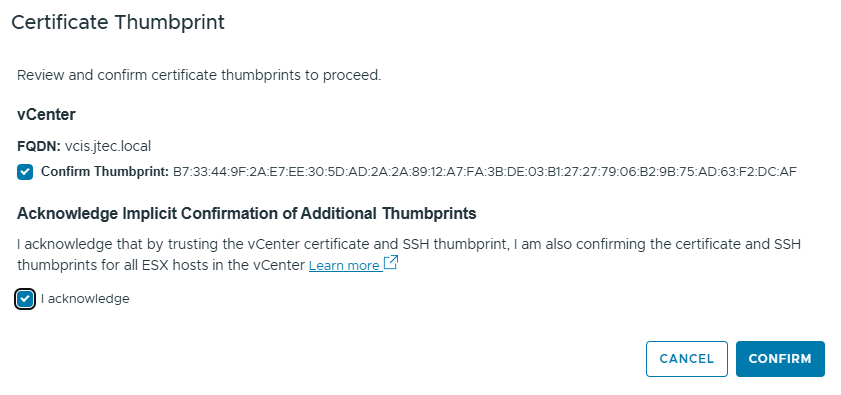
It will present a Certificate Thumbprint pop-up for the vCenter information, click Confirm after click the checkboxes
You then input the information for a new NSX manager deployment. The minimum appliance size is Medium. I tried to modify this in a JSON file after that fact to deploy a smaller appliance. It was overkill for such a small cluster, but VCF has a check ensuring at least a Medium appliance size is deployed.
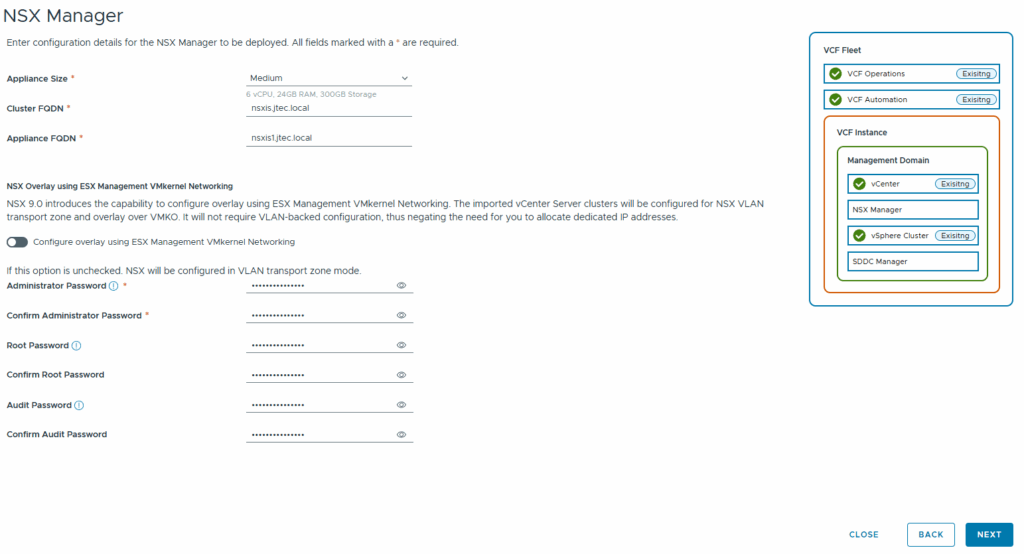
I also didn’t want it to configure the transport zone overlay on my management VMkernel so I disabled that option. Click Next.
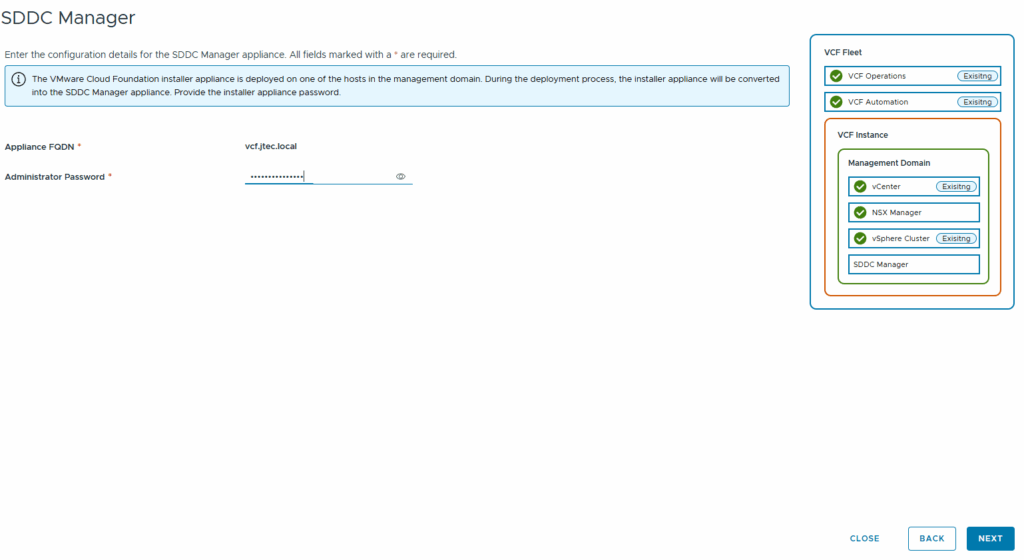
The SDDC manager screen is where I encountered an issue. As I mentioned earlier, my VCF installer was on this cluster so it automatically found it. It asked for the administrator password. There is no option to change this in the GUI. I continued on and changed this in the JSON spec at the end before I deployed. Click Next to continue.
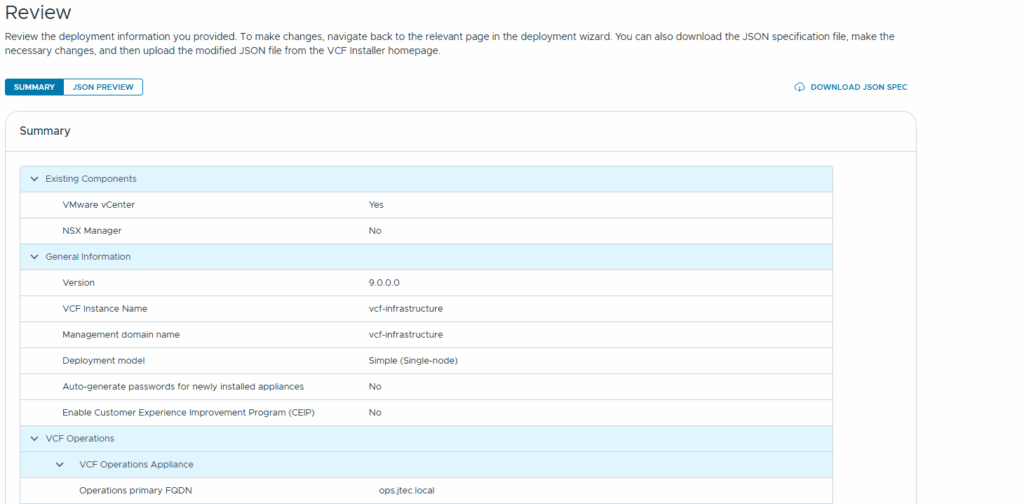
Once I got to the Review screen, I clicked the Download JSON Spec in the top right-hand corner. Then clicked on Close.
I wanted to modify the JSON to deploy a new SDDC manager, so I didn’t let it validate yet. In the JSON spec, you will want to search for the “sddcManagerSpec”. Modify it to not use the existing deployment if you want to deploy a new SDDC Manager. An example of mine is below:
“sddcManagerSpec”:{“hostname”:”sddcis.local”,”useExistingDeployment”:false,”rootPassword”:”Password”,”sshPassword”:”Password”,”localUserPassword”:”Password”}
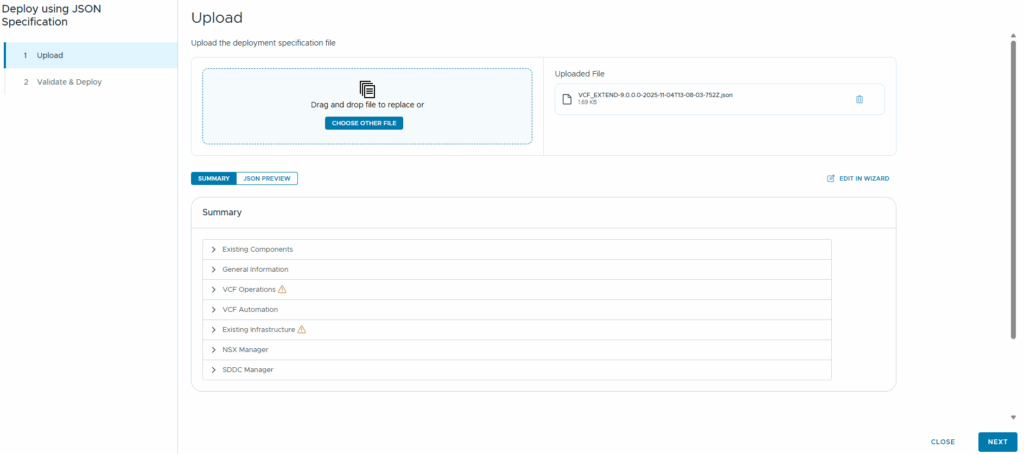
After closing, it may show that a deployment is in progress in the VCF installer. Just click Cancel and select Deploy using JSON Spec if you modified the JSON file. In the Upload screen, browse to the JSON. You will be able to validate settings prior to validation.
After validation has completed, address any outstanding issues and re-run the validations until you only have warnings left. Then click Deploy and the VCF installer will import the current cluster and deployed the necessary appliances.
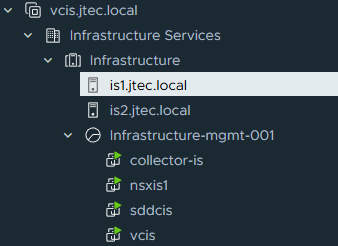
Once my cluster was imported, it put all the appliance in a resource pool on the cluster.