
In a previous post, I deployed the external identity broker to handle single sign on in my lab environment. If you want to follow along with the deployment, click here.
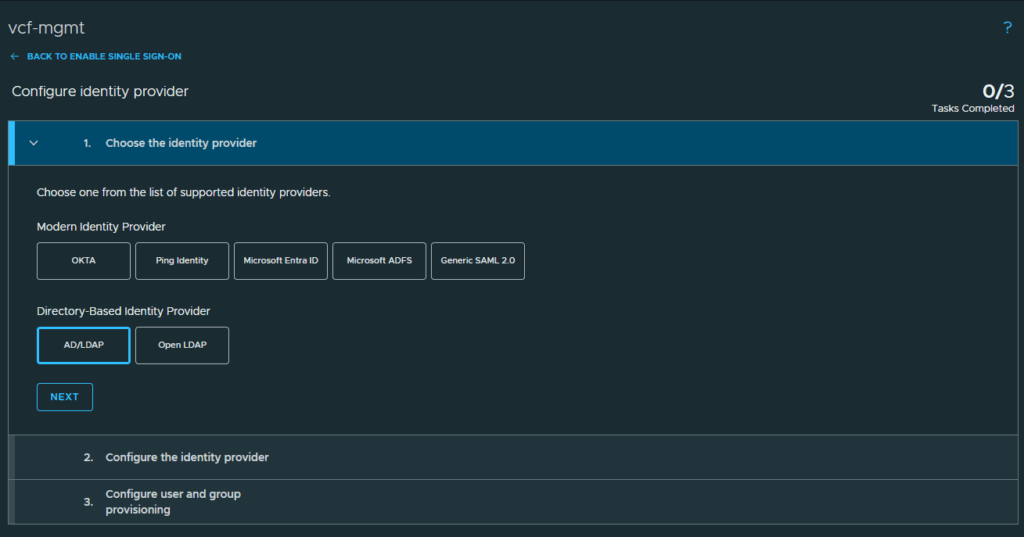
For this lab, I have built an active directory domain to use for my identity provider. VCF 9 has the capability of supporting the following identity providers.
- OKTA
- Ping Identity
- Microsoft Entra ID
- Microsoft ADFS
- Generic SAML 2.0
- Open LDAP
- AD/LDAP
After deploying identity broker, I can configure single sign on for all my VCF components. Start by logging into the VCF Operations web gui and expand Fleet Management. Then click on Identity & Access

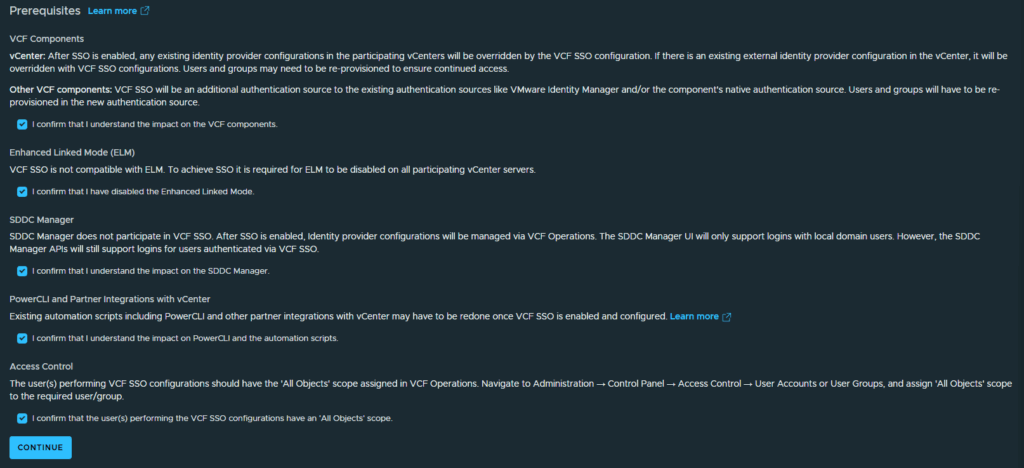
Review the Prerequisites and click the checkboxes next to each confirmation, then click Continue
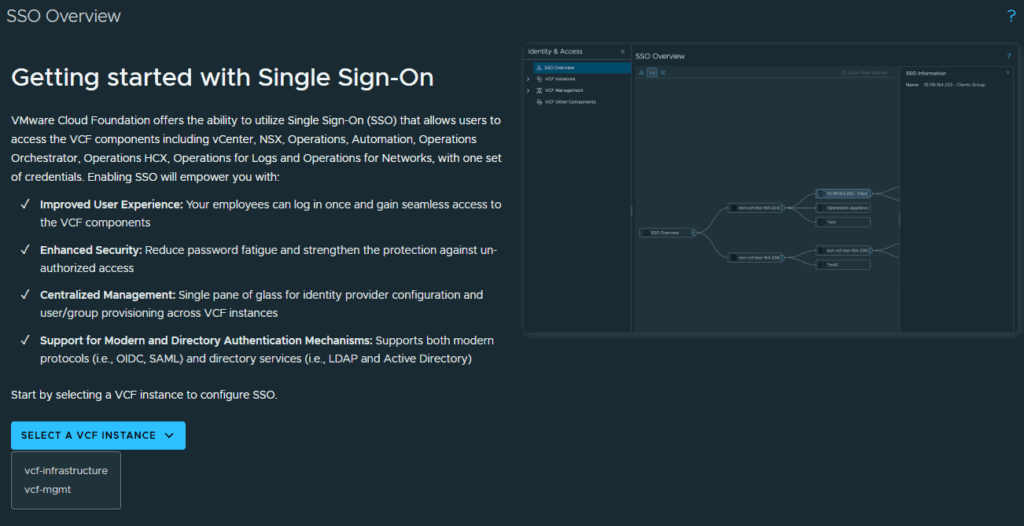
In the SSO Overview screen, click the dropdown to select which VCF Instance you are configuring. I am configuring my vcf-mgmt domain first.
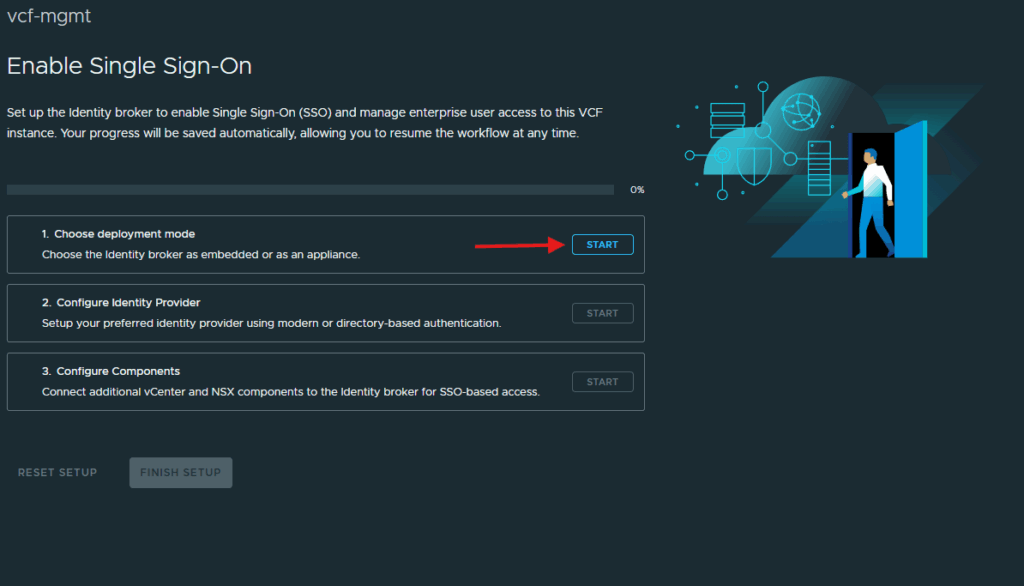
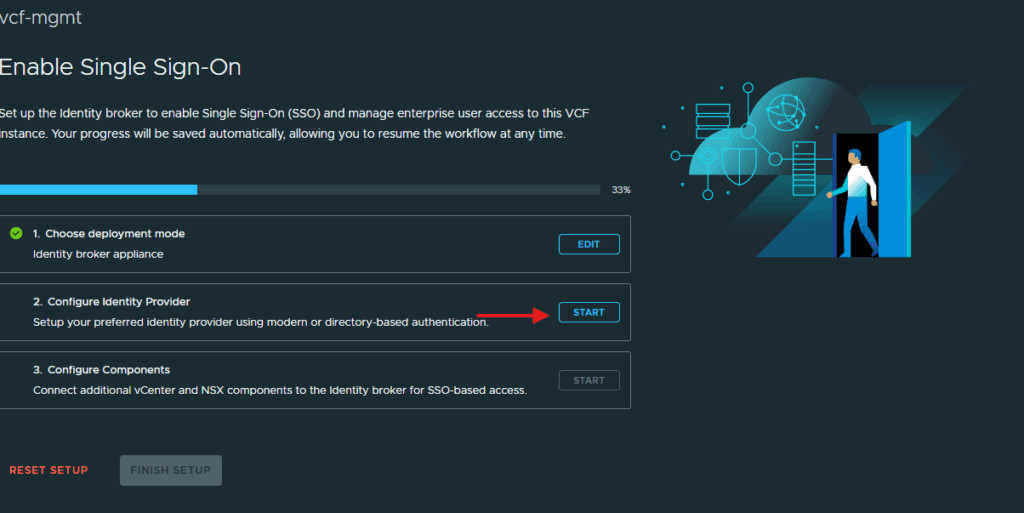
Click on Start under Choose deployment mode.
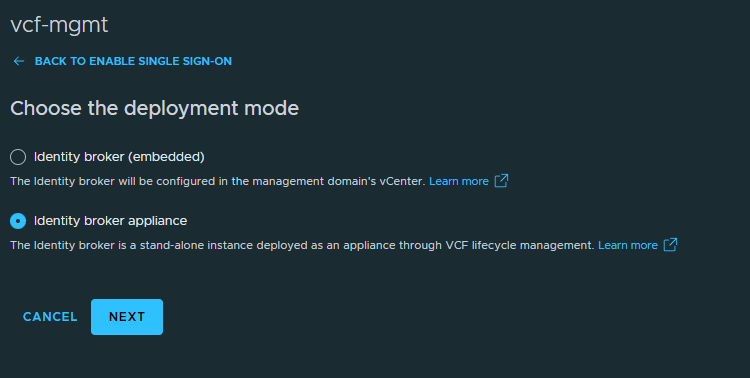
Select the radio button next to Identity broker appliance and click Next
Click on Start next to Configure Identity Provider.
I will be using Active Directory for my identity provider in this lab so select the AD/LDAP provider and click Next
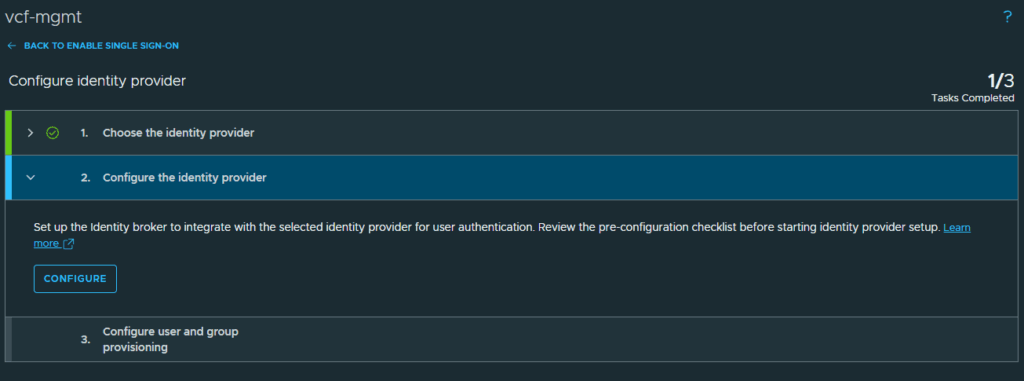
Click Configure in the Configure the identity provider section.
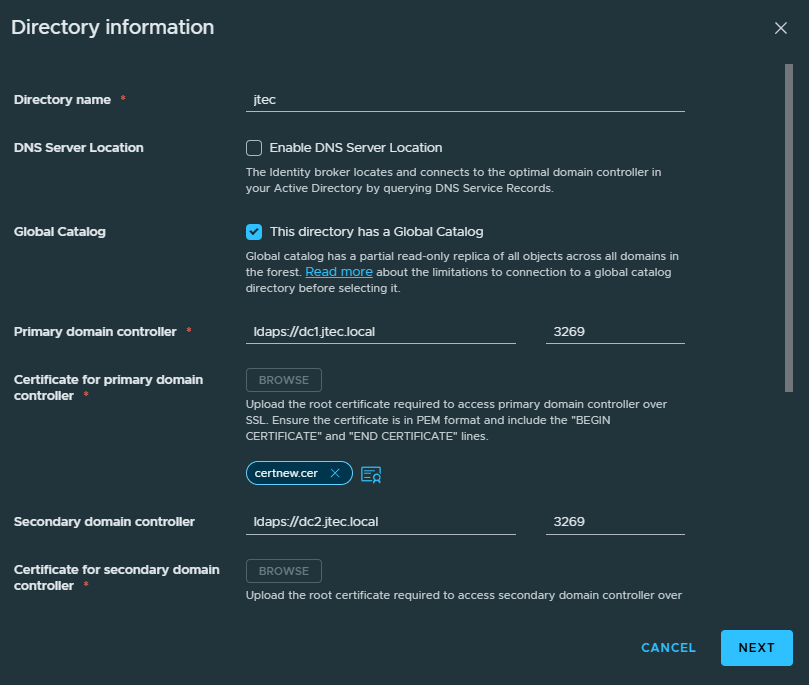
In the Identity Provider Configuration, enter in the Active Directory information for your domain. I am using secure LDAP for the connection to all my domain controllers so a root certificate is required to be provided as well. The base DN and Bind username/password are required for connection.
***Make sure your root certificate is in base64 format and saved as a PEM file***
I am using the base DN of CN=Users,DC=jtec,DC=local which points to the default Users group in my jtec.local domain. Click Next after entering in the directory information.
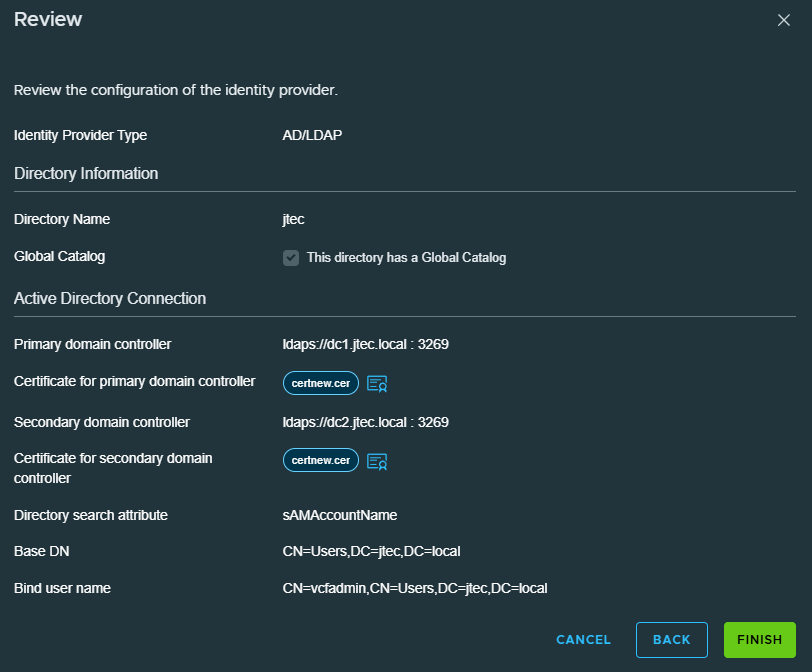
Review the information you entered in for your directory and click Finish to complete
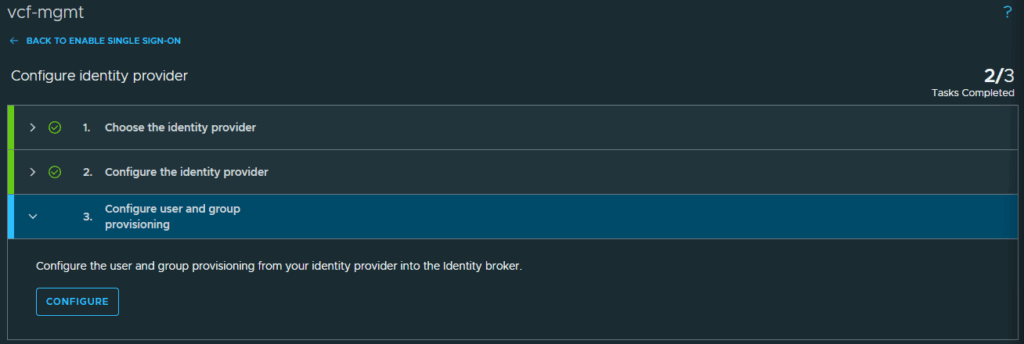
Under configure user and group provisioning, click Configure. This is where we will connect the VCF users and admins to our VCF instance.
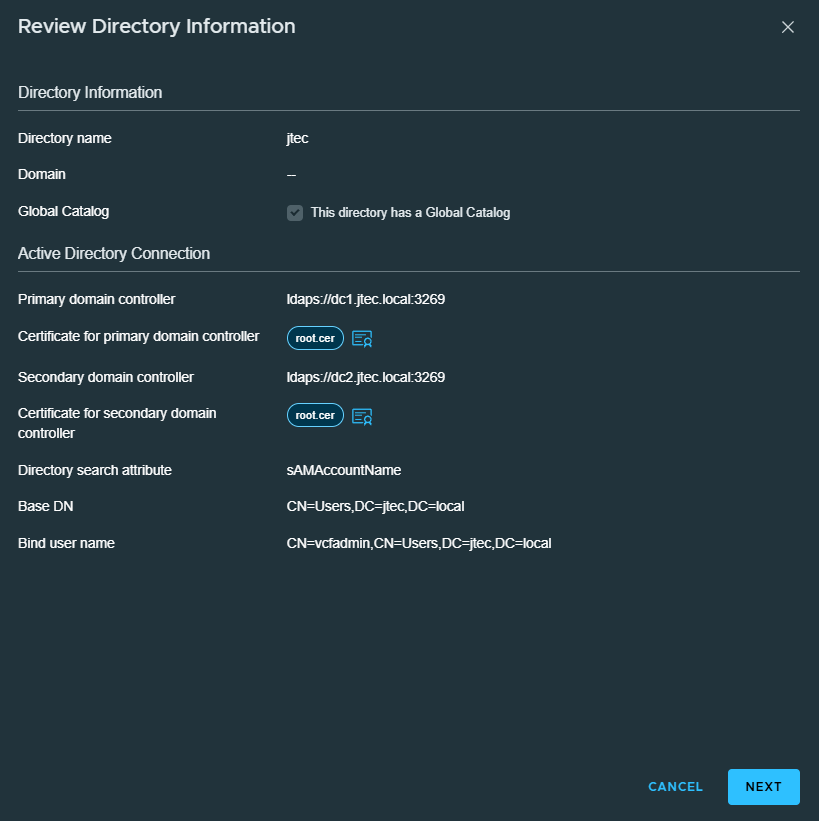
At the Review Directory Information screen, click Next.
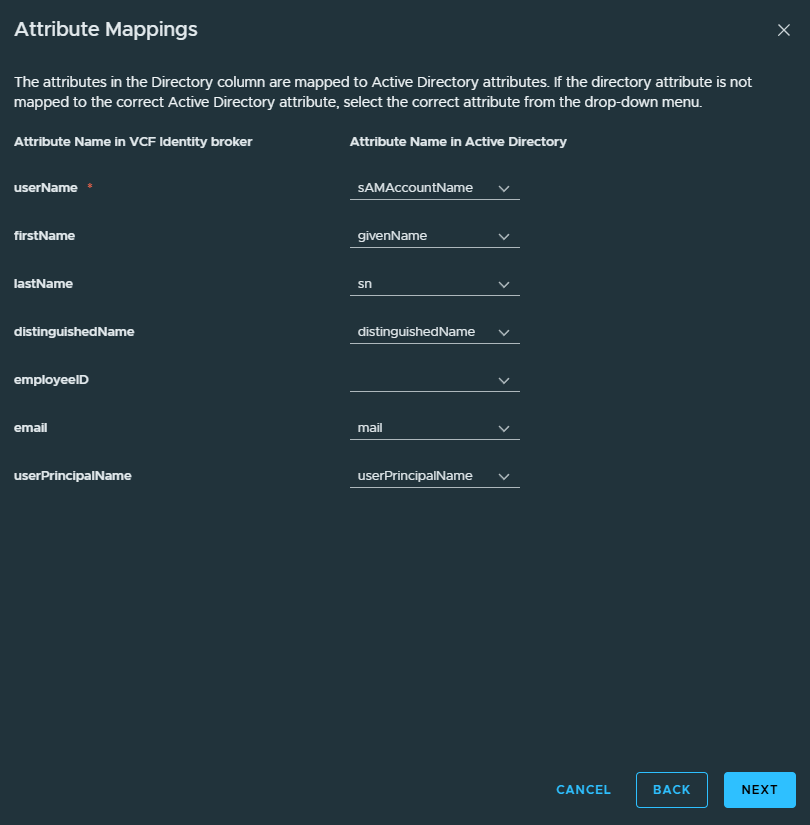
Review the attribute mapping is correct for that directory and click Next
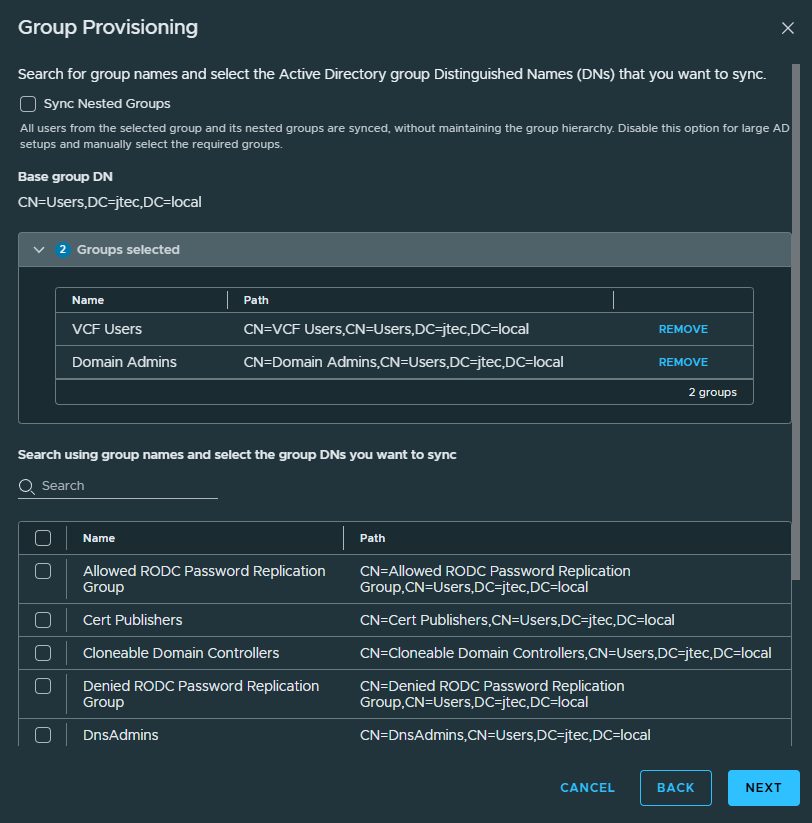
For Group Provisioning, I will be adding the Domain Admins and VCF Users group. Search for the groups you want to add and click the checkbox next to them so they appear in the groups selected section. Click Next after all the groups have been selected
If you have specific users that you want to be included, search for them and click the checkbox next to them so they show up under users selected. For this example, I am going to add my VCF Admin user even though it is a domain admin. Click Next to continue.

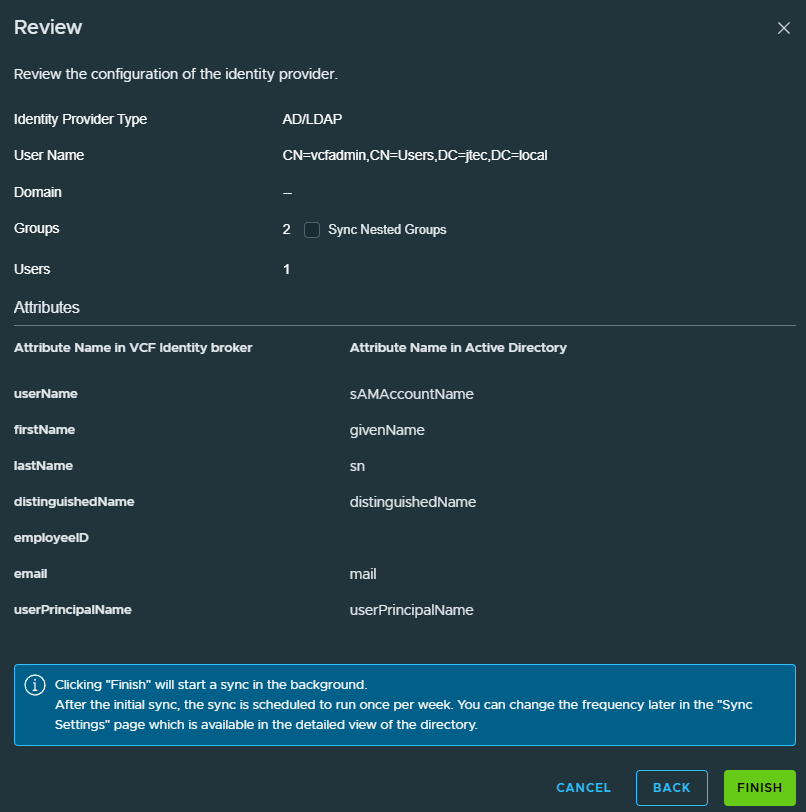
Review the information you provided for the provisioning setup, if you have additional groups nested under the main groups you added, be sure to click the check box to Sync Nested Groups. Click Finish to complete the provisioning.
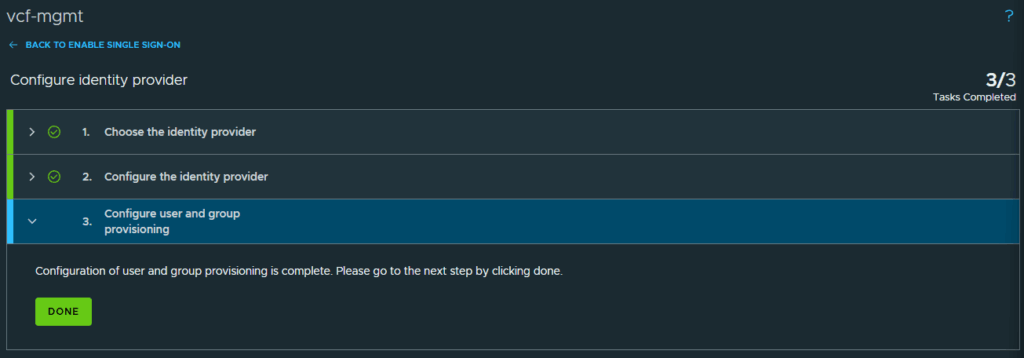
Click on Done to complete the configuration.
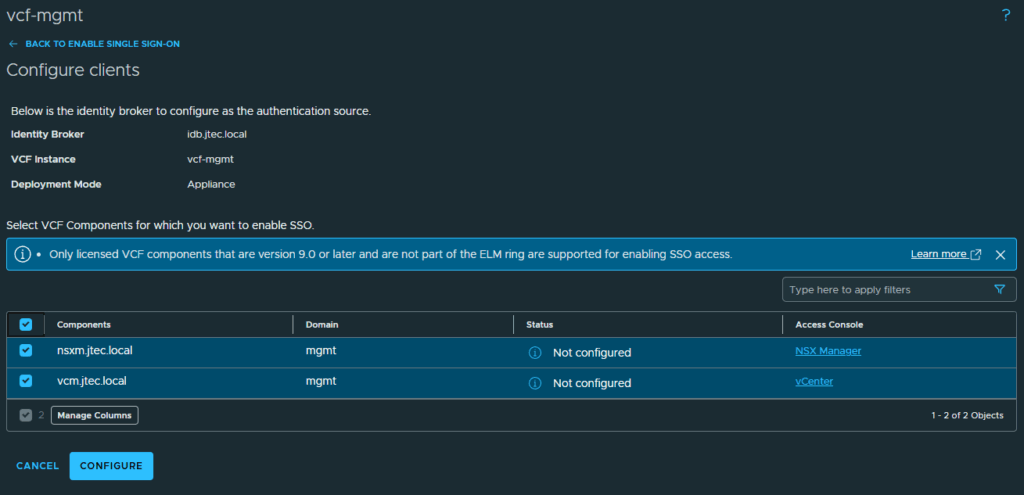
Click Start to configure the individual components.

This will take you to the screen to configure the NSX Manager and vCenter. click the checkboxes next to each component and click Configure
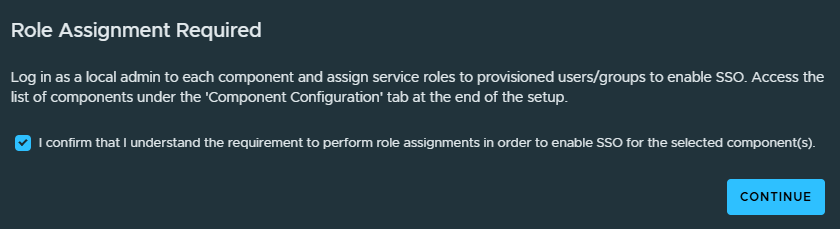
A pop-up will appear advising that each of these components will need to be manually configured. Click the checkbox next to the confirmation and click Continue
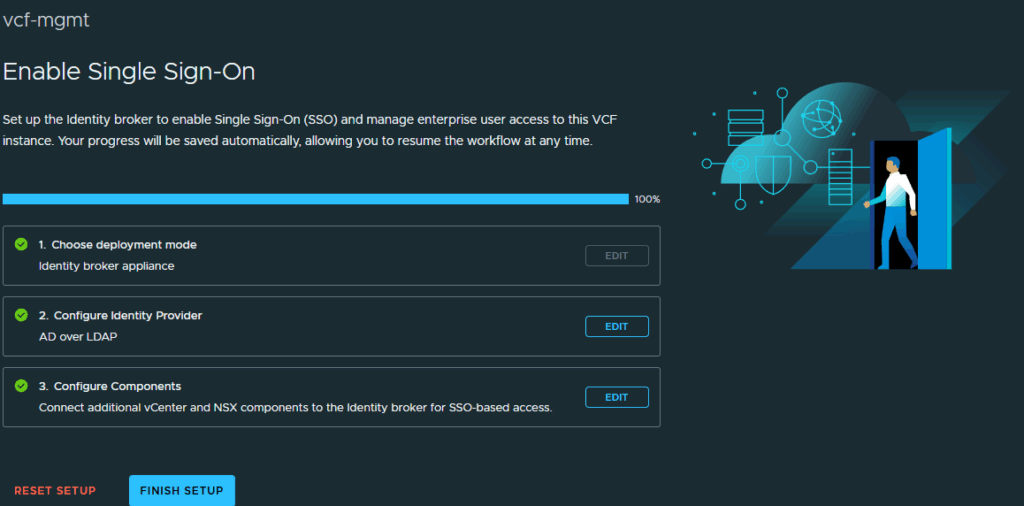
Click Finish Setup and then we will configure the components for single sign on login.
A pop-up will appears recommending a backup for each appliance prior to SSO configuration, click Continue

We have completed the single sign on configuration in fleet manager, now we need to configure the appliances.
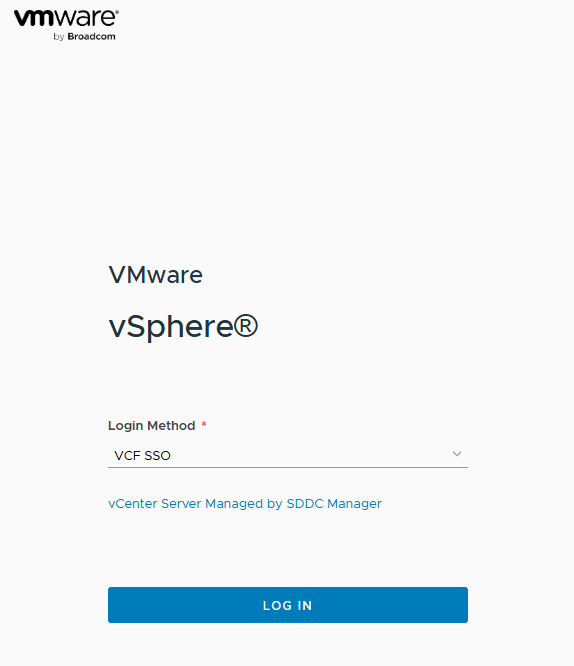
First I will login to the vCenter server and provision it for SSO. You will notice there is an option to use VCF SSO as login method now with vCenter. Click the drop-down to select Local Account
Login with the local administrator account.
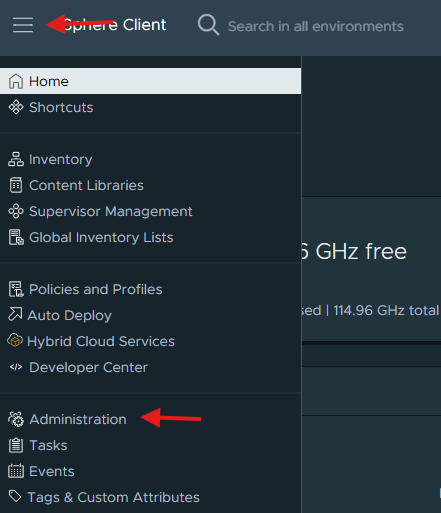
Click the menu icon in the top left hand corner and select Administration
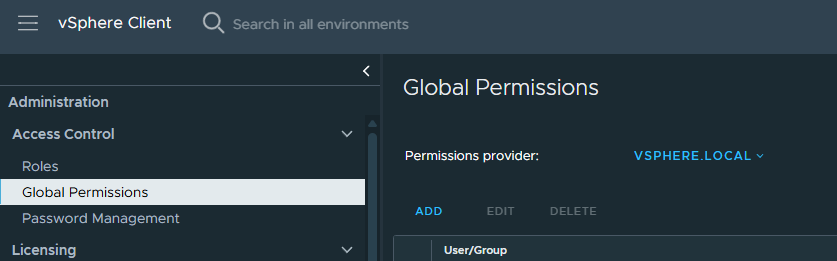
Click on Global Permissions
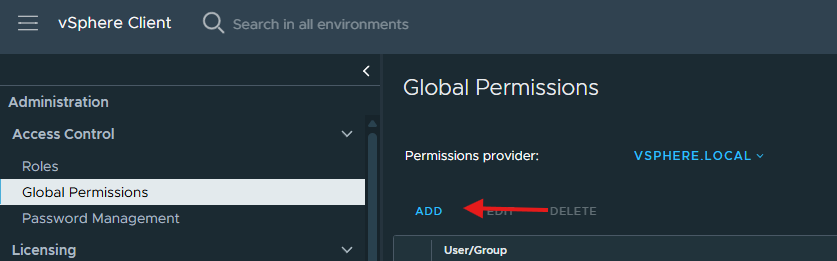
Click Add underneath Global Permissions
Click on Domain and select the active directory domain we just configured. Enter in group or user you want to add and select the appropriate role for that user or group. Since this is at the Global level, I am going to click the checkbox to propagate to children so it applies to all levels. Click Ok.

Repeat the steps above for any additional users or groups you want to add. After you have added all the groups and users they will appear in the Global Permissions list.

Click the drop down for the local admin account and select Logout

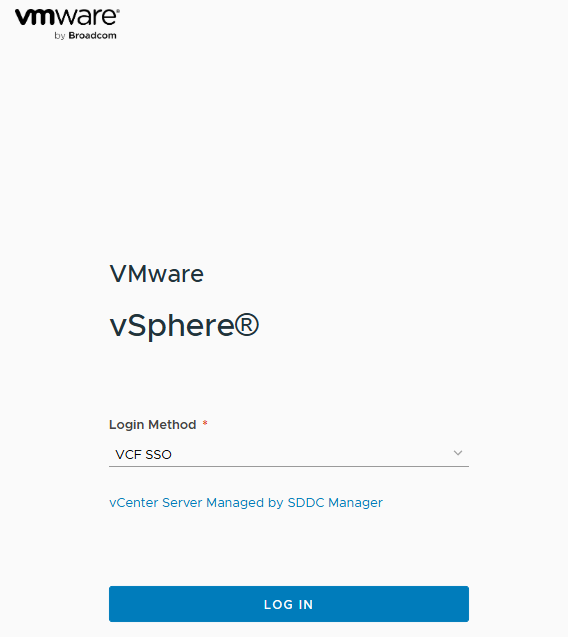
At the vCenter login screen, leave VCF SSO selected and click Login
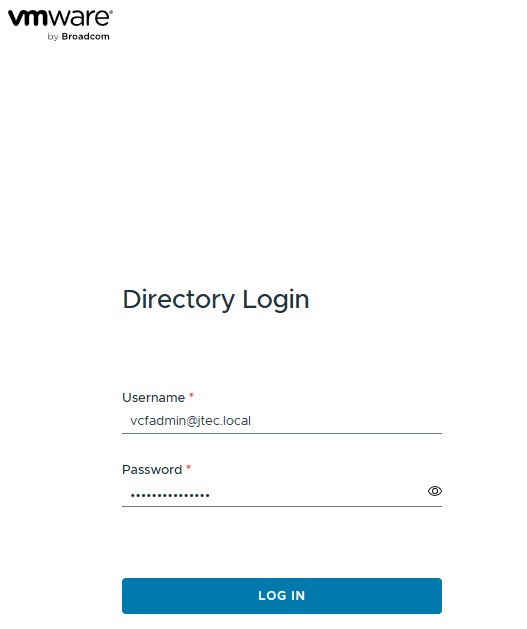
You will see that it has redirected you to the Identity Broker for login.

Enter in one of the users that you added previously and click Login
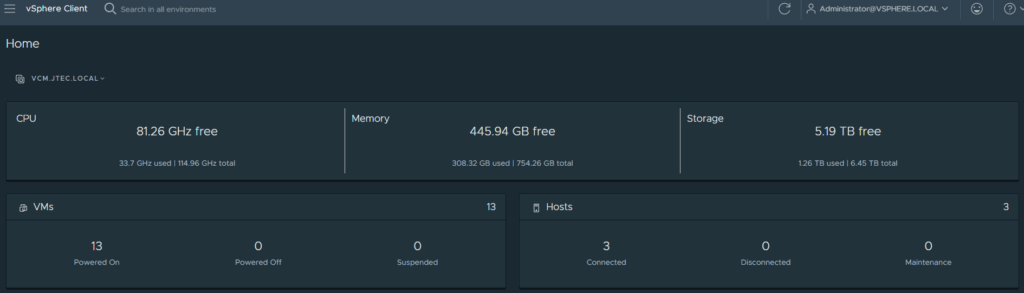
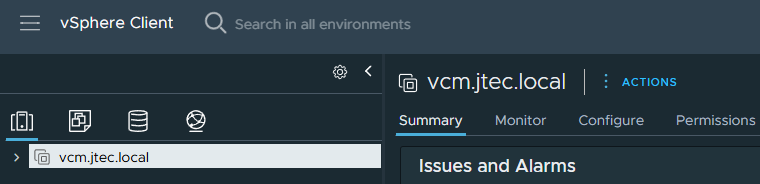
If everything is configured correctly, it will log you in and show the management domain vCenter.
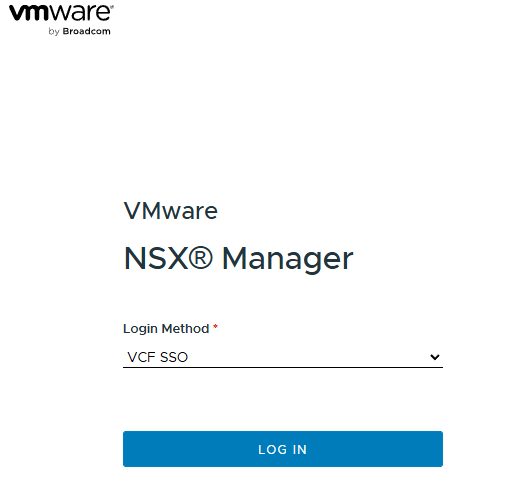
Now we need to configure the NSX Manager. You will see the VCF SSO as the default login method as well, click the drop down and select Local Account.
If this is your first time logging in you may see pop-ups for the Customer Experience Program and walkthroughs.
Click on System
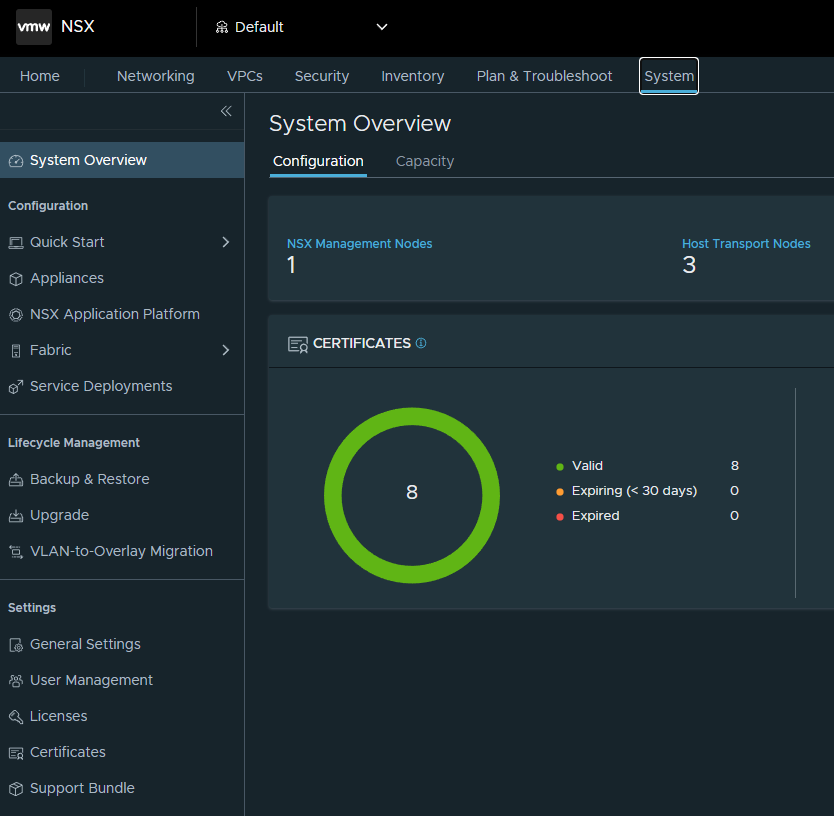
Select User Management under Settings.
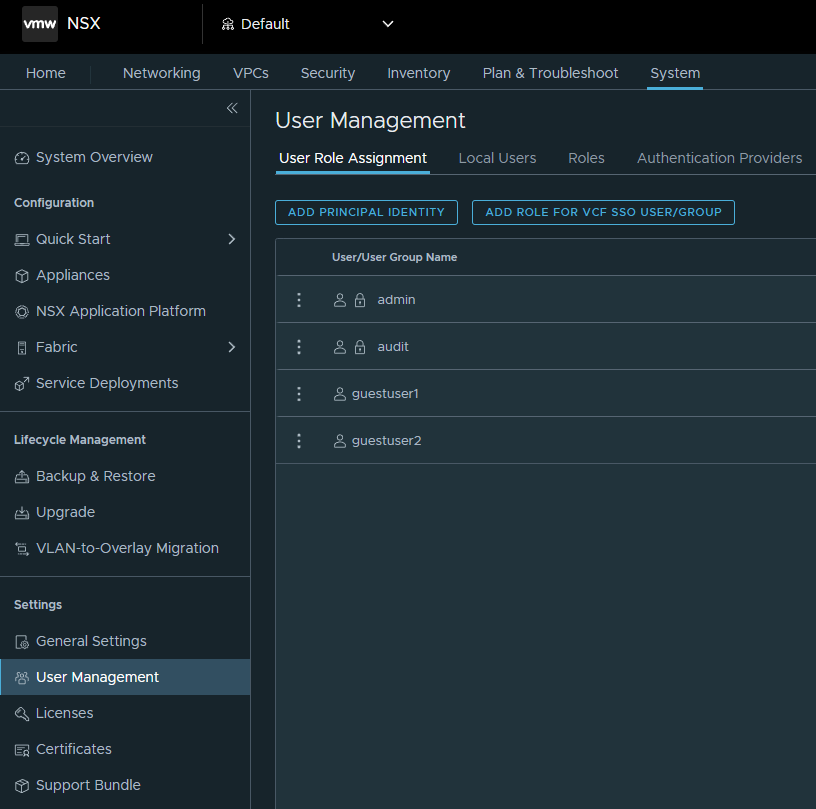
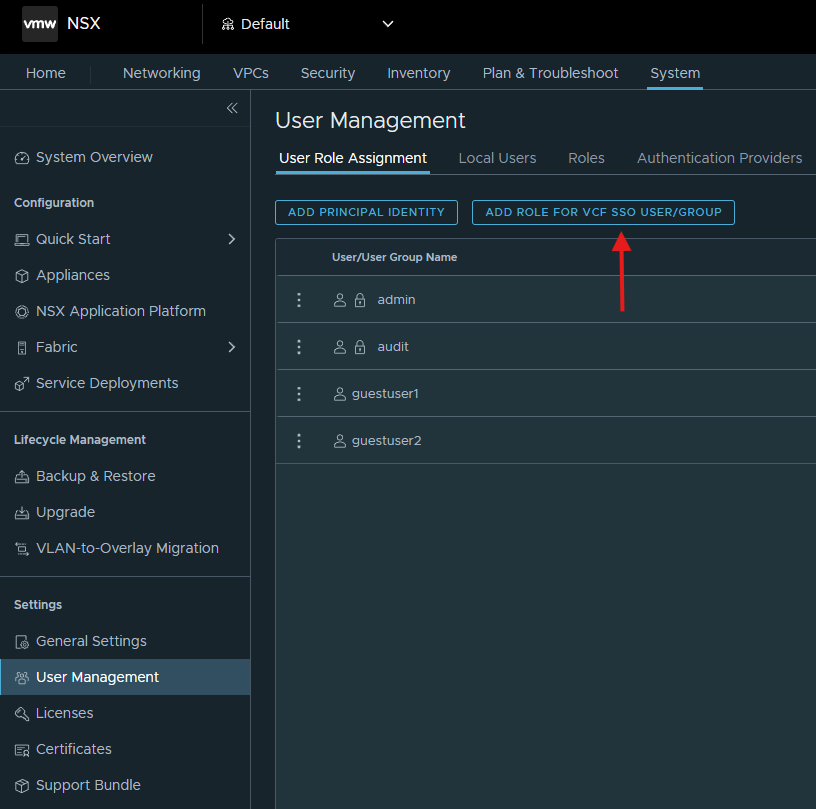
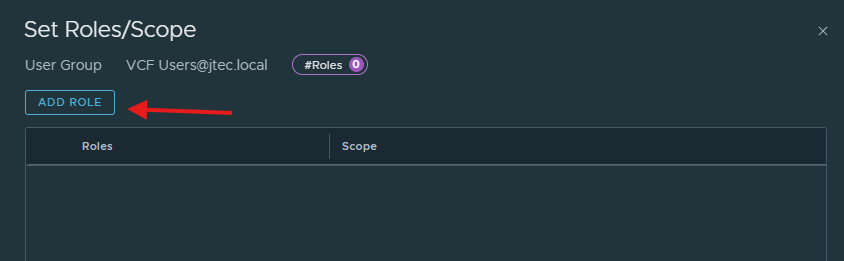
Click Add Role for VCF SSO User/Group
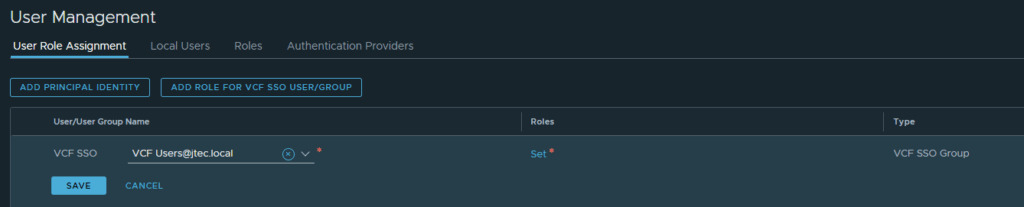
Enter in the group you want add in the drop down and click Set under Roles.
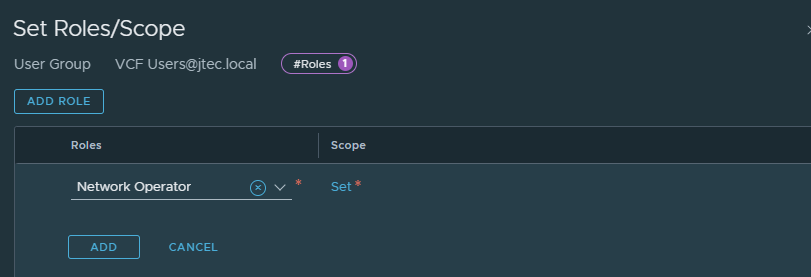
Click Add Role
Click the drop down under Roles and select the appropriate role for that group or user. Click Set under scope
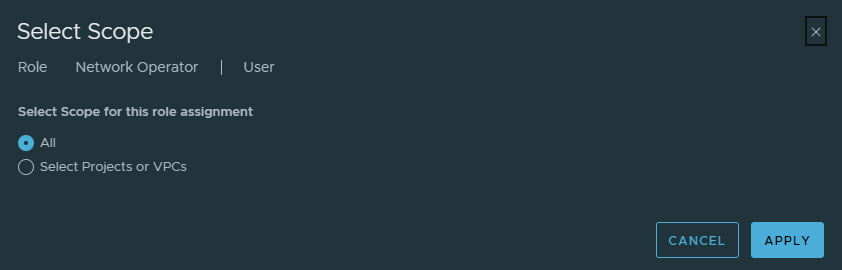
Set the scope for that role assignment and click Apply
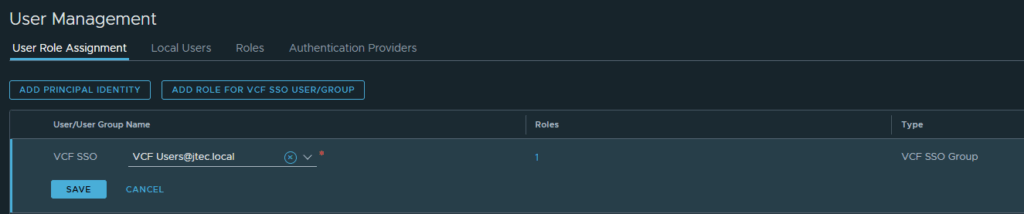
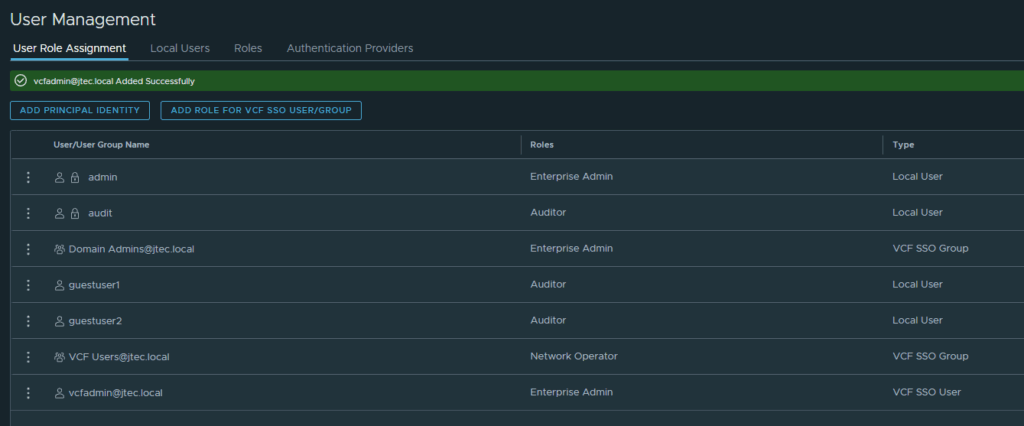
Click Add to complete the role addition and click Apply

Click Save to complete the role assignment.
Repeat the steps above for any additional users.
Click the drop down next to admin and select Logout

At the login screen, leave VCF SSO select and click Login
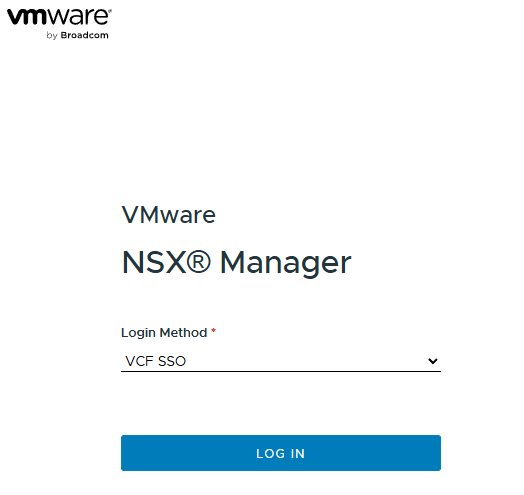
Enter in a user that was configured for VCF SSO login and click Login
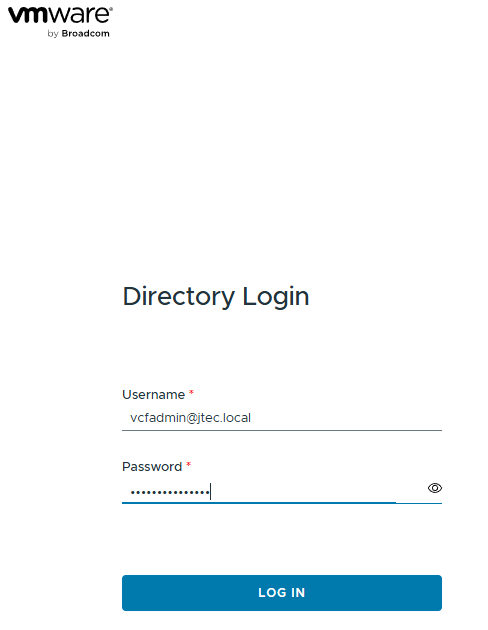
If the configuration was successful, it will log you in to the NSX Manager.

We have configured VCF Single Sign On for NSX and vCenter now, I will configure single sign on for other VCF components in other posts.
You can return to my main VCF Lab page to follow along with this deployment.